Step-by-Step Guide for Total Beginners: How to Draw Faces
Creating lifelike facial features and expressions can be both daunting and rewarding. With this step-by-step guide on how to draw faces, anyone from a beginner artist to an experienced one will learn the process of drawing realistic faces at various angles. Drawing can help capture someone’s essence by using techniques such as determining eyes shapes, nose sizes or mouth curves. All these tips that are provided in this tutorial should bring you closer to perfecting your face drawings!
Short Summary
- Gather materials and create a basic face structure for facial proportions.
- Utilize guidelines to accurately position the features of a face, including eyes, nose, mouth and ears.
- Understand shading techniques such as hatching or crosshatching to add realism when drawing faces from different angles with expression.
Gathering the Necessary Materials

To draw a face correctly, it is important to have the basics like pencils, erasers, rulers and paper. Start by deciding how much area of the page you would like your drawing to take up. Make use of horizontal lines at both top and bottom with vertical ones on either the left side or as an outline for reference while including one in the middle. This will help position facial features accurately. For those looking into more advanced techniques, they can look at Andrew Loomis’s book or follow ‘Portrait Drawing The Smart Way’ course but this step-by-step guide covers basic methods so that everyone may increase their own drawing skills when it comes to faces.
Creating a Basic Face Structure

art by John English
Drawing a head begins with creating a circle and adding two lines, one vertical along the center of it, and another horizontally midway between top and bottom. This makes up the basics that you can use to plot facial proportions as individual features get added in detail. Then draw a square inside the initial shape – each corner touching its edge – while using its top line for hairline, lower side marks out nose position, and the middle line stands for brow line respectively.
Drawing the Head Shape
To create a basic head shape, begin by drawing an oval that represents the overall form of the head. Divide it with one horizontal line halfway down its center to ensure symmetrical and properly aligned facial features. You can envision circles, ovals or rectangles which should help you understand how to construct this fundamental figure accurately.
Once created, modify shapes if necessary for a more angled look like in profile view. Taking into consideration proportions and angles while maintaining general structure as well as appropriate placement of facial features on each side of the line drawn through the center line and middle of your new head shape.
Adding Guidelines
When it comes to drawing faces, guidelines are indispensable. These lines allow us to situate the facial features in their appropriate positions. The middle horizontal line illustrates where the nose will end and how high up on our face our mouth should be situated. When we draw ears, they typically arch from near eye level upward toward a corresponding bottom horizontal line, that meets with our eyebrows, ensuring all areas of our face fit together harmoniously! The earlobes usually meet right at this same horizontalline as well so you’ll know everything is positioned just right for your unique portrait.
Sketching Facial Features

When it comes to sketching the facial features, such as eyes, nose and lips, you need to draw a sideways oval between two shorter vertical lines for the eyes. Make sure they are at an eye’s distance apart from each other. Continue by adding a nose that ends on the second horizontal line with both nostril outer edges lined up next to where your eyeballs were just drawn in accordance with their inner corners width of the nose which will be determined here too. On top of this third horizontal line, drawing eyebrows alongside is needed while creating its personality expression using lips according to visual cues referring back always keeps accuracy throughout entire face-drawing process ensured proportions wise via reference images all around desired outcome realized.
Drawing Eyes
Creating a realistic sketch of the eyes requires an accurate and precise placement of lines, facial features and details. To begin with, draw two vertical lines that are at least the distance between an eye apart. Then place a sideways oval in between these for the basic shape. Referencing images can be useful here to assist with accurately capturing proportions while making sure finer details such as eyelashes or irises appear realistically depicted too. Remember: typically it is necessary to have all four corners of the eyes line up – meaning nostrils must edge up against where each eye begins – so that everything remains proportionate when done drawing them out completely!
Drawing Nose
When drawing the nose, utilize a mixture of lines and shading to produce dimensionality. Begin by sketching an triangle in the face’s middle, with curved line at its base remaining over the horizontal line for centering purposes. To complete it off, add gentle shadows to indicate movement towards the eyes, which makes a 3D form appear.
Attention should be paid when using light outline applying shadow as slight changes from light to dark enhance accuracy and realism of said shape/structure representationally speaking. For achieving more beautiful or smooth transitions through graphite/pencil use blending stumps aptly so desired results can be accomplished efficiently!
Drawing Lips
When creating a face drawing, one must consider the lips as they play an integral role in conveying emotions. Start by sketching out basic form with two short lines that inwardly angle towards a vertical line- thus making it look like sideways M, to create the initial upper lip and shape. Then add details such as wrinkles and creases. Realistically. The positioning of this should be aligned with the third horizontal line on which pupils can also positionally act as reference points when deciding upon the width at the center point between each eye area respectively. Helping bring definition of expression through those subtle movements needed to convey emotion accurately via drawings.
Developing Hair and Hairstyles

Celebrity portrait by Bill Koeb
Drawing faces can be significantly augmented by a great hair style. To develop the locks, first start drawing them with simple shapes and natural structures that stretch from away from the head rather than directly onto it. This will give extra dimension to your work. Personalize each look so that it reflects character traits such as job field, disposition or individual flair.
When crafting hairstyles, you should observe how light caresses strands of hair and how light shading creates highlights/shadows, an important tool in creating realism when drawing figures. Keep in mind though: perfecting these details may take time and patience, yet they are essential for attaining desired results!
Drawing Faces from Different Angles
Portrait painting by Raymond Bonilla
Drawing faces from unique perspectives can be a fulfilling yet complex task. To successfully render the subject’s face proportions and character in your artwork, it is necessary to become well-versed in viewing and sketching heads from various angles: front view, side profile, as well as three-quarters view.
By mastering these diverse viewpoints, you will have the tools needed to produce captivating face drawings that authentically reflect your object of focus seen through different lenses.
Front View
Drawing a face from the front view involves sketching out the shape of their head, followed by adding facial features. Start with drawing a circle and add lines to divide it into four equal parts so that proportions are properly maintained while constructing individual elements. The eyes should go in the upper half on both sides according to reference images for accuracy. Draw a small triangle as a nose between the second and third horizontal lines. Bottom of this will remain above the middle of first horizontal line for accurate depiction. Finally draw a mouth across 3rd horizontal line such that corners align with pupils drawn earlier-adhering to references images provided throughout helps create realistic results when drawing faces!
Side View (Profile)
When it comes to sketching a face from the side view, or profile, utilizing the Loomis method is often beneficial. This entails decomposing and outlining the head into basic shapes then using guidelines for precise placement of facial features such as eyes, nose and mouth in relation to each other. It’s important when drawing faces this way that appropriate facial proportions correct and are followed while referencing images may be useful too so you achieve an accurate end product. Drawing a face can effectively be done with practice by making use of simple techniques like these!
Three-Quarter View
Drawing faces from the three-quarter view offers an engaging perspective, combining elements of both front and side views. Start with a sketch of the head’s general shape followed by adding in eyes, nose and mouth. To ensure accurate placement when depicting facial features try dividing up the face into thirds by drawing a vertical line at center then two more lines on either side. With eye level horizontally positioned halfway between top of head to bottom lip or chin area. For realistic results, use reference images as guide while making sure all facial details are drawn proportionately for your finished drawing face portrait from 3/4th angle view!
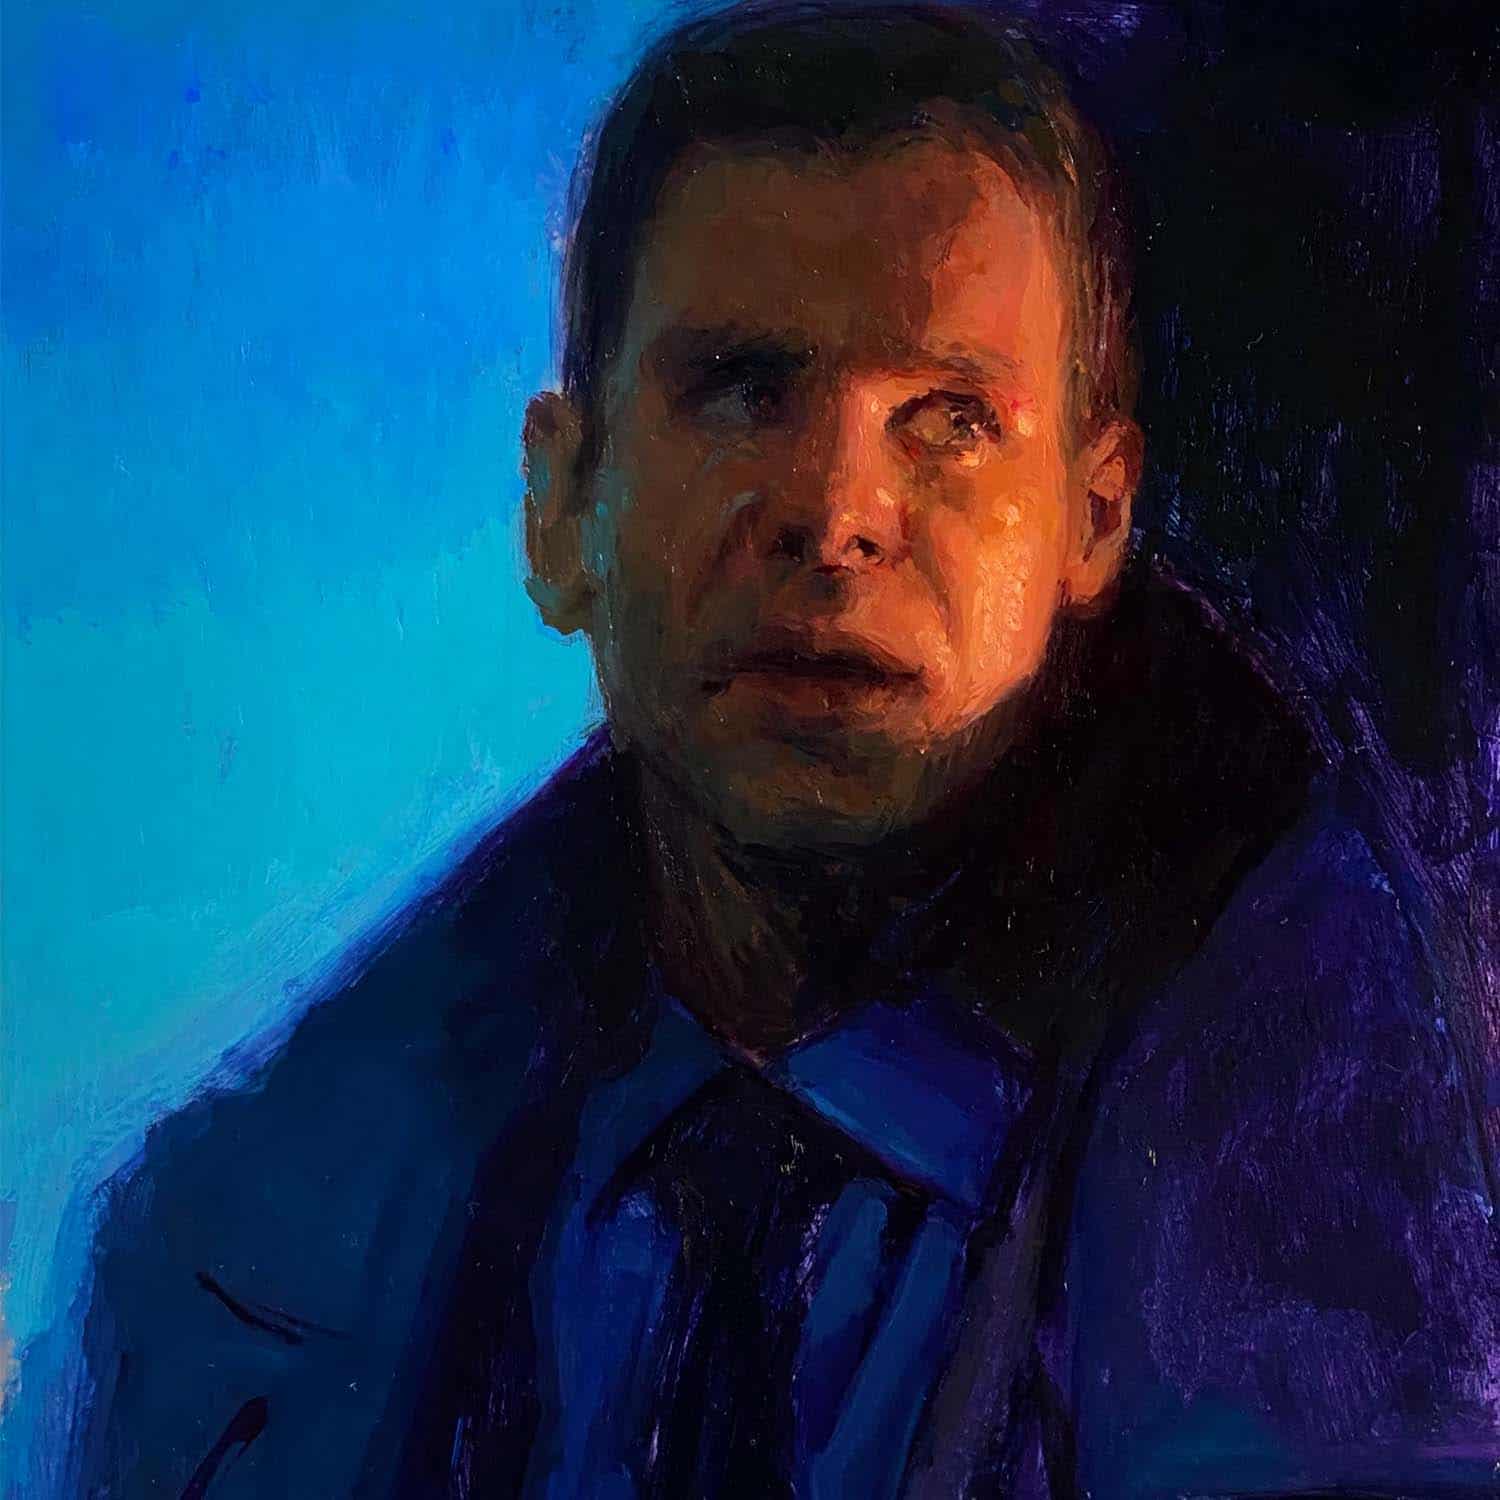
Shading Techniques for Realism

Portrait painting by Raymond Bonilla
Creating a realistic look in face drawing requires special attention to the eyes, nose and lips, as well eyebrows extend well as shading techniques. When doing so, consider the light source used which will impact highlights and shadows of your work. Techniques like hatching, cross-hatching or stippling involve applying different levels of darkness with pressure from pencils or pens for desired effect, experiment by trying out various methods until you find one that works best according to your preferences!
Tips for Drawing Faces with Expression

Pastel drawing of face by Ashly Lovett
Creating expressive portraits can be a difficult but rewarding activity. Here are some tips to help you successfully capture someone’s personality and emotions through art.
First, make sure that you practice drawing as often as possible – this will improve your skill in drawing heads and depicting facial expressions with precision. Take your time when making adjustments or minor corrections so each feature is proportioned accurately. Use light pencil strokes for easier revisions of the image before comparison to a reference photo which can aid in faithfully reproducing emotion via portrait artwork. Have patience, even though it may require considerable effort. Perseverance pays off!
Summary
This step-by-step guide is intended to provide helpful techniques and tips for those wanting master the art of face drawing. Gathering materials, developing facial features and expressions, hairstyles – all are covered in detail so that you can create compelling portraits which accurately represent a person’s character and feelings. Patience will be key as well as regular practice. With dedication one can become an expert at capturing faces from various angles while crafting realistic depictions.
Leave a Reply
Want to join the discussion?Feel free to contribute!