Mastering Painting Texture: 10 Techniques Every Artist Should Try
Explore essential 10 techniques to enhance your painting texture. Boost your skills and elevate your artwork. From oil paint to to controlling your palette knife, read the article to start experimenting.
This past year I have been re-visiting Acrylics after having not used it as much as I did when I first started my career 30 years ago painting murals. Back then there wasn’t a thought to use anything else other than Acrylic Paint. In this article, I will be elaborating on some of the methods for adding painting texture to your work.
It was durable, fast drying and the colors never failed me. I was able to create texture on walls and the walls even helped propel more texture because of the individual substrates which created their own texture.
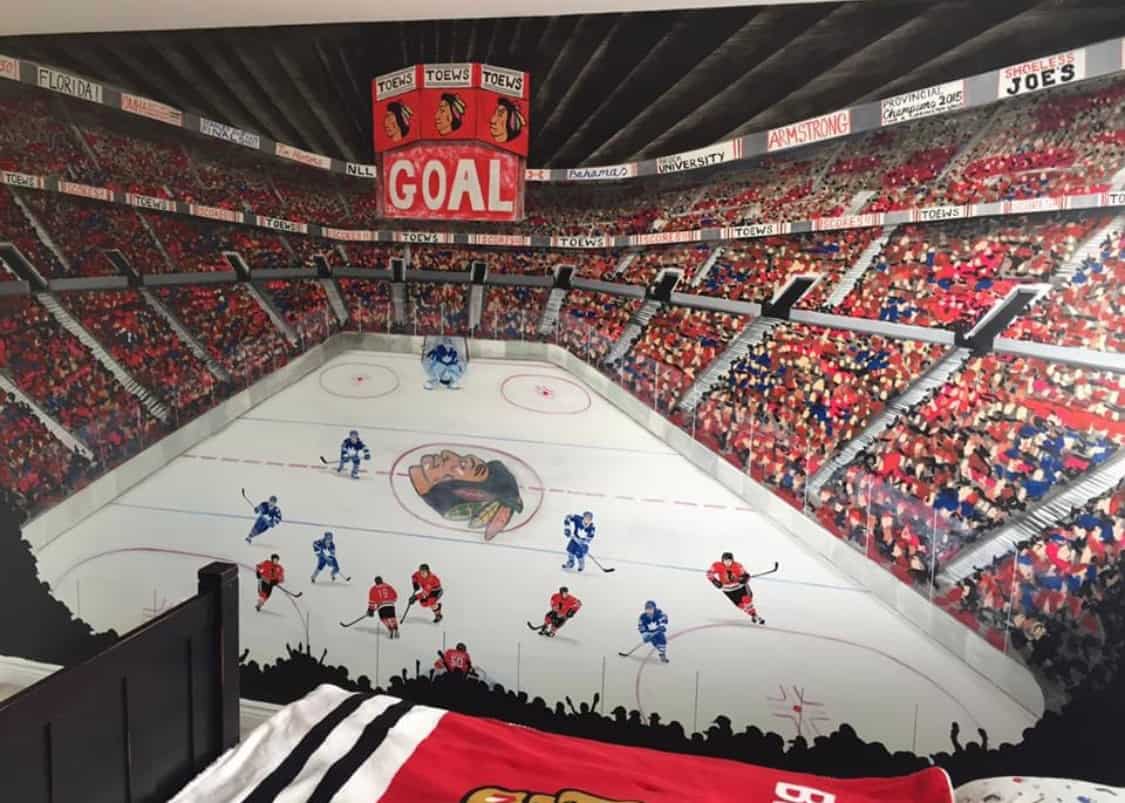
When my focus shifted to smaller works of art and commissions for clients with smaller living quarters and less wall space, I started using other mediums, but was missing that build of layers and textures on your surface.
Below is an example of a color study for a large painting.
This past year I have been taking the Fine Arts Gallery program with the Visual Arts Passage. This was my chance to explore texture again. It made sense to use acrylics as it is one of the most versatile and exciting mediums you can work with.
Using a soft brush can be particularly effective for gently sealing layers or adding delicate textures.
Its quick-drying nature (which works perfectly with how I approach a painting), its ability to add layers effortlessly. You can add texture, create shapes with vibrant colour onto the canvas. This is why it makes it my favourite medium. Whether you’re painting mountains and fields, coastal cliffs or boggy waters, acrylics opens up endless possibilities to build depth and create visual interest with stunning textures.
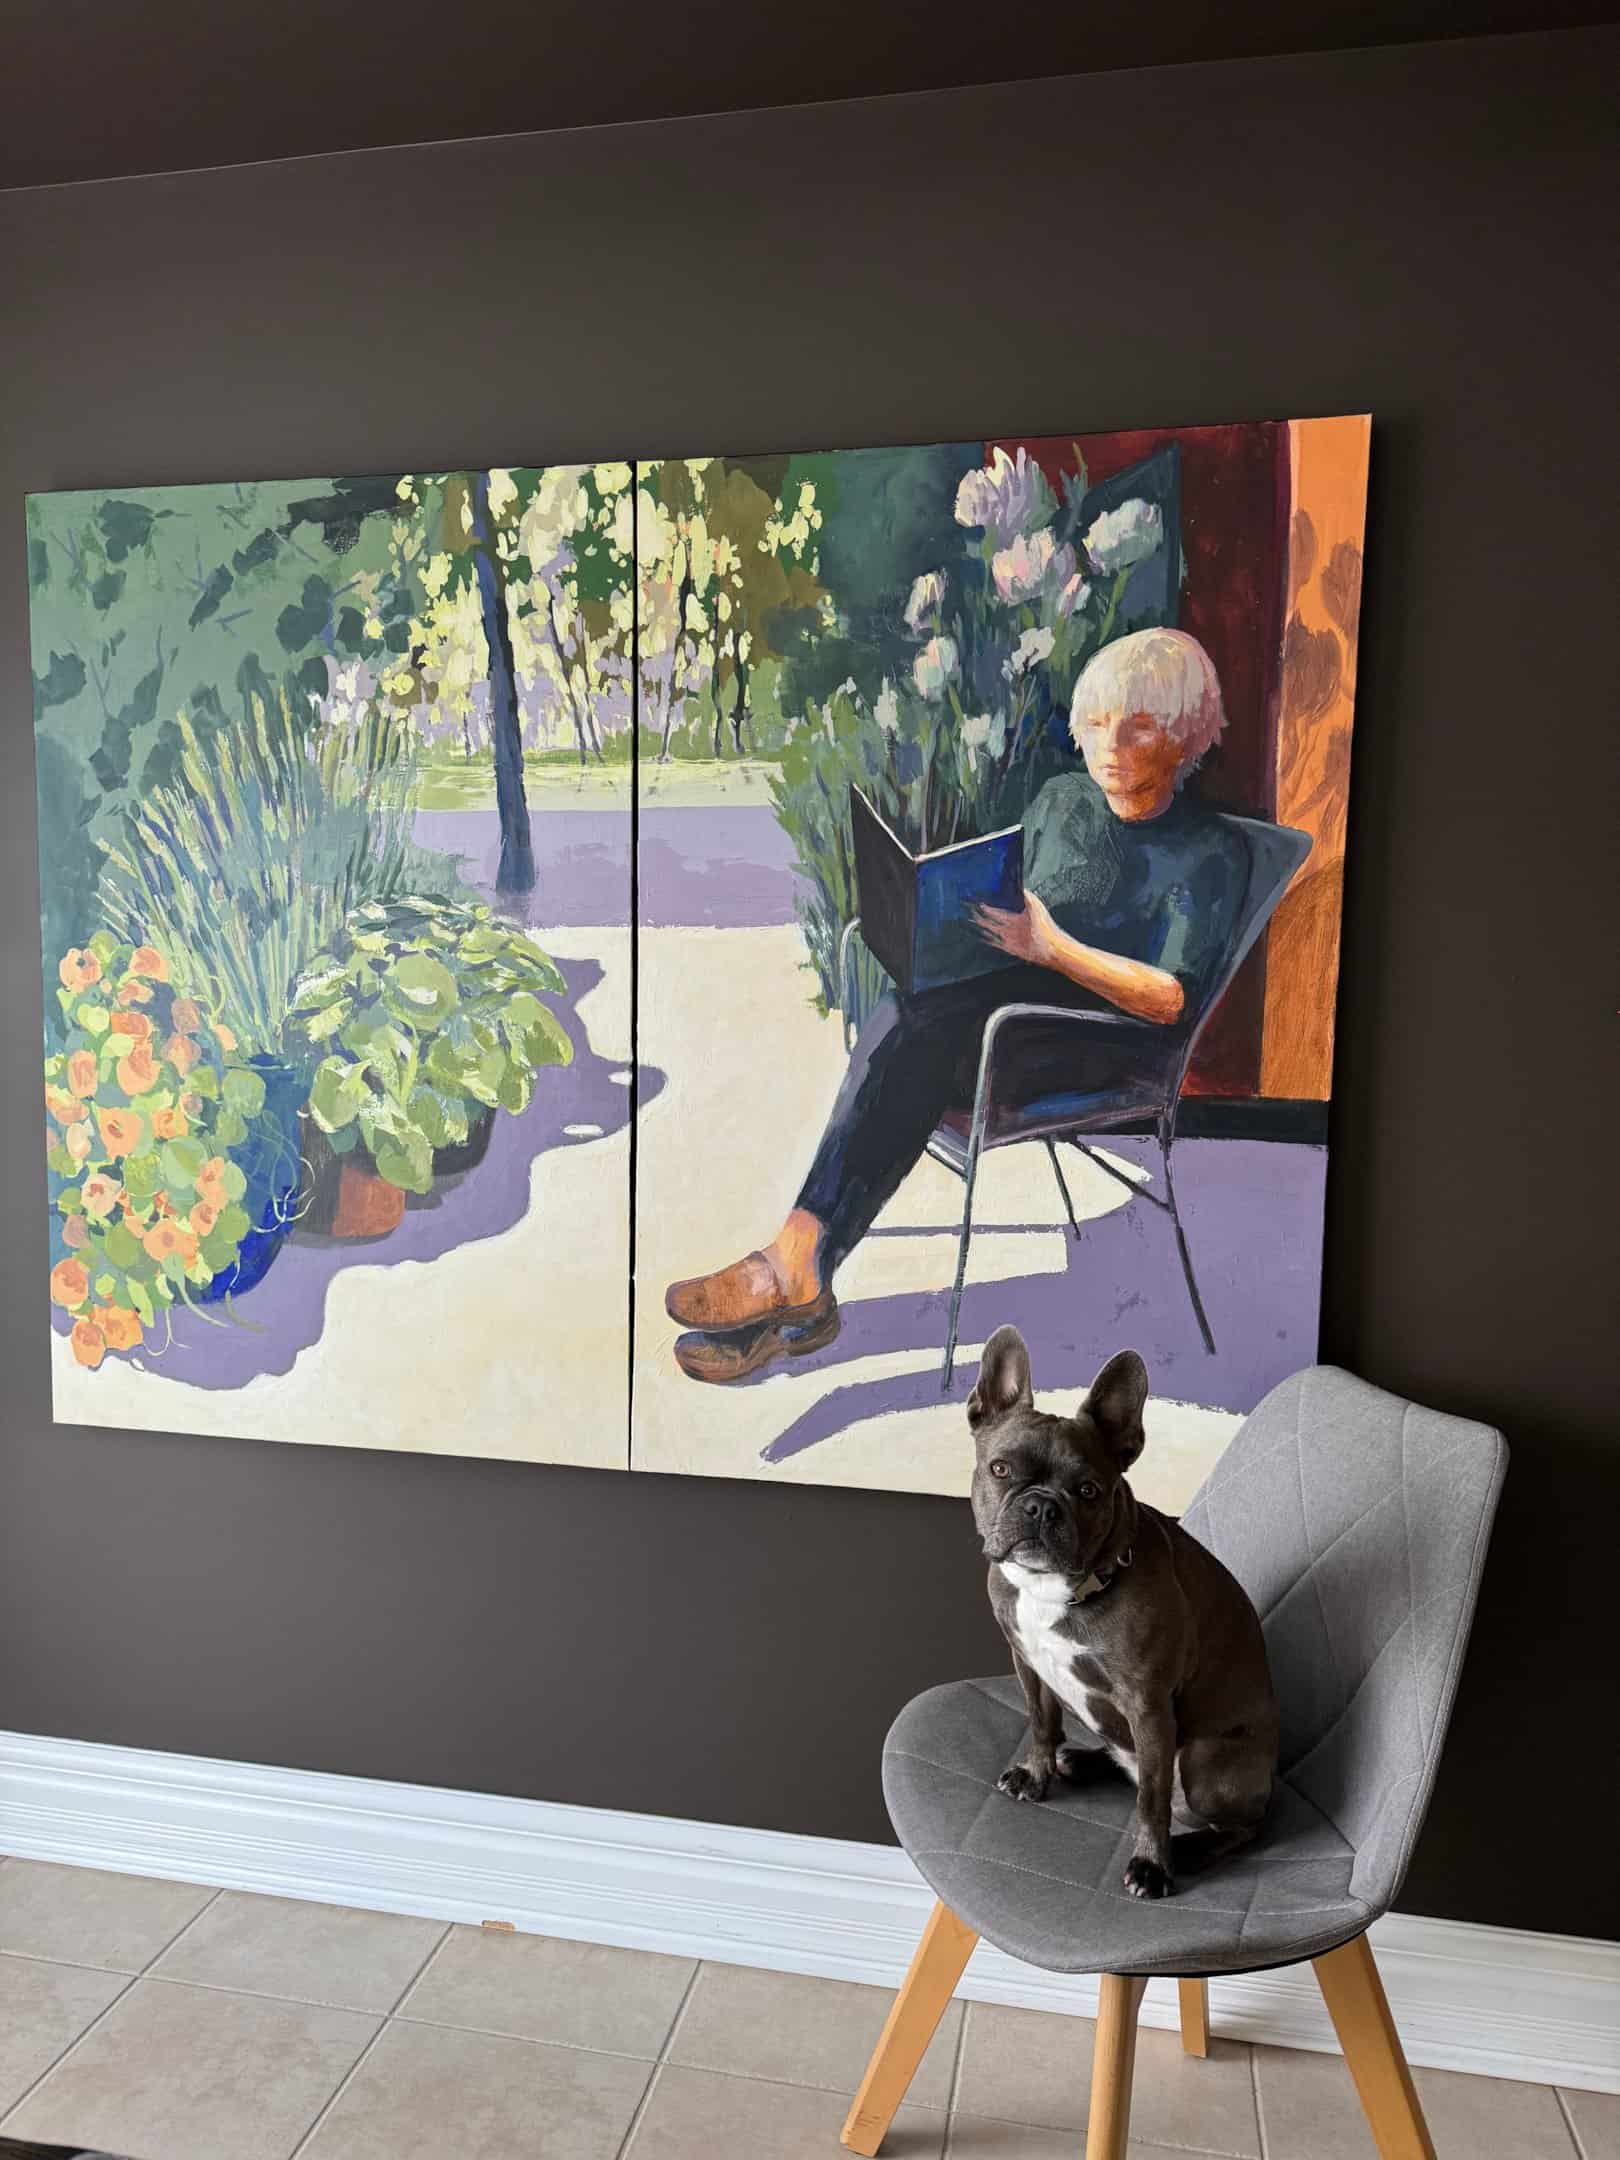
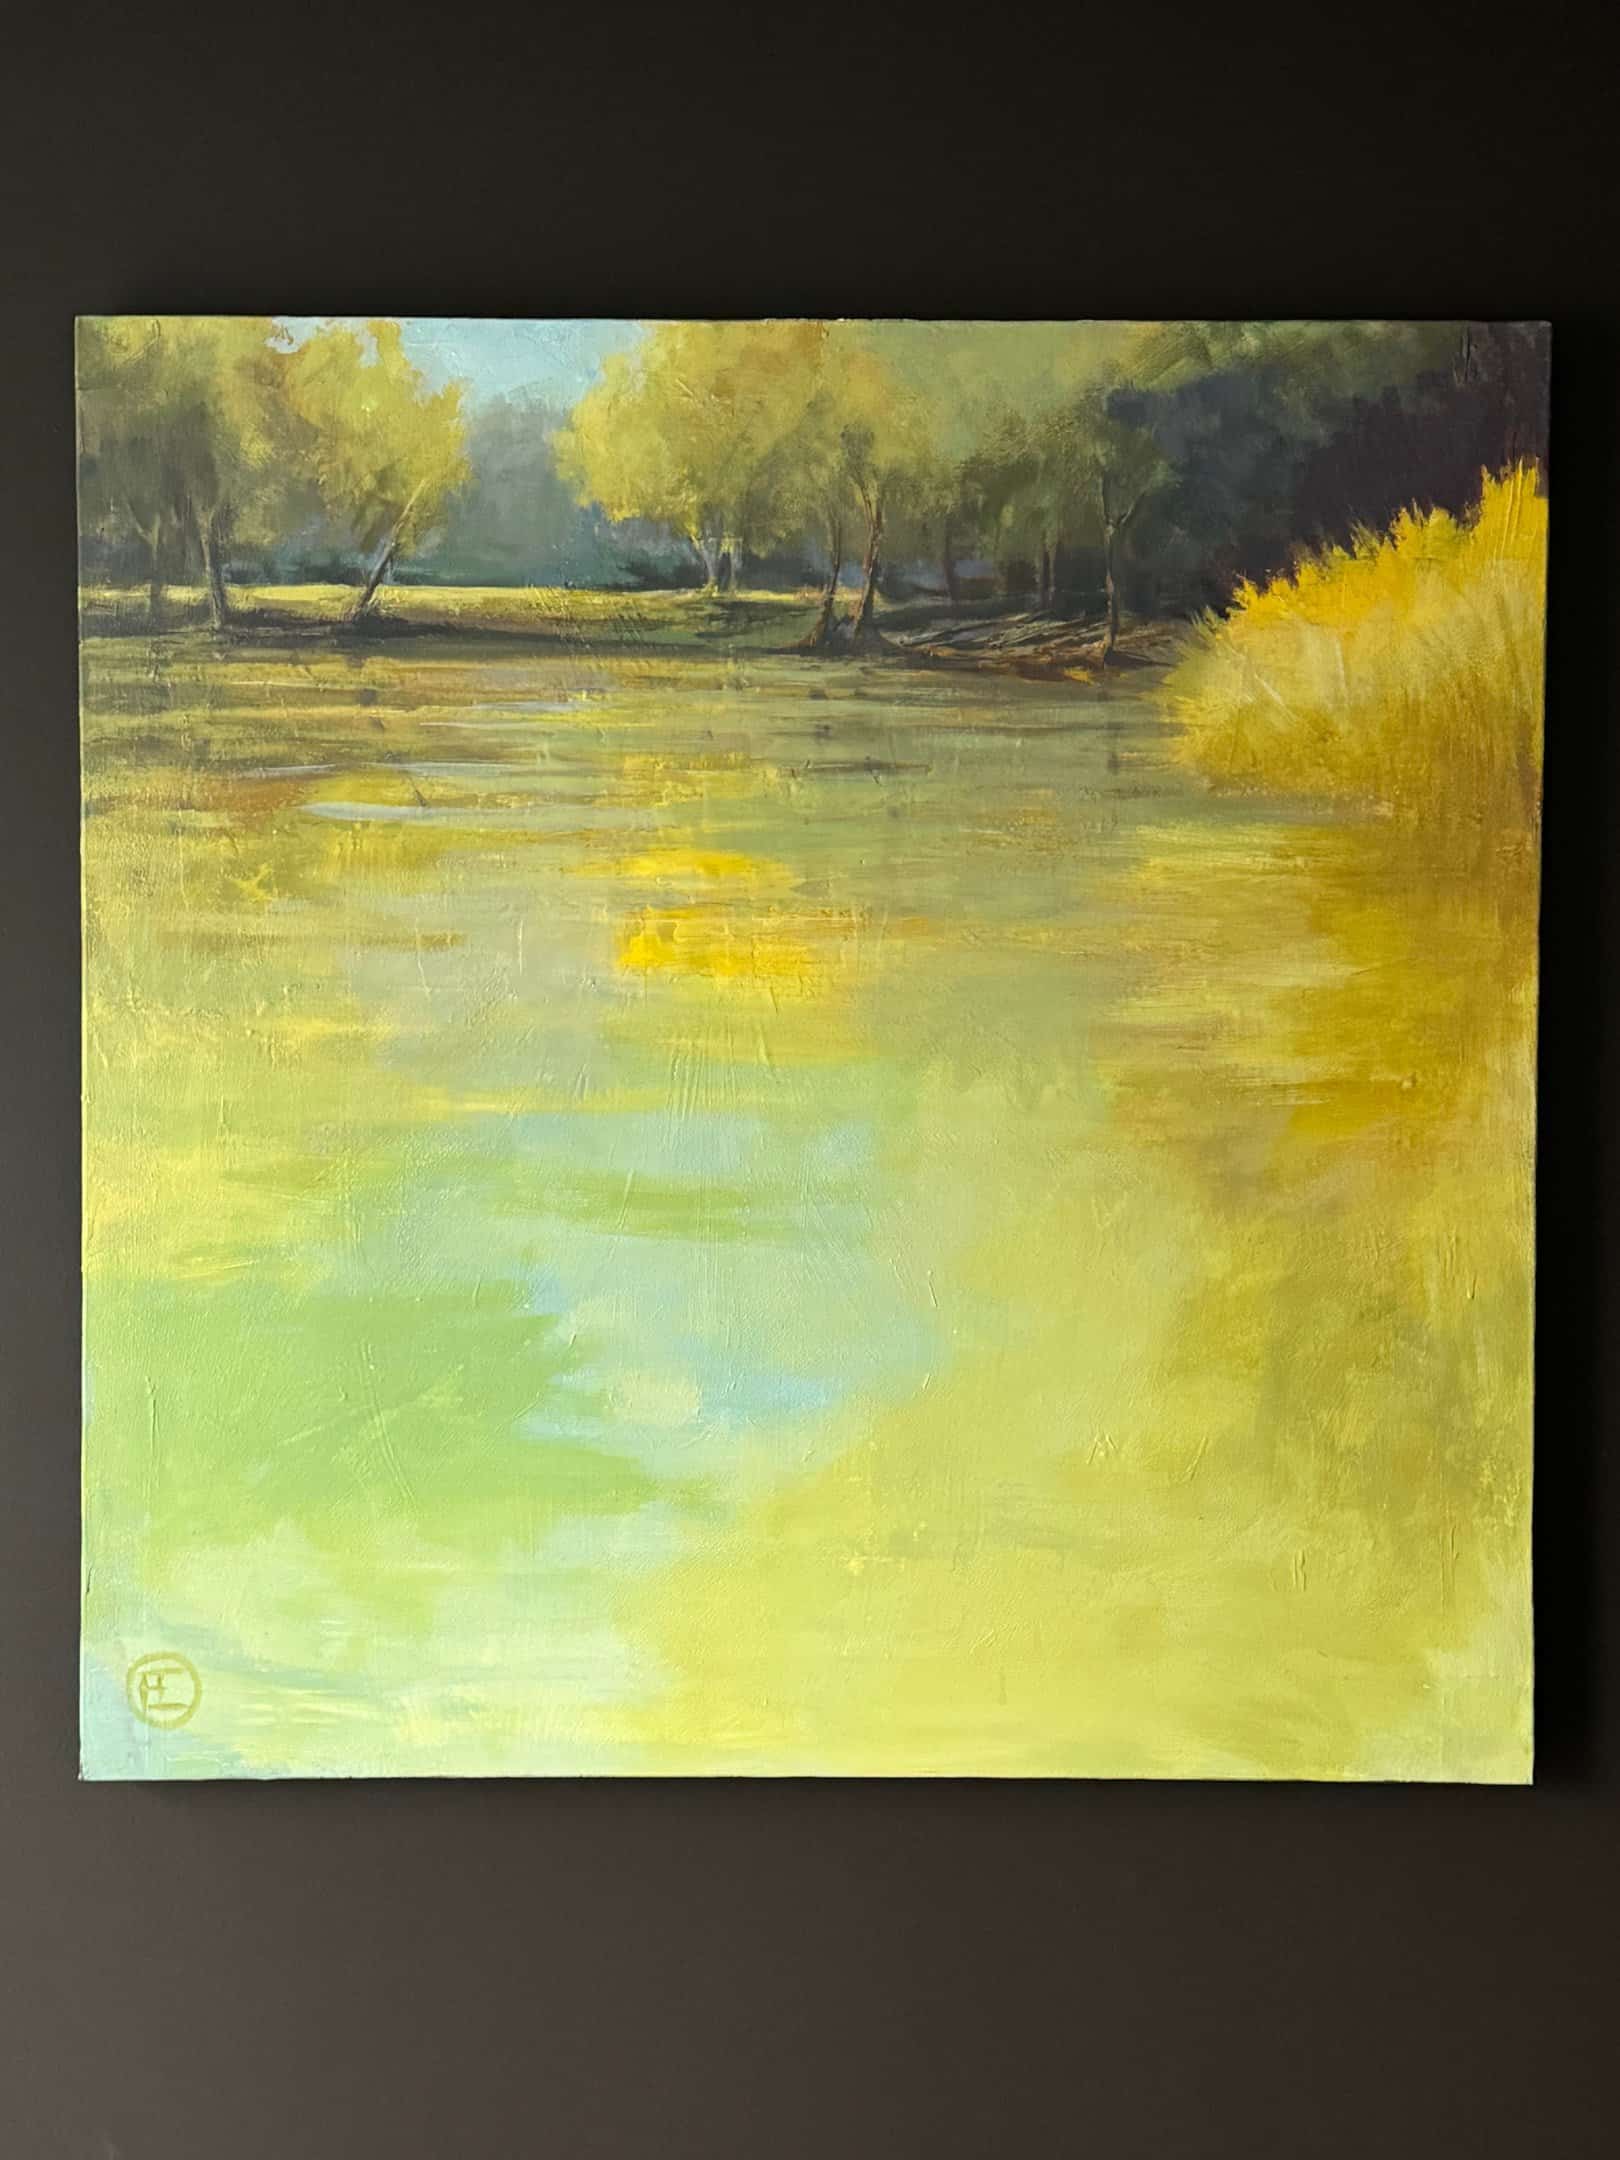
Below is an example of a painting I completed this past year with the Visual Arts Passage Fine Arts Painting courses. It was great to see this one evolve onto the canvas.
Why Choose Acrylics for Landscapes and not oil paint?
This is purely a personal preference as I like to work faster and acrylic paint delivers the texture I love with the speedy drying time which Oil Paint doesn’t have.
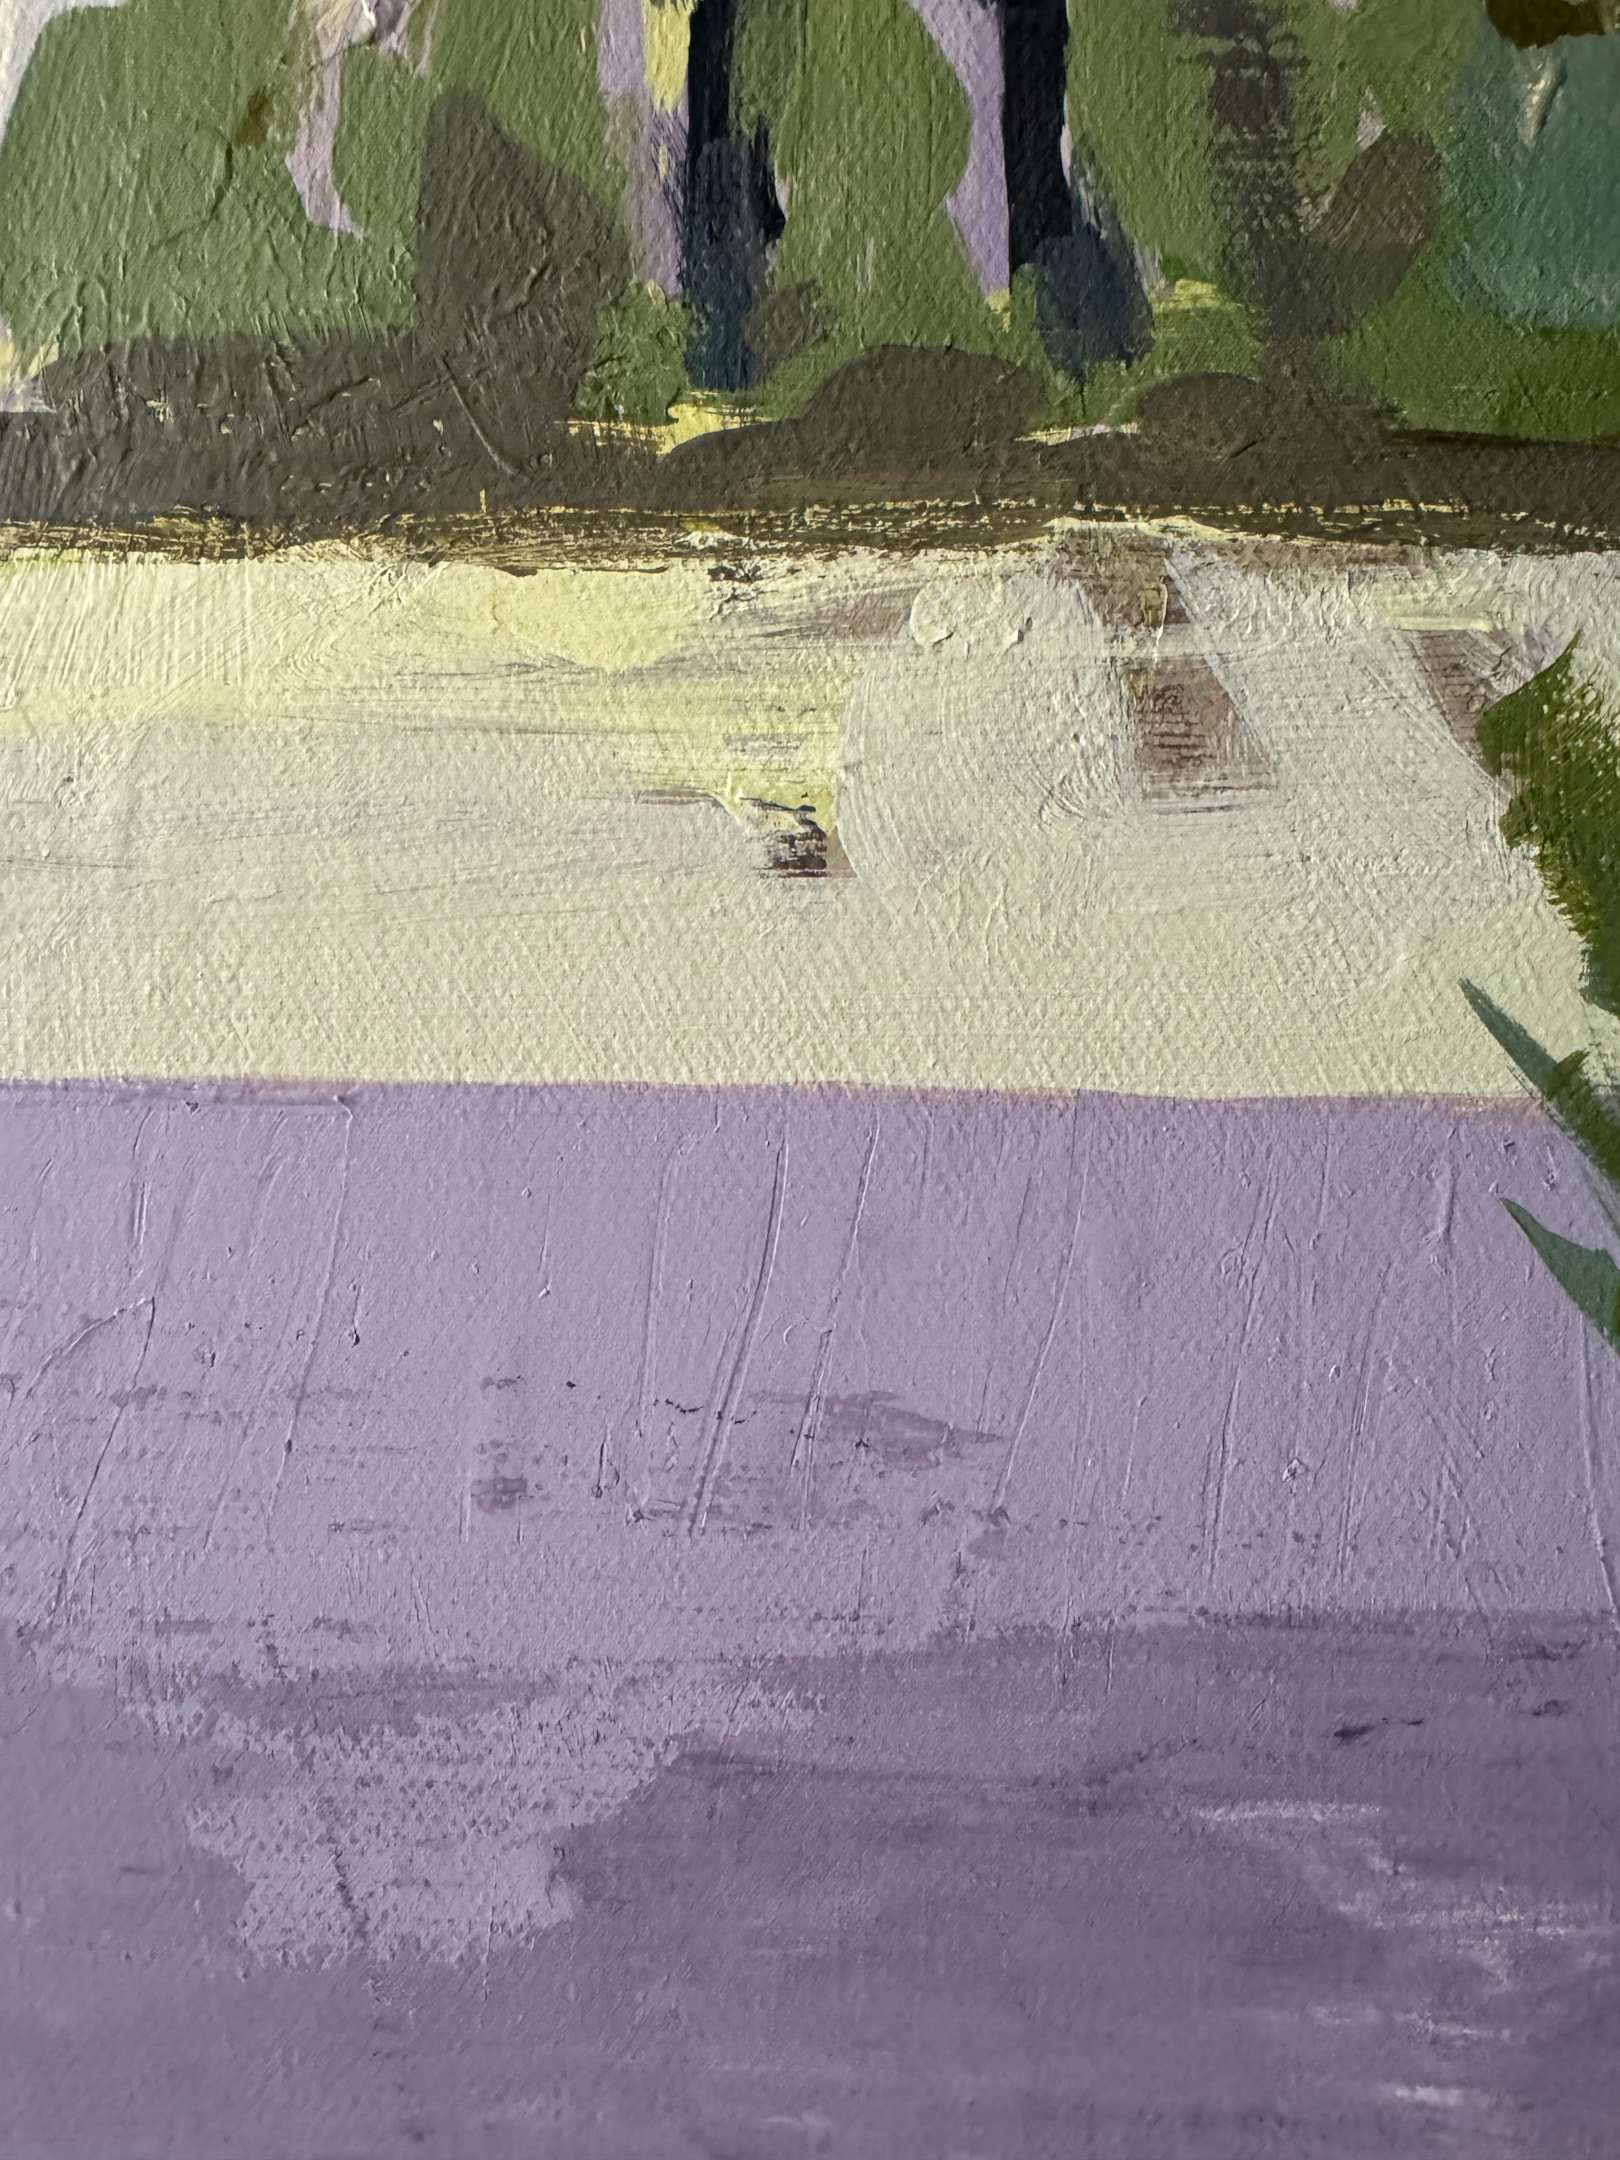
Acrylic paint is ideal for landscapes because you can use many texture painting techniques in the application process to add interest. You can apply paint straight out of the tube for bold techniques. You can add paint on top of wet paint, creating a thick layer of paint like texture paste.
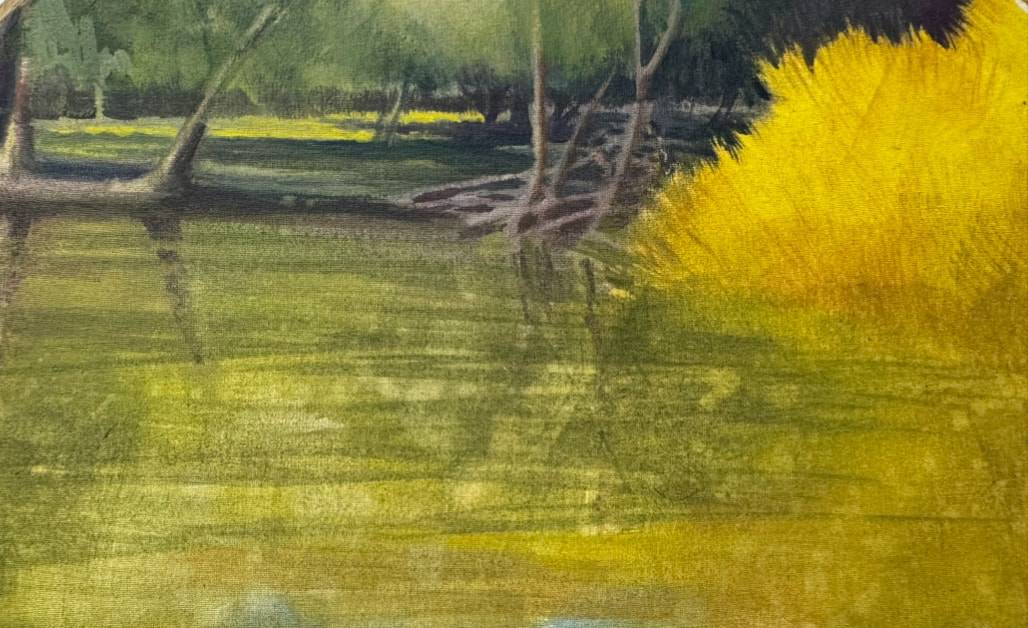
Or you can water it down and use it like watercolour. You can also use acrylic mediums to achieve soft, transparent layers. Unlike oil paint , it dries quickly, to create textures , which means you can build a layer of paint without waiting for days for it to dry.
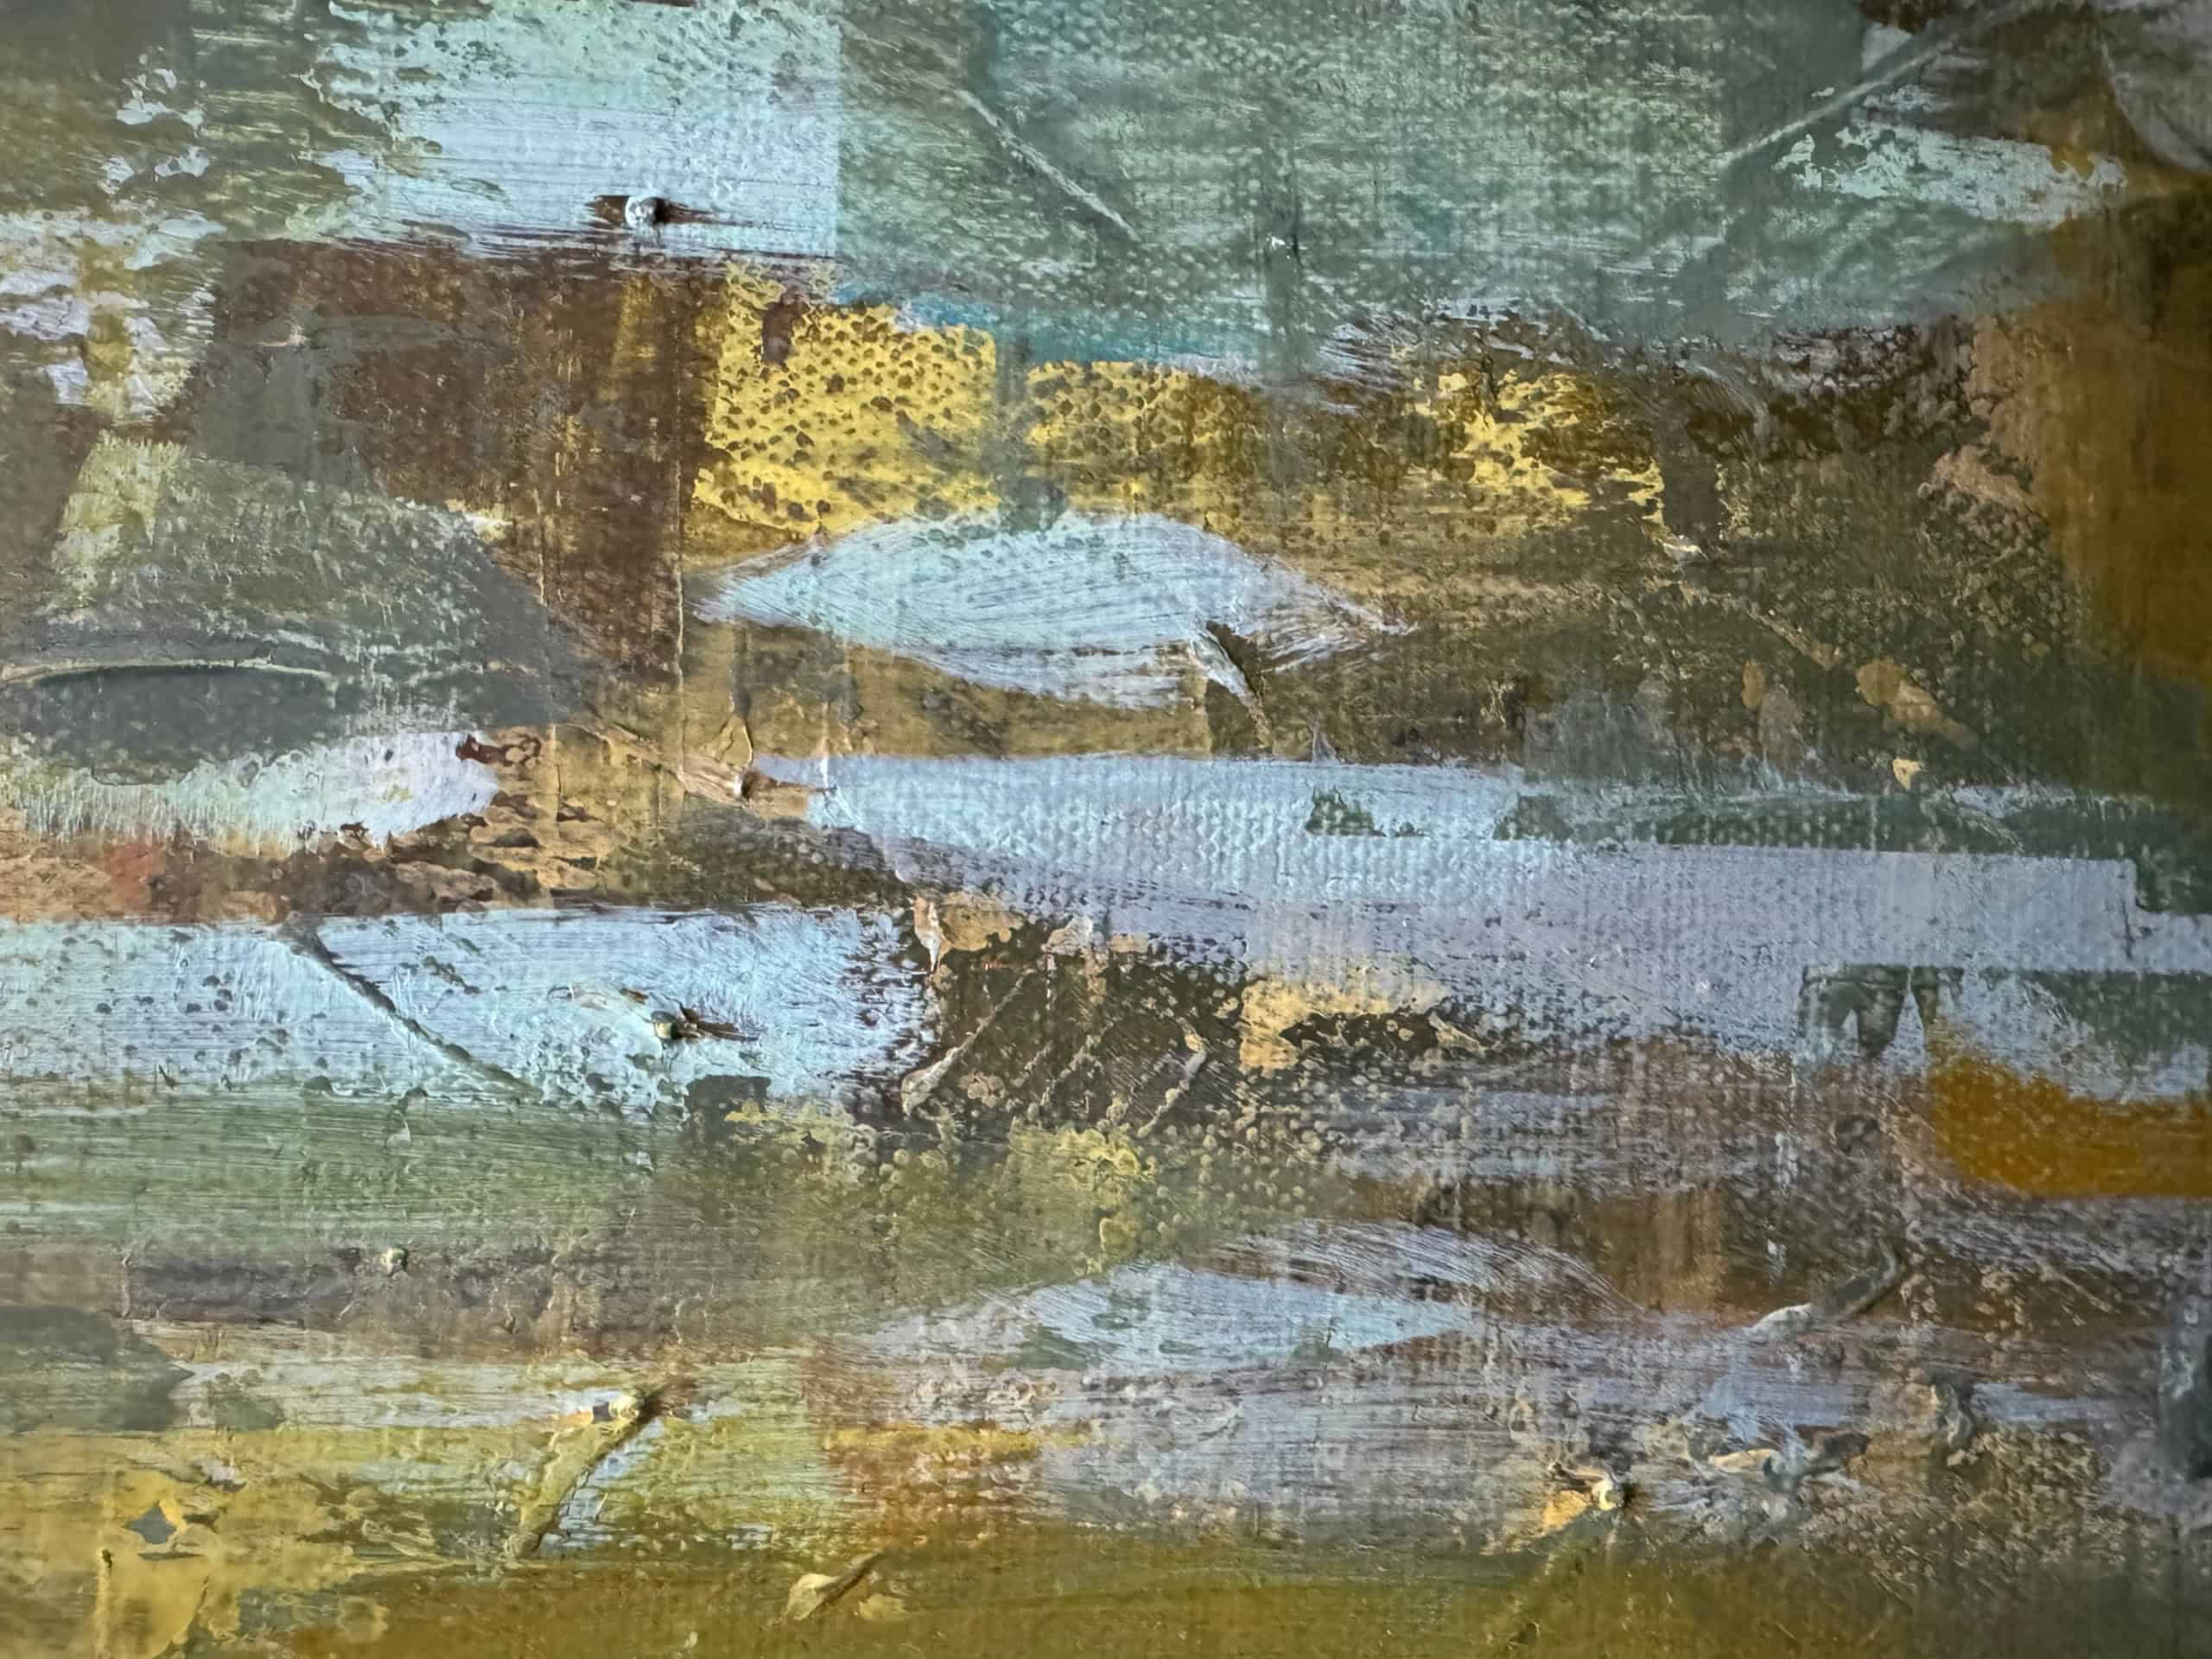
Also unlike watercolors, acrylic paint allows you to paint over areas in your work you want to cover, giving you the freedom to experiment and create those wonderful textures painting techniques which draw people in to really look and study the painting. I think this makes it the perfect choice for exploring textures and layers in your landscapes.
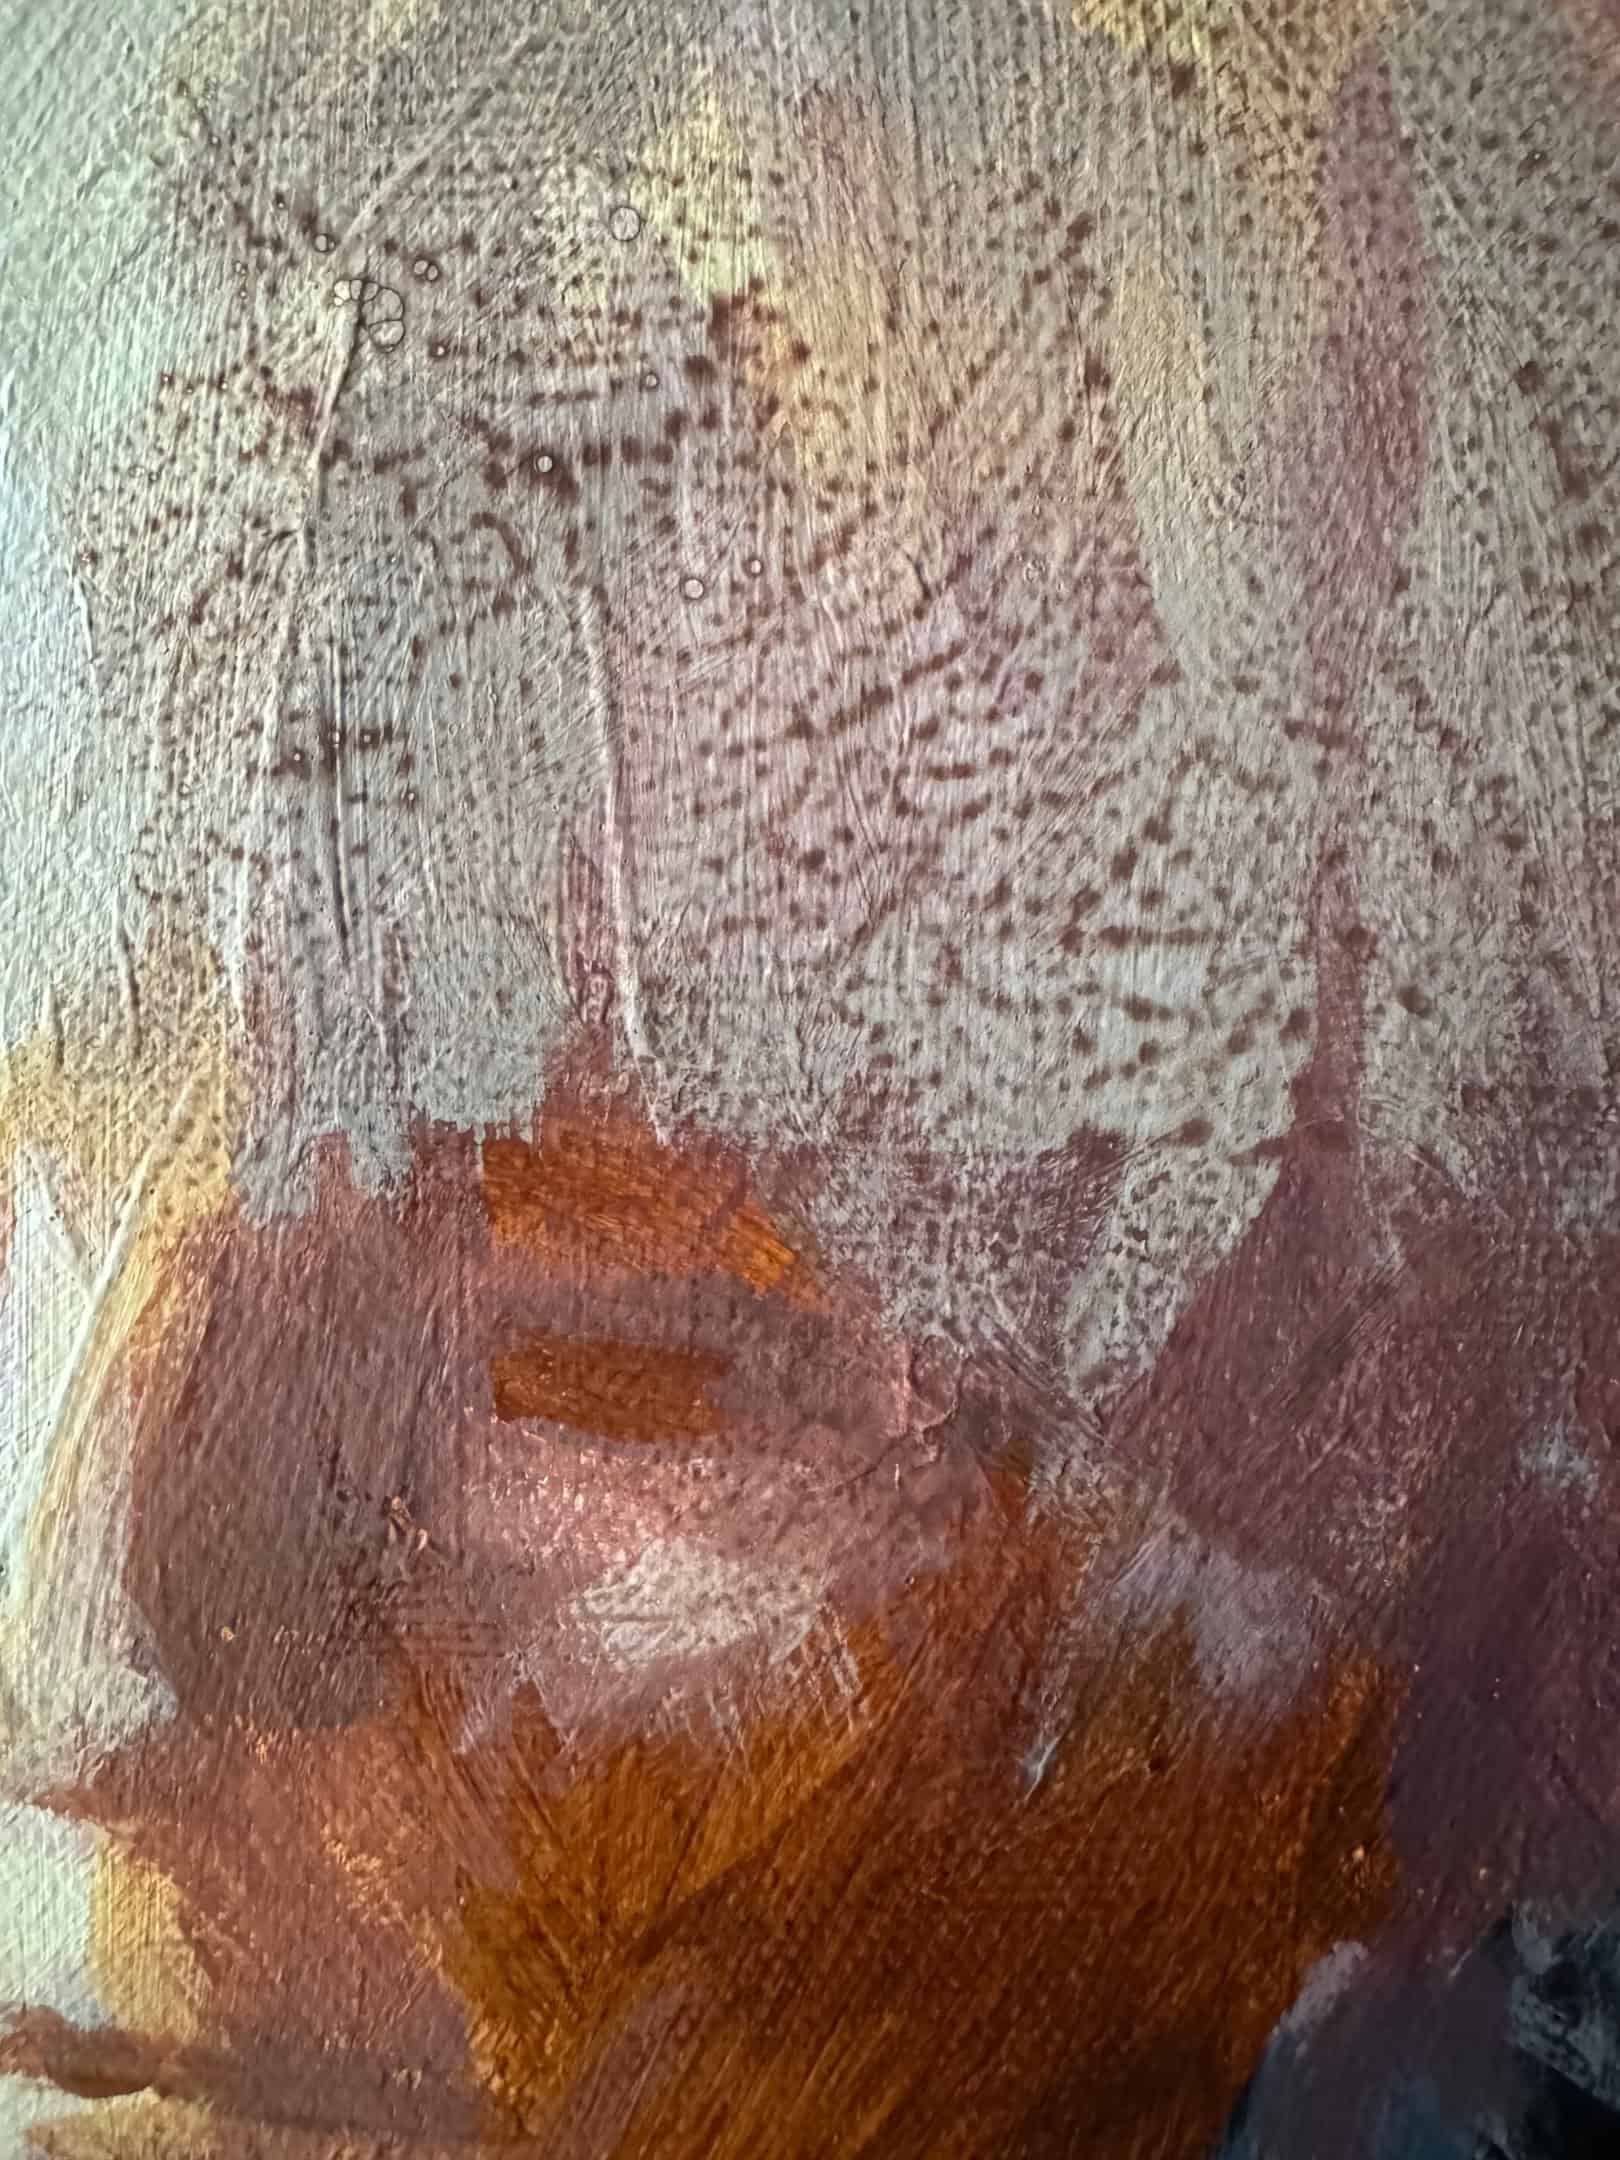
Techniques for Adding Layers and Painting Texture in Acrylic Painting
1. The Underpainting
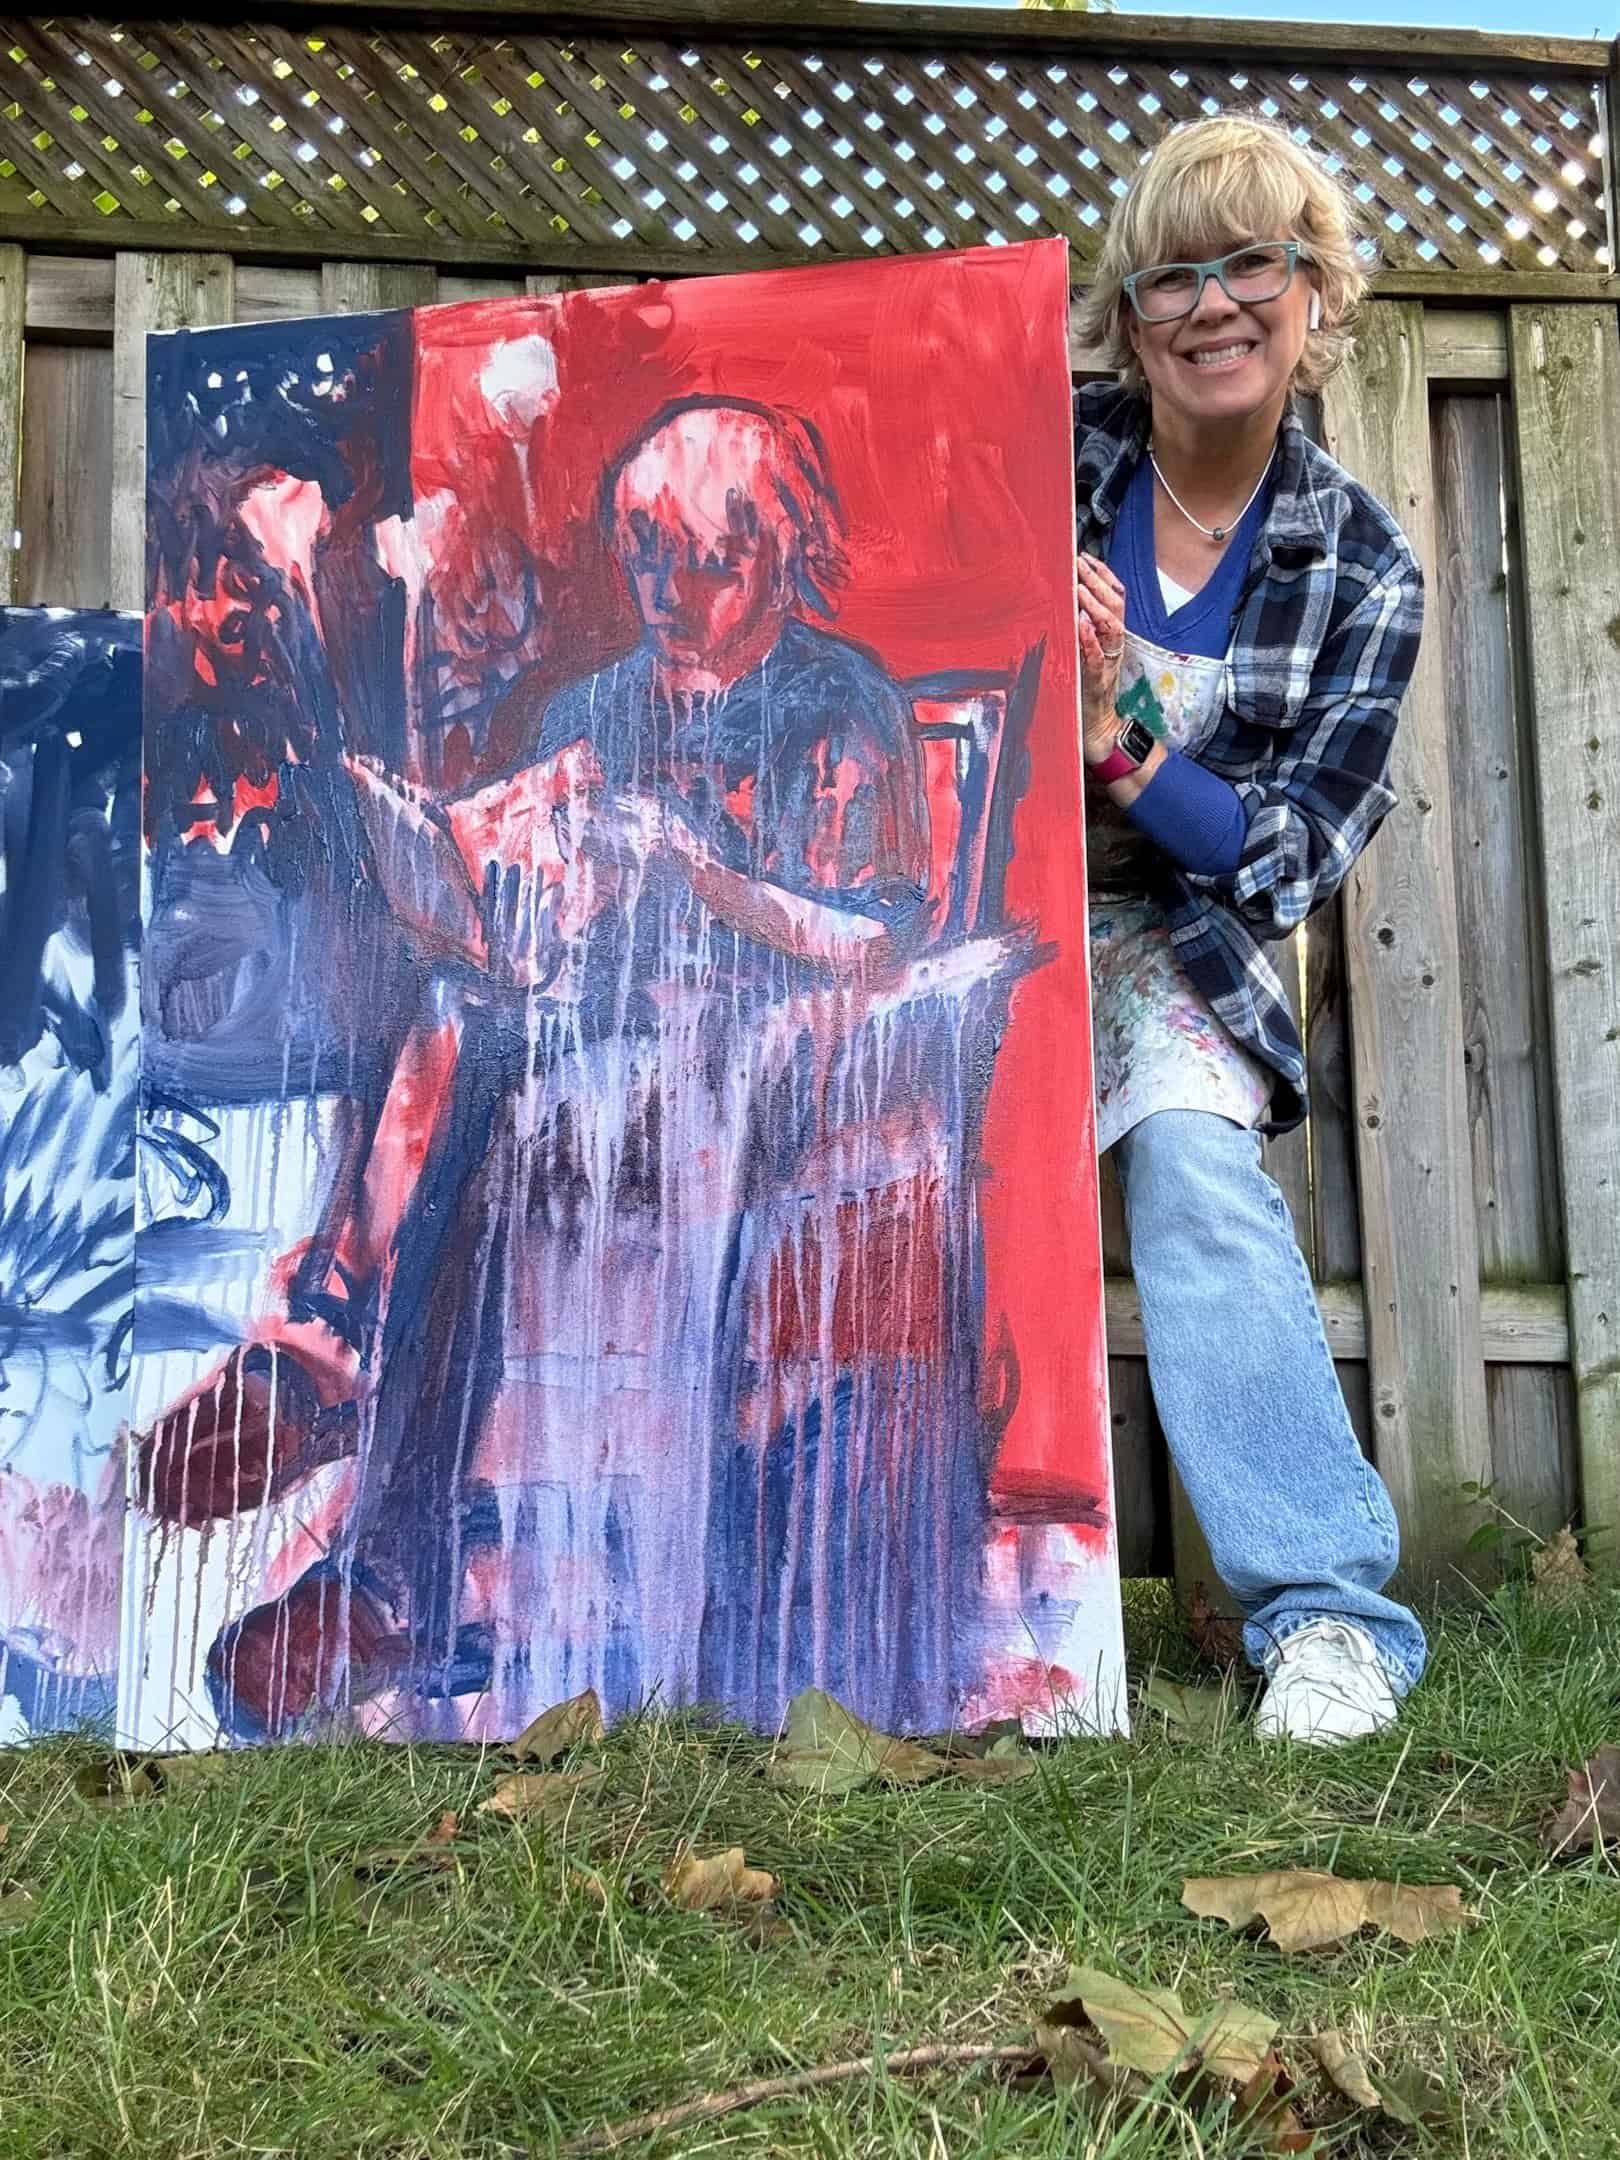
In acrylic painting, starting with an underpainting is a fantastic way to plan out your composition and nail your value structure. It will also allow you to create depth and energy in your landscape.
Choosing a contrasting colour to your under painting palette—such as a warm burnt sienna under cool blues and greens—gives your landscape a glowing vibration.
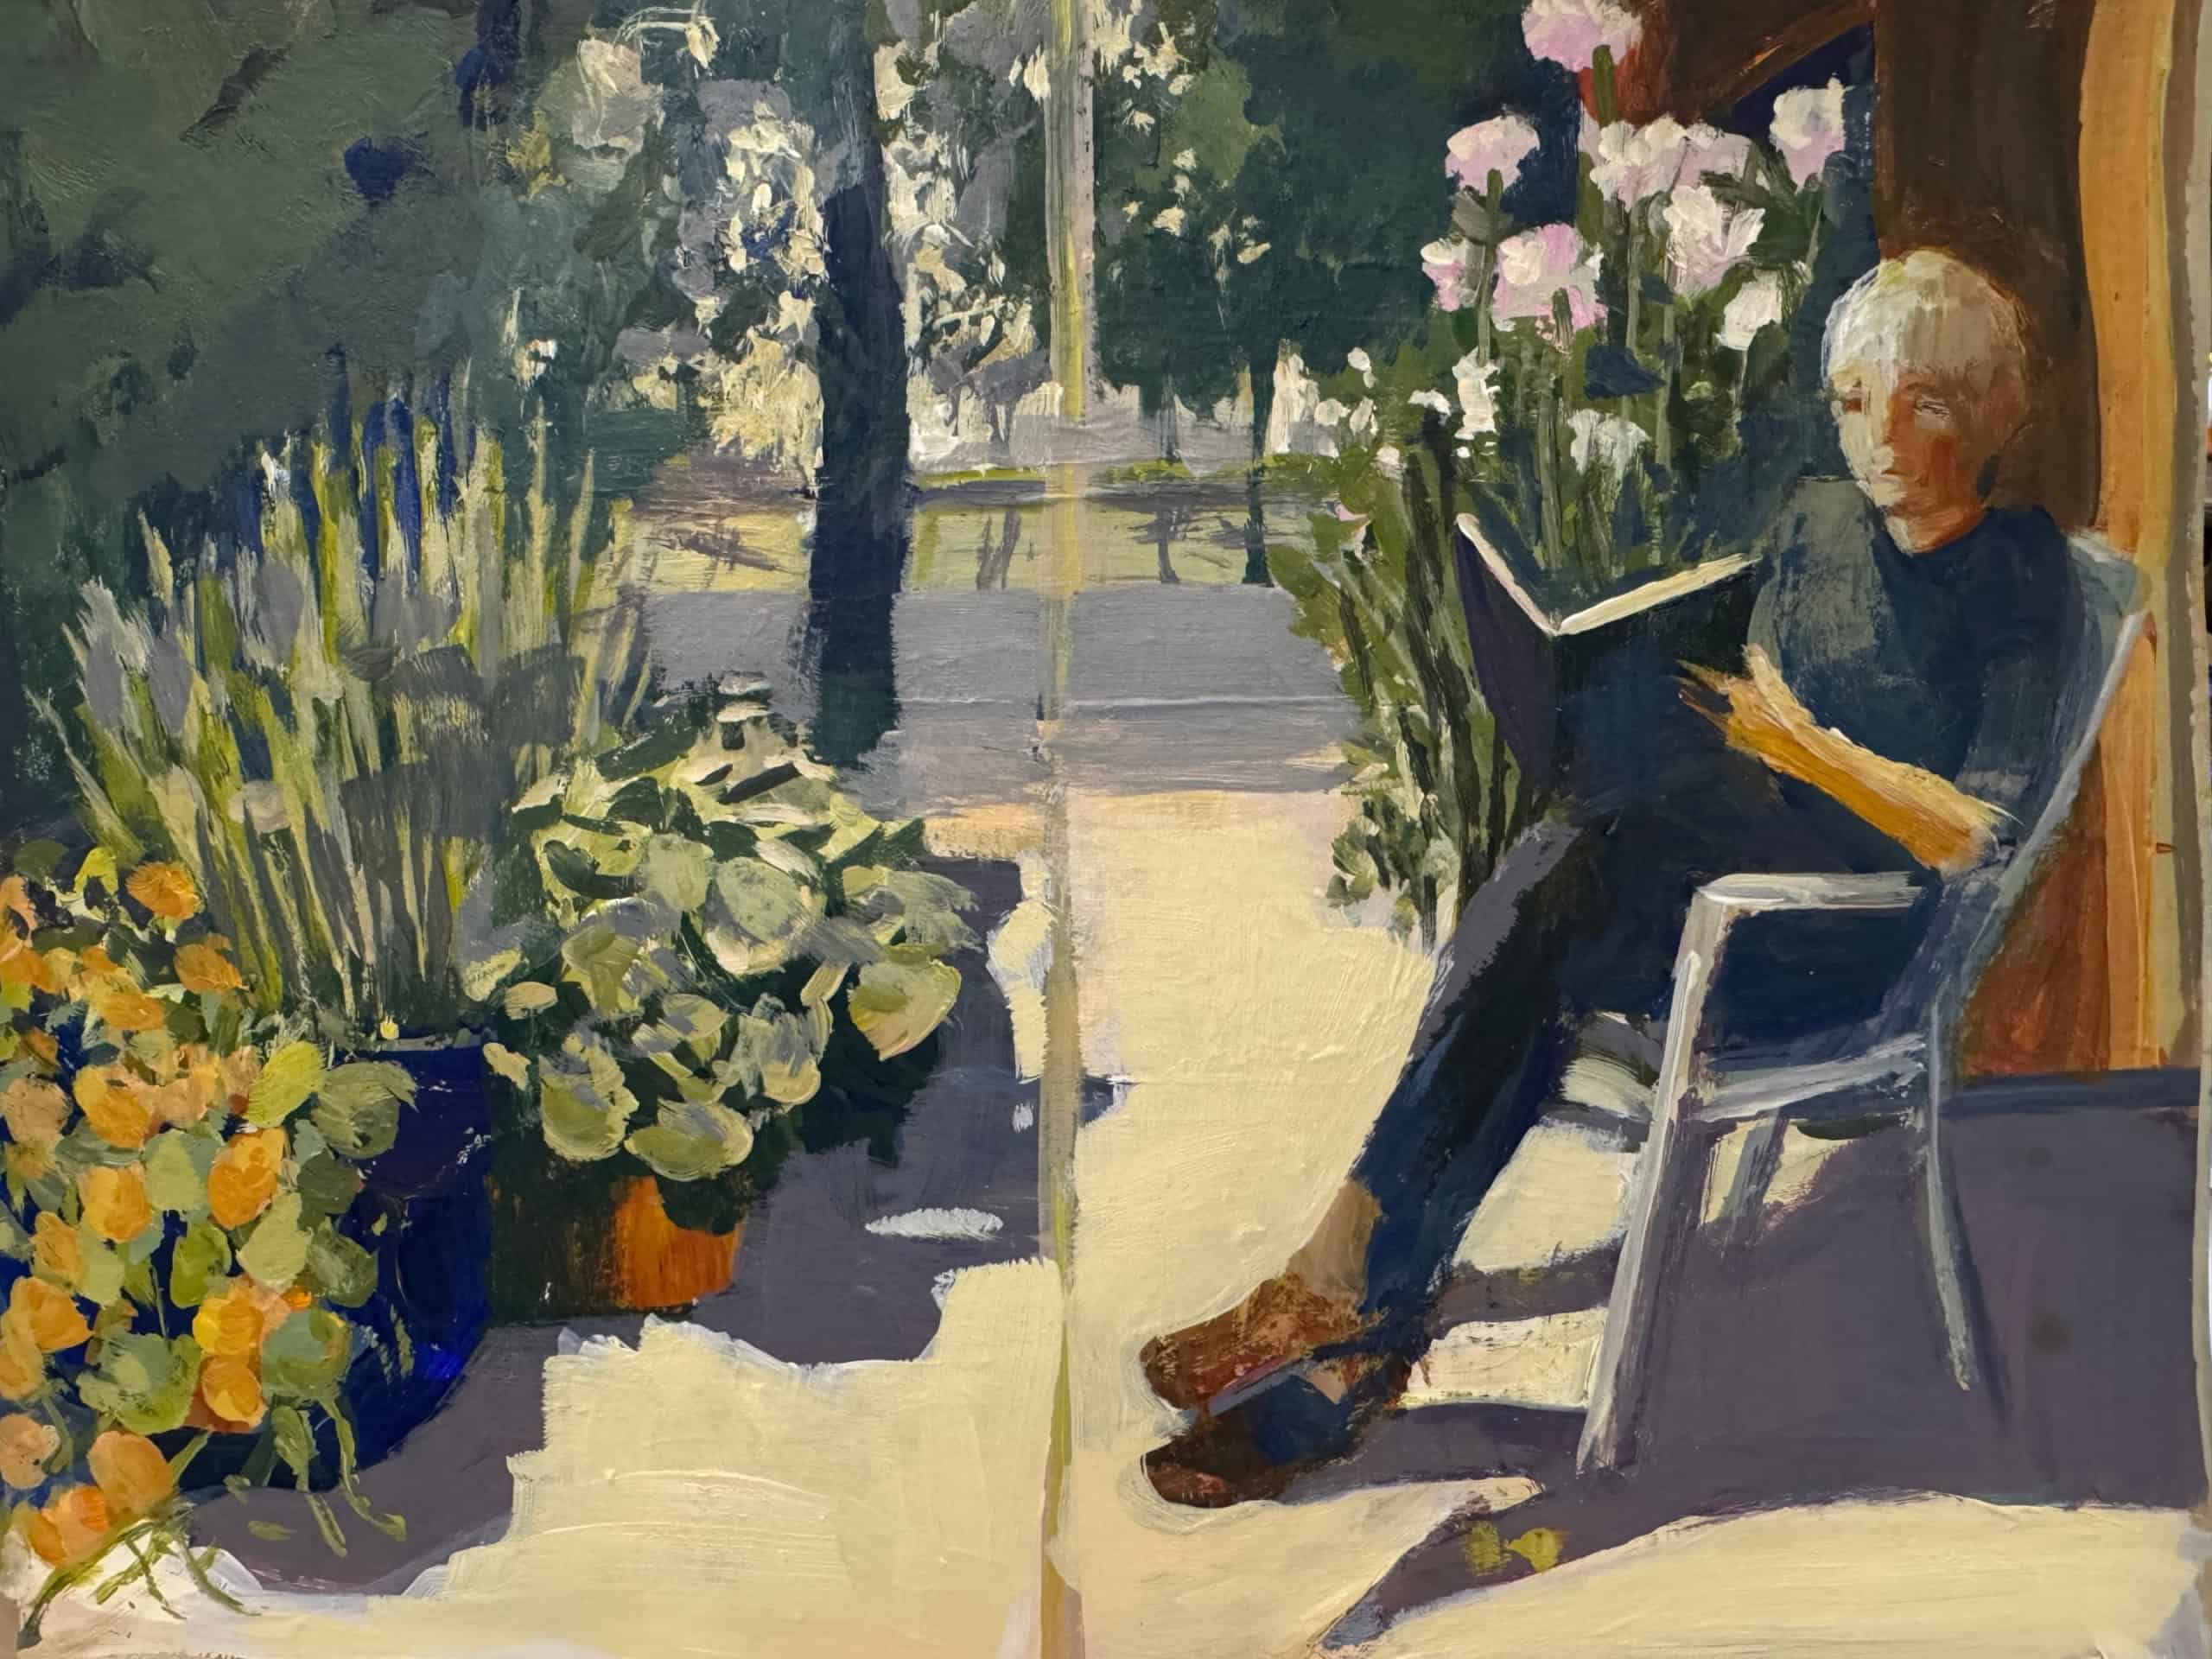
Below is an example photo of me, and an example of my very wild under painting.
2. Glazing
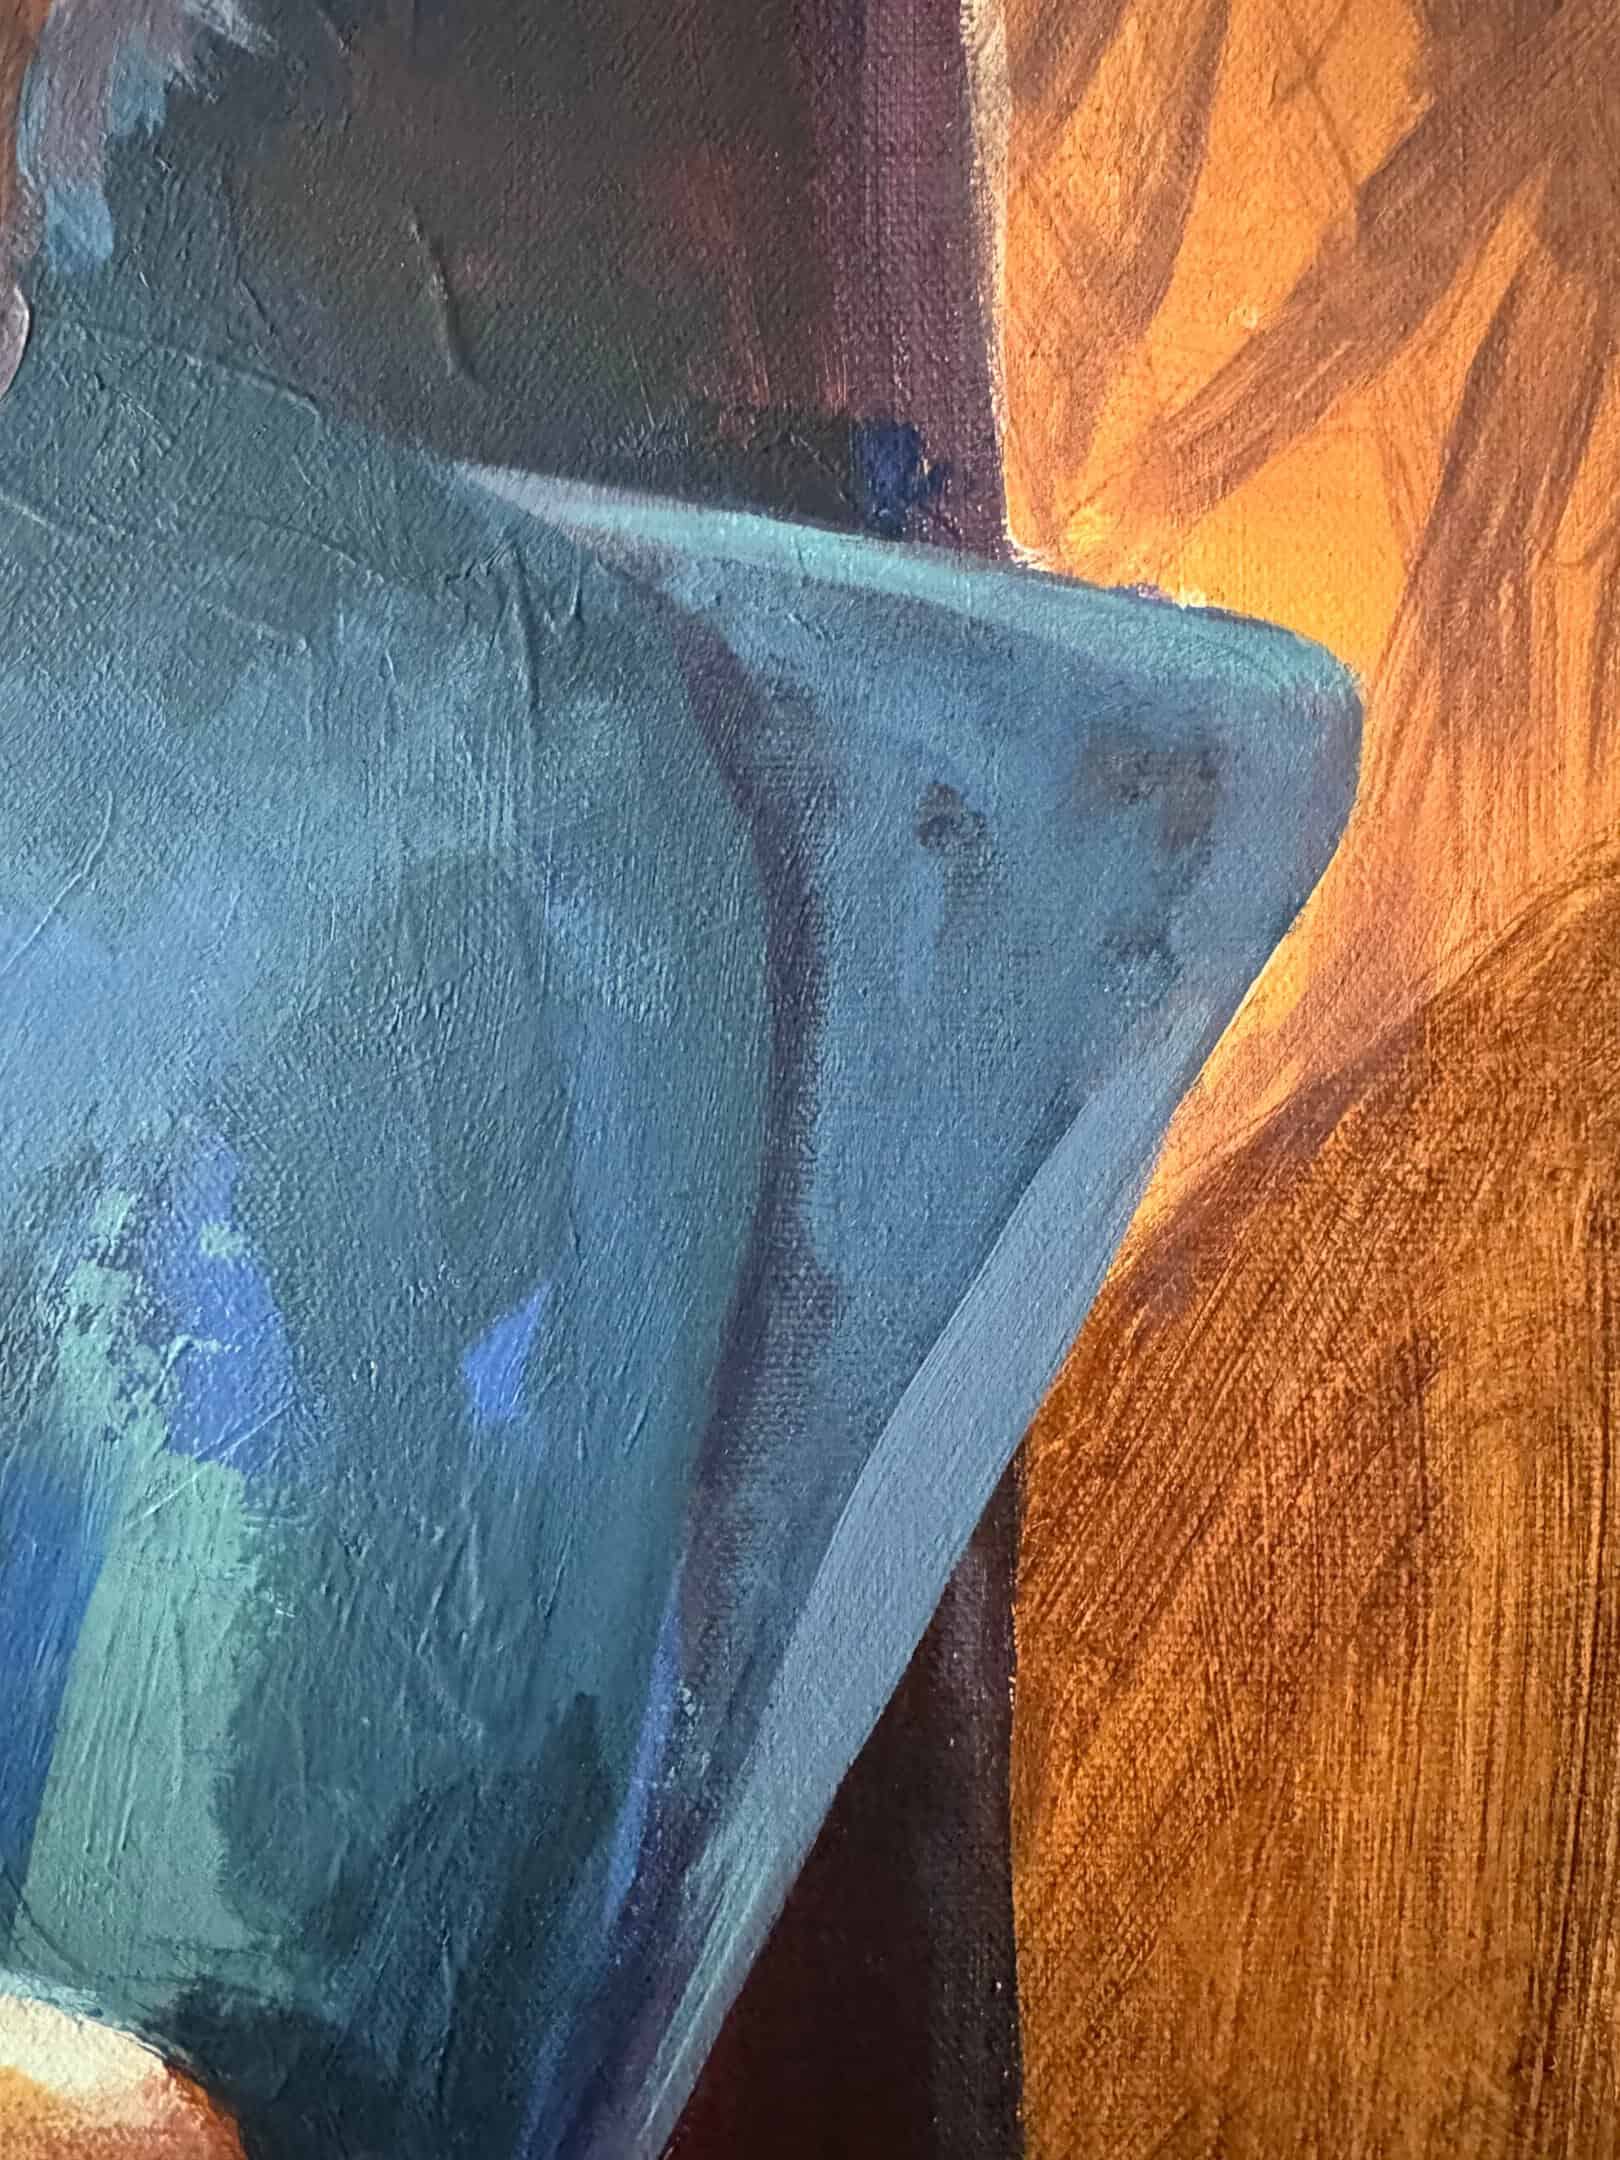
Glazing is one of my favourite techniques. If you miix acrylic paint with a glazing medium, you can create transparencies in your layers, this can alter the mood of your painting creating atmosphere or a way to adjust values.
3. Dry Brushing
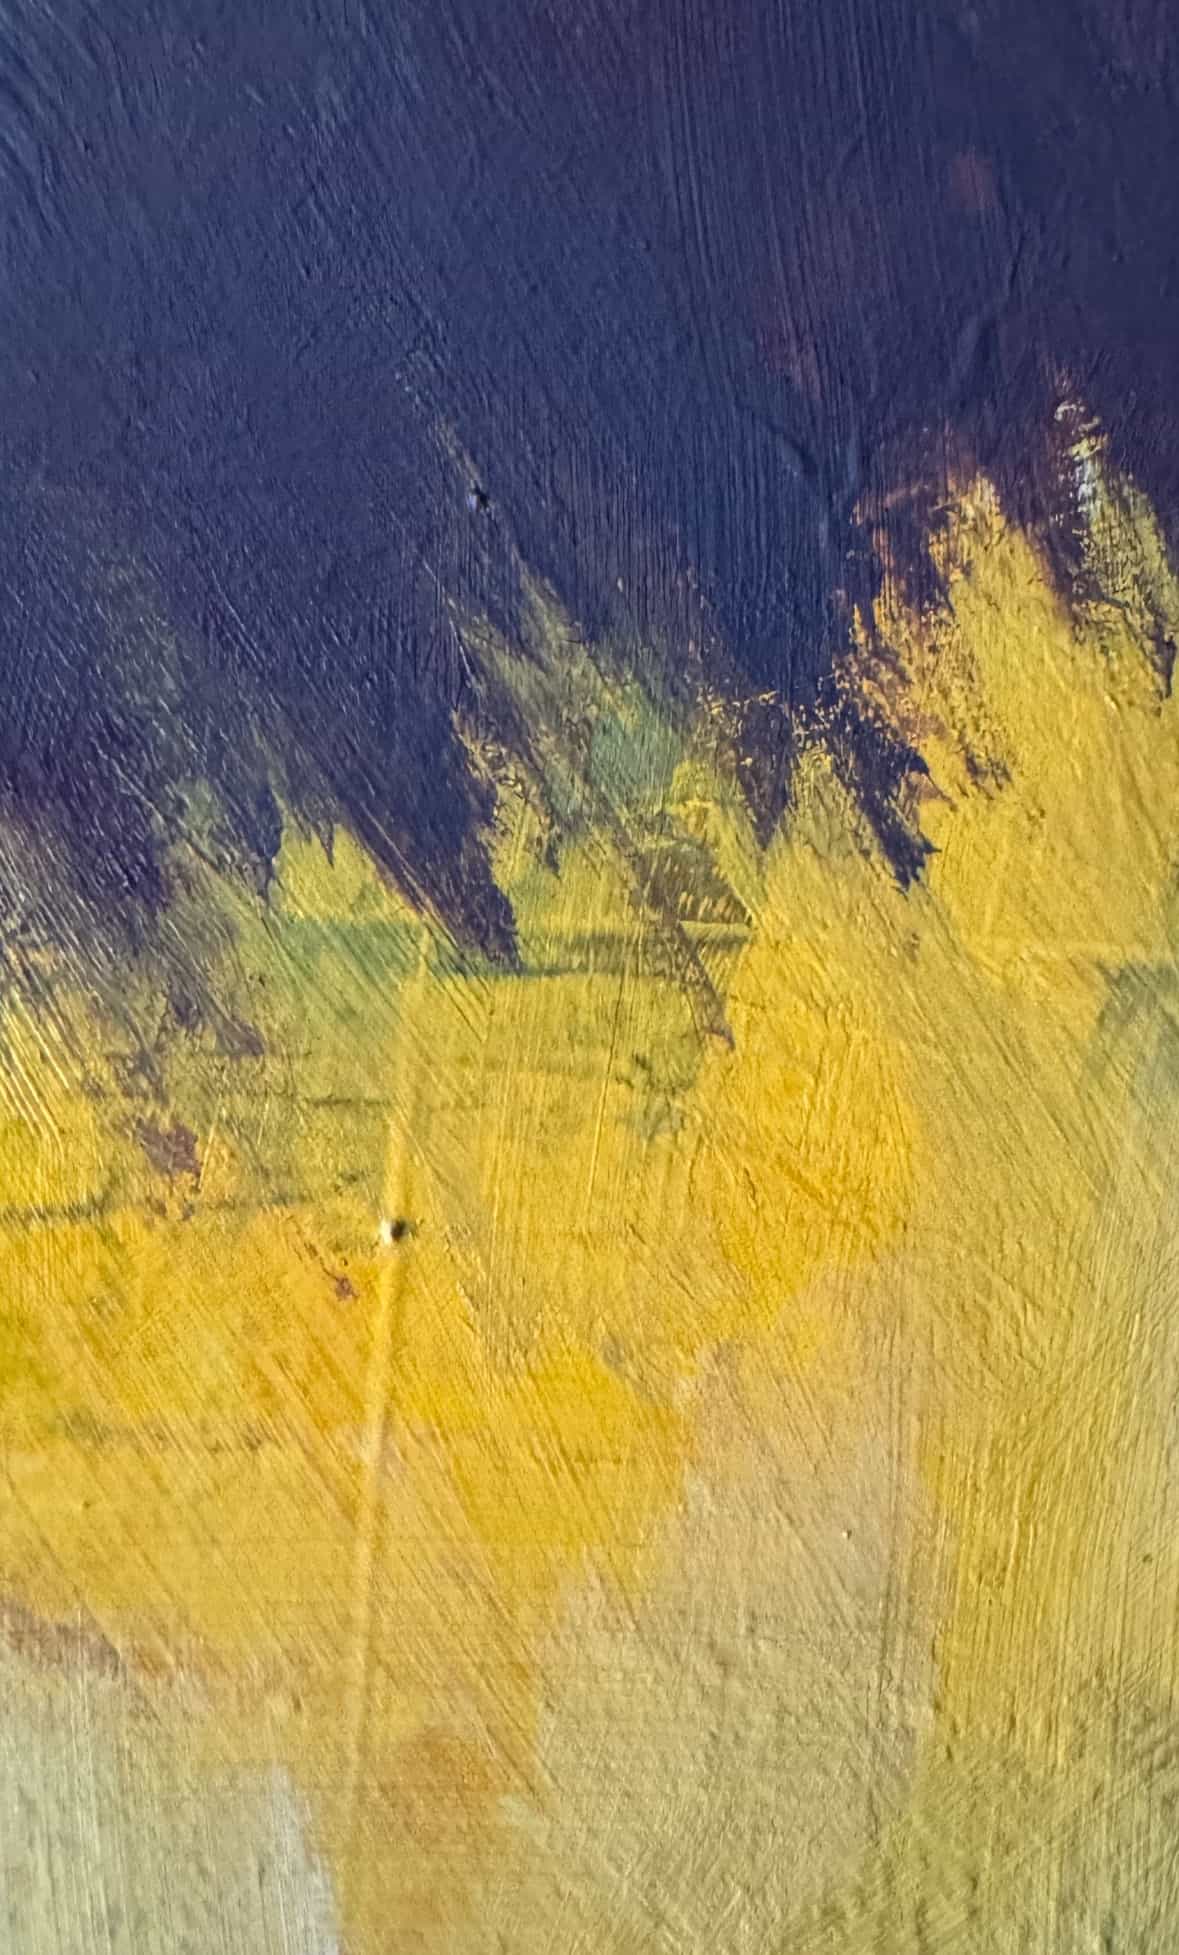
When you want to add subtle texture try dry brushing with a large brush, this is very effective. Find a dry brush with just a small amount of acrylic paint to lightly skim the surface of your canvas. This technique works beautifully with a small brush too for smaller details like rough tree bark, wispy grass, or rocky terrain.
4. Palette Knife
A palette knife is a must-have for impasto texture . The palette knife technique creates interesting texture painting in a layer and can bring your landscape to life. If you don’t have a palette knife you can use a piece of cardboard, or cut up an old yogurt lid to act as a palette knife.
6. Sponging or using a rag.
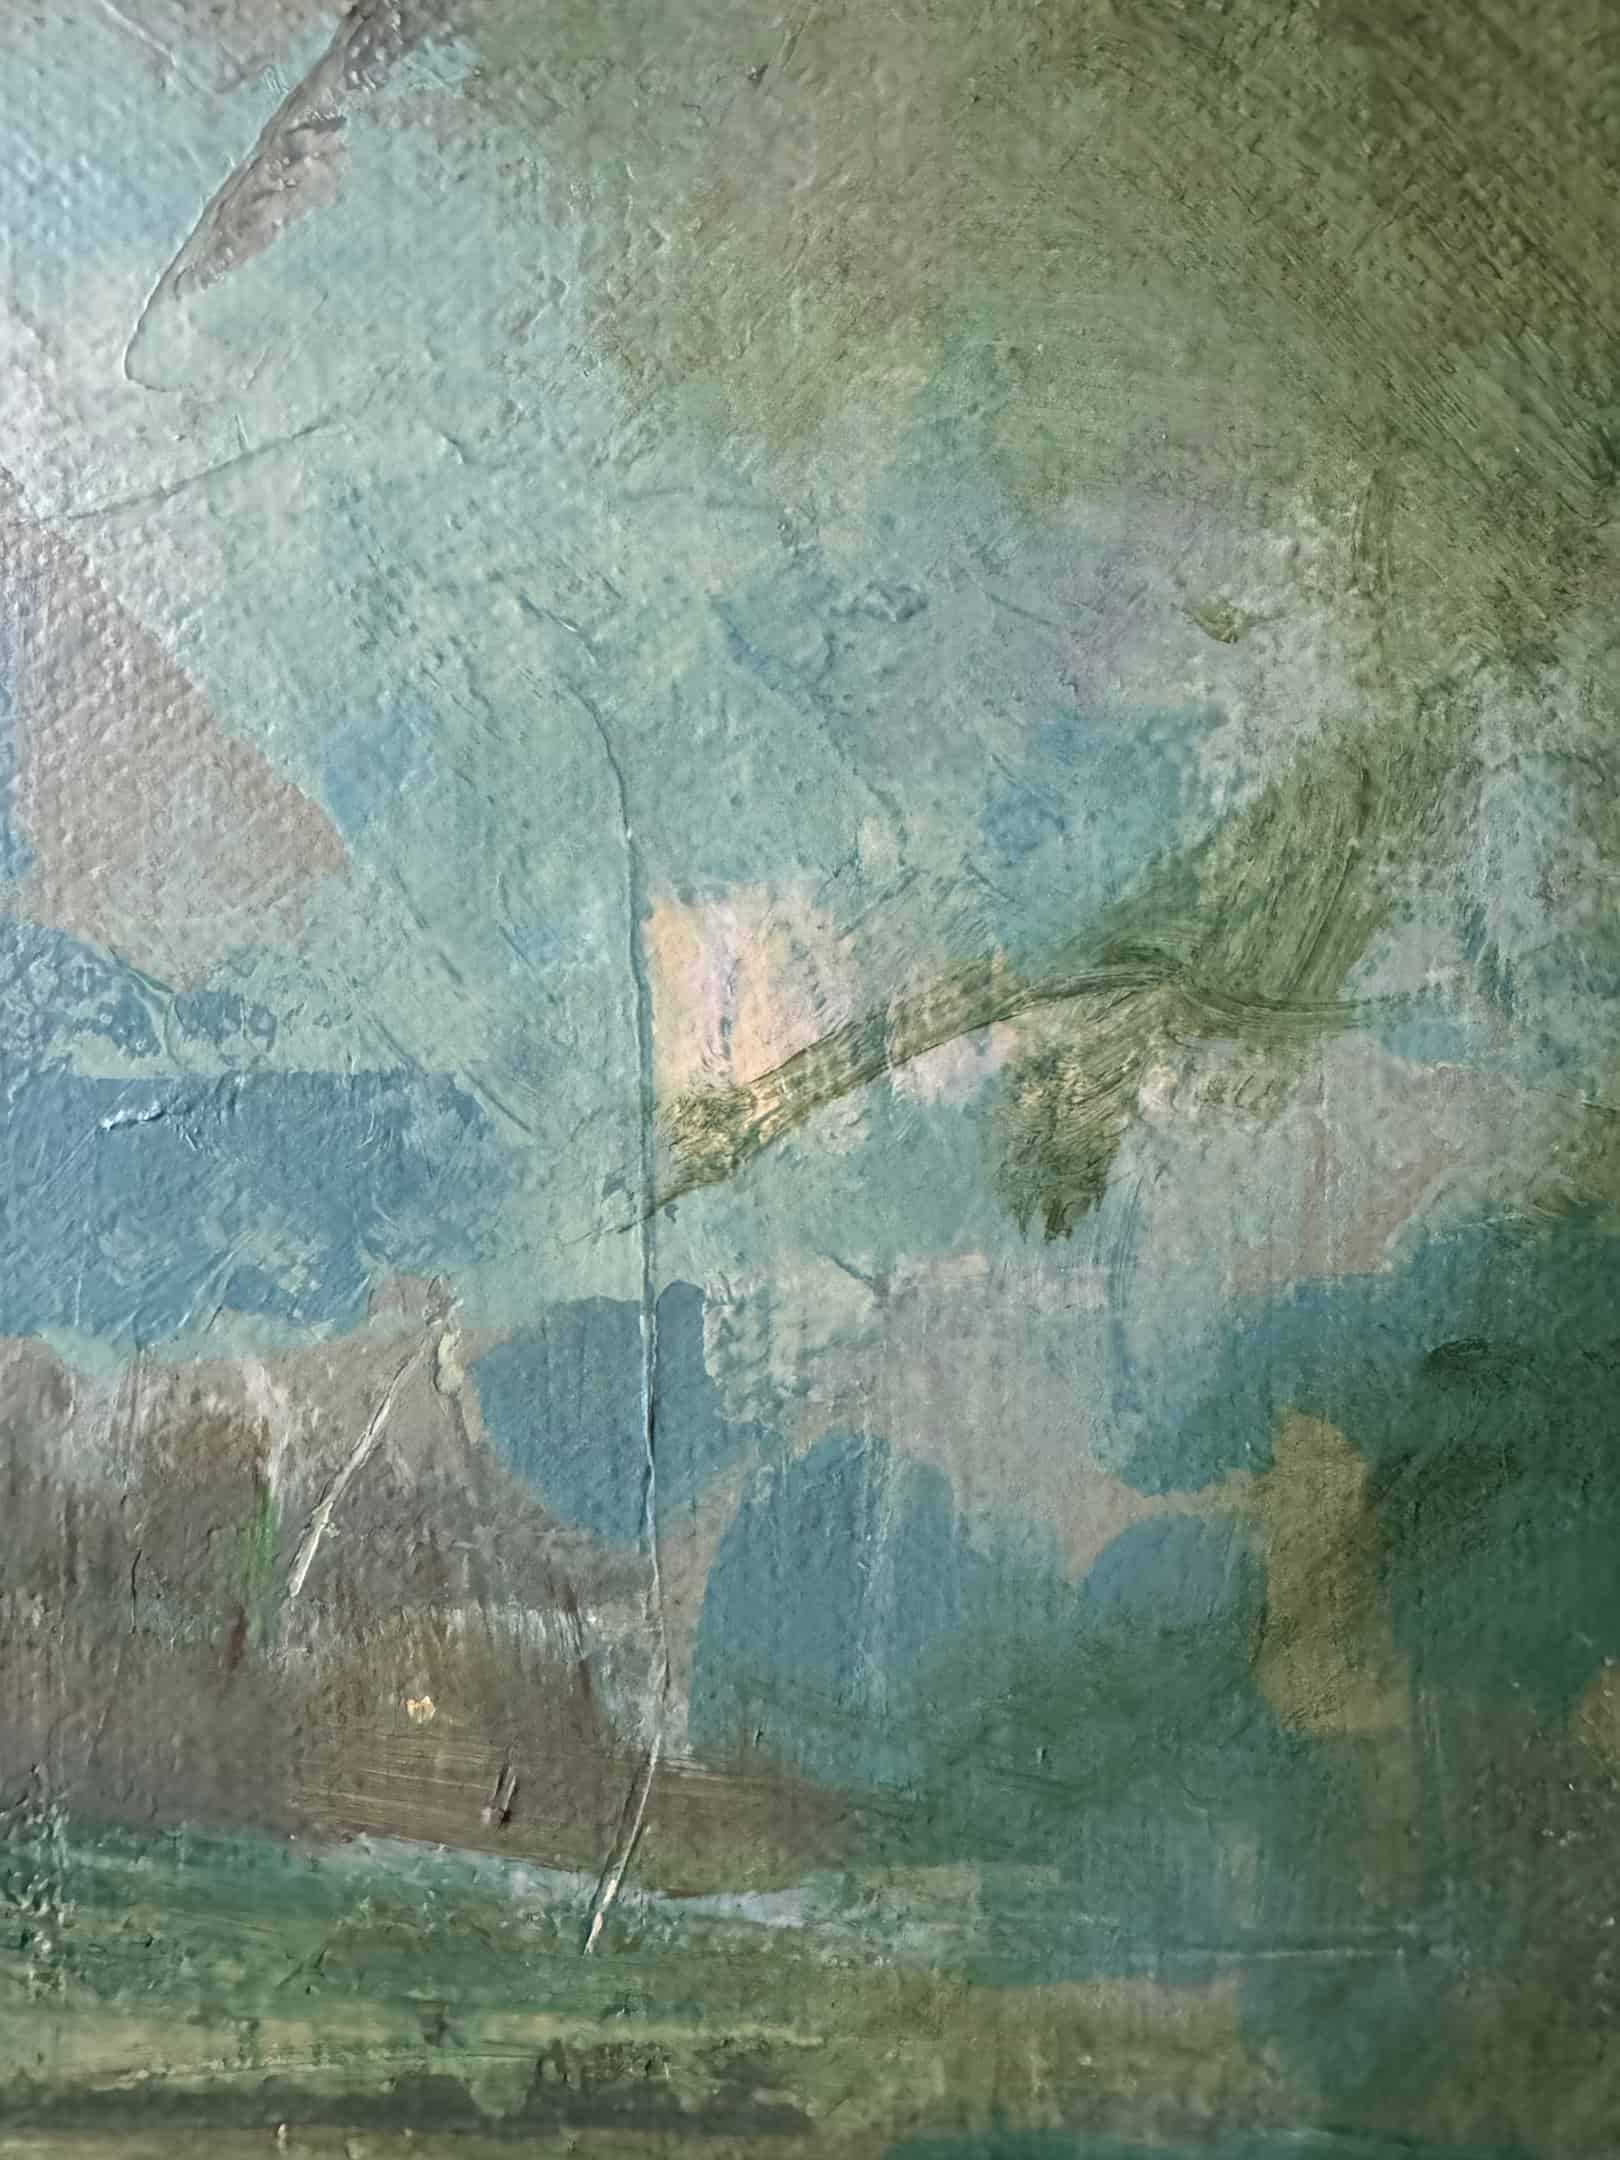
In painting I used a rag to soften the water and then added texture over the top.A sponge or a rag is an underrated tool for adding a texture. Use it to dab acrylic paint onto your canvas, creating patterns that resemble foliage, clouds, or textured earth. It’s quick, effective, and gives your work a natural feel. it also helps you stay away from over working your painting.
7. Mixing Gel Mediums for Dimensional Layers
If you’re looking to create thick, sculptural layers try mixing your paint with gel medium. This technique allows you to build up textures while keeping the brightness of your acrylic colours.
8. Blending for Smooth Gradients
Blending is an essential technique in especially for skies and water. This is where you have to work quickly with soft brushes to create smooth transitions while the paint is still wet.
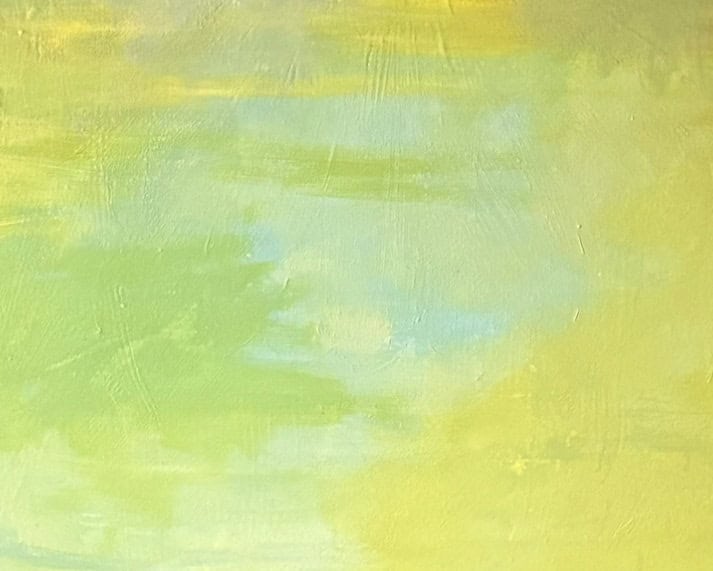
Unlike Oil Paint , Acrylic paint is fast drying time makes blending a bit tricky, but practice will help you master the effect. There are acrylic mediums you can add to extend drying times for acrylics, but these also alter the overall weight and consistency, so I prefer to just work fast.
9. Scraping for Unique Effects
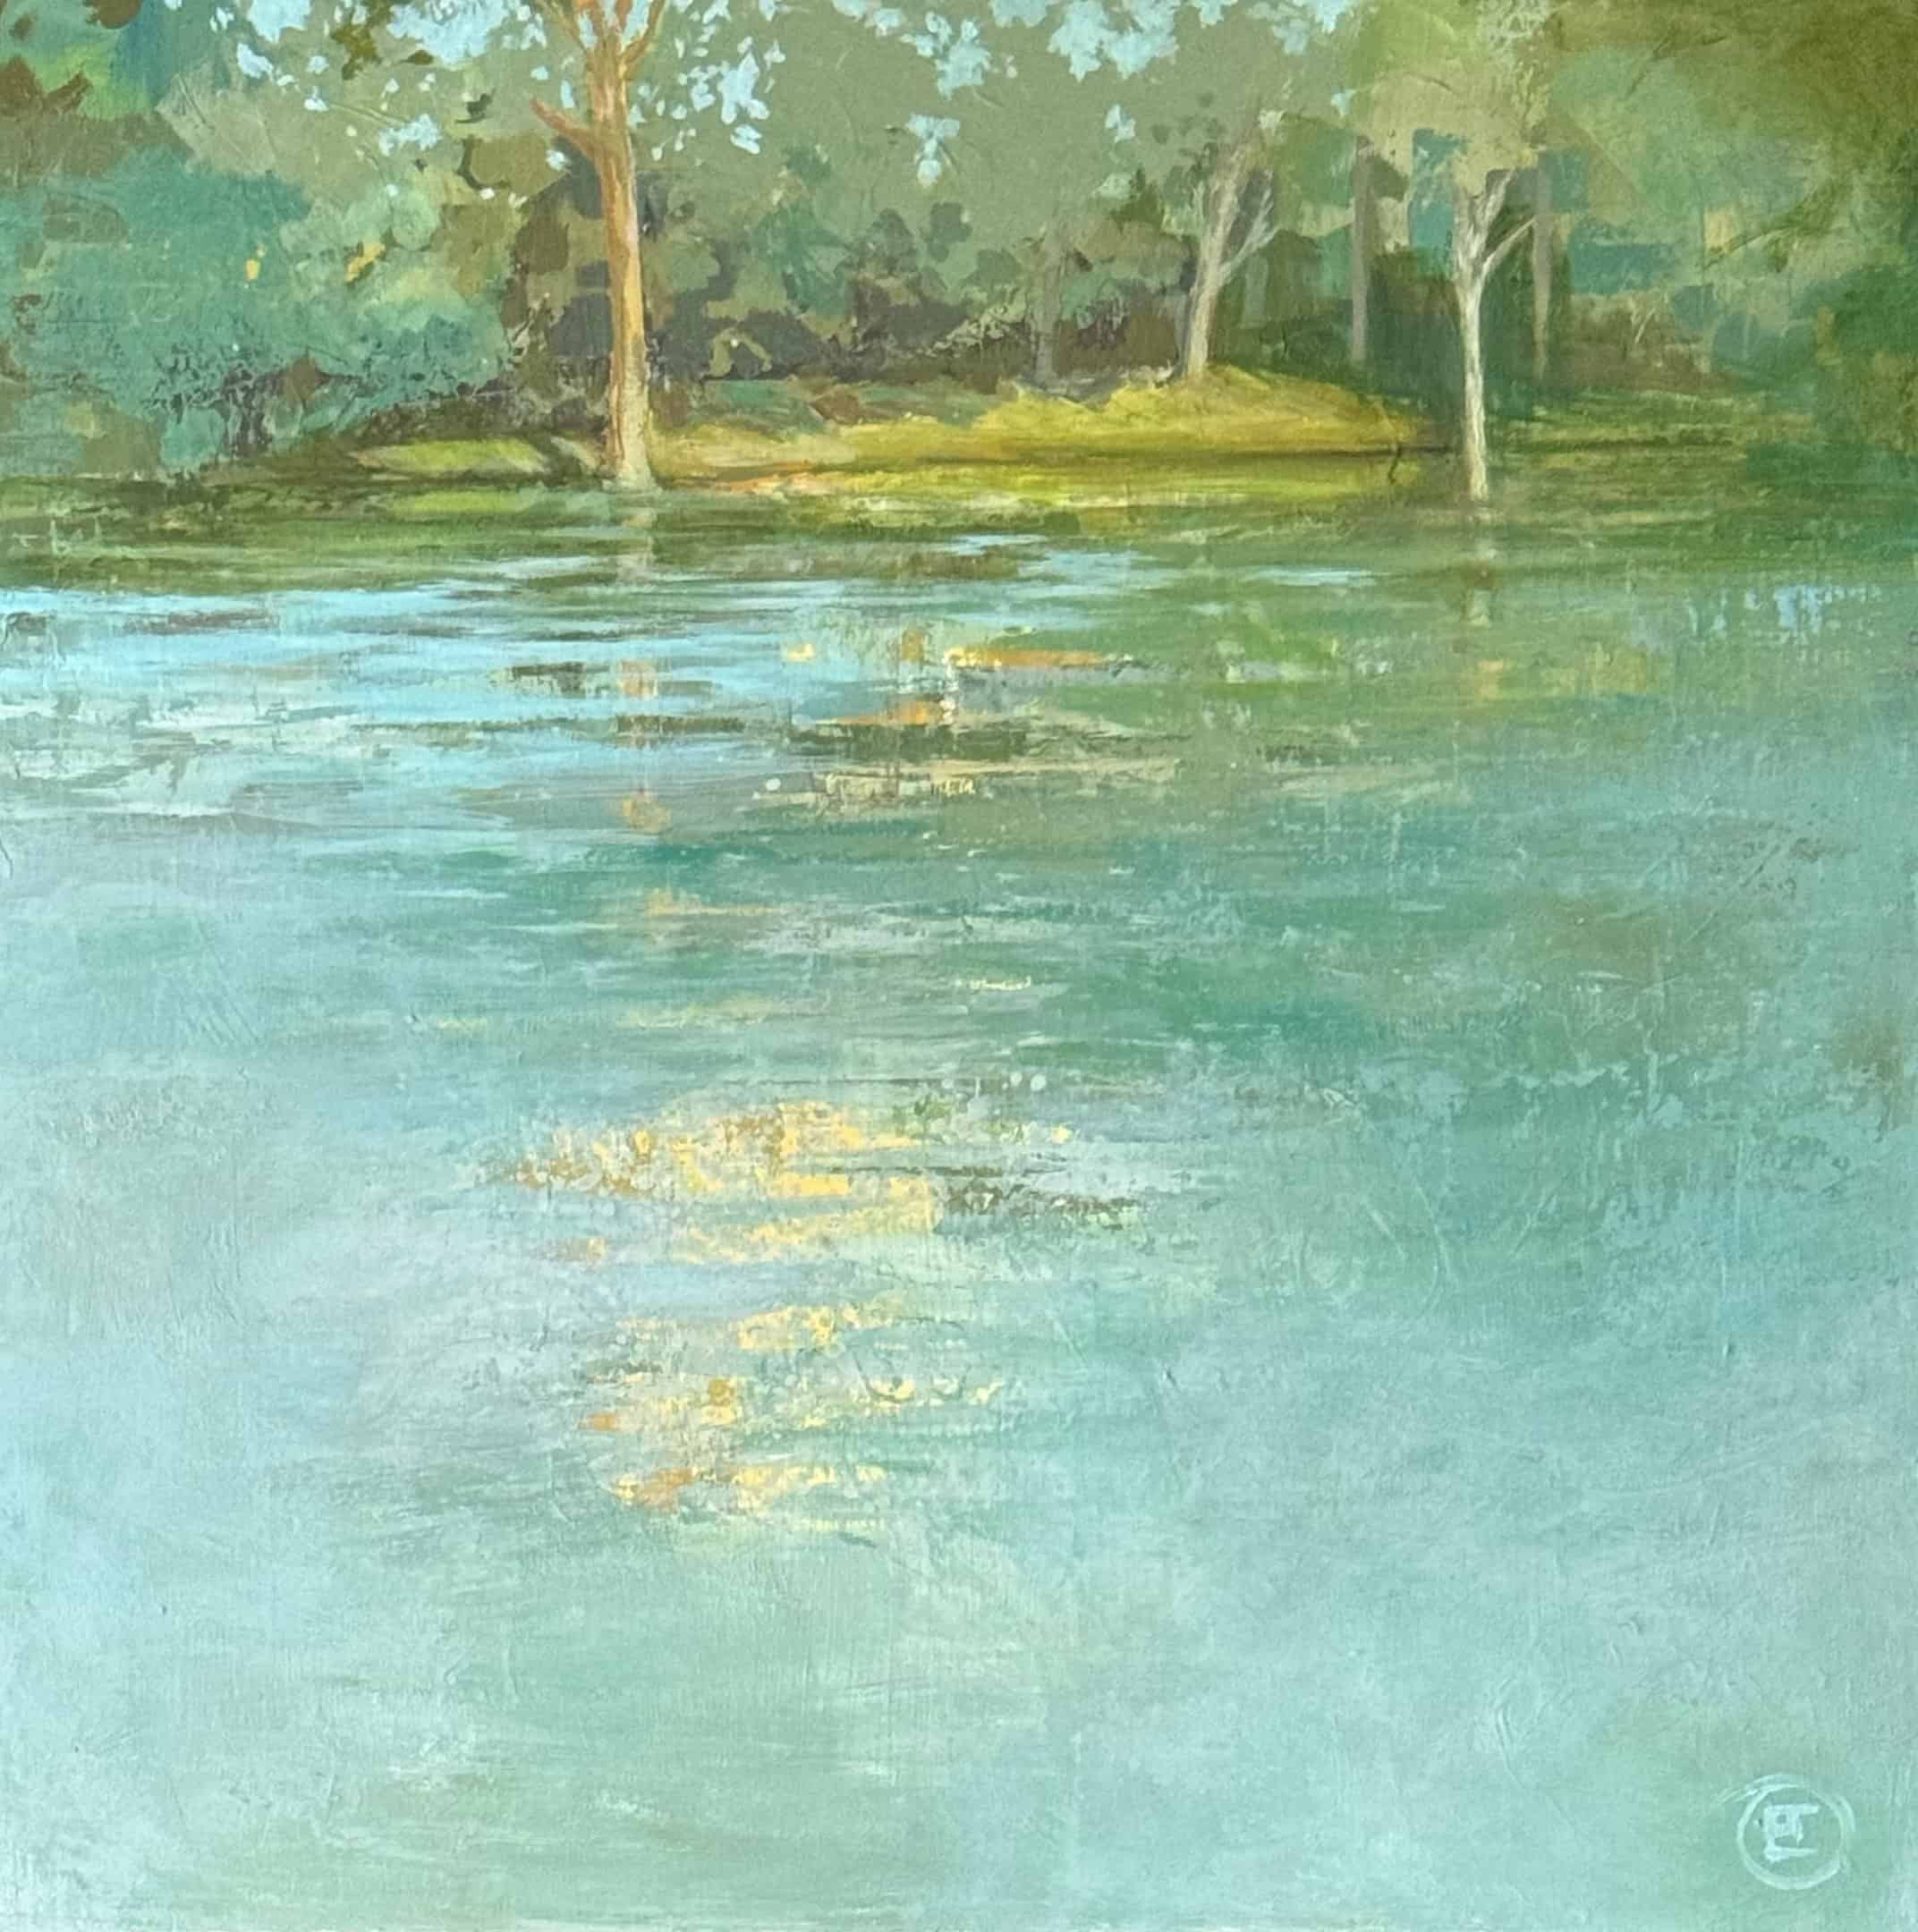
This is a technique I use often. You can use tools like credit cards, combs, or plastic scrapers and even heavy card stock can create stunning textures. Scraping through layers of wet acrylic paint reveals the colour below, mimicking textures like water ripples.
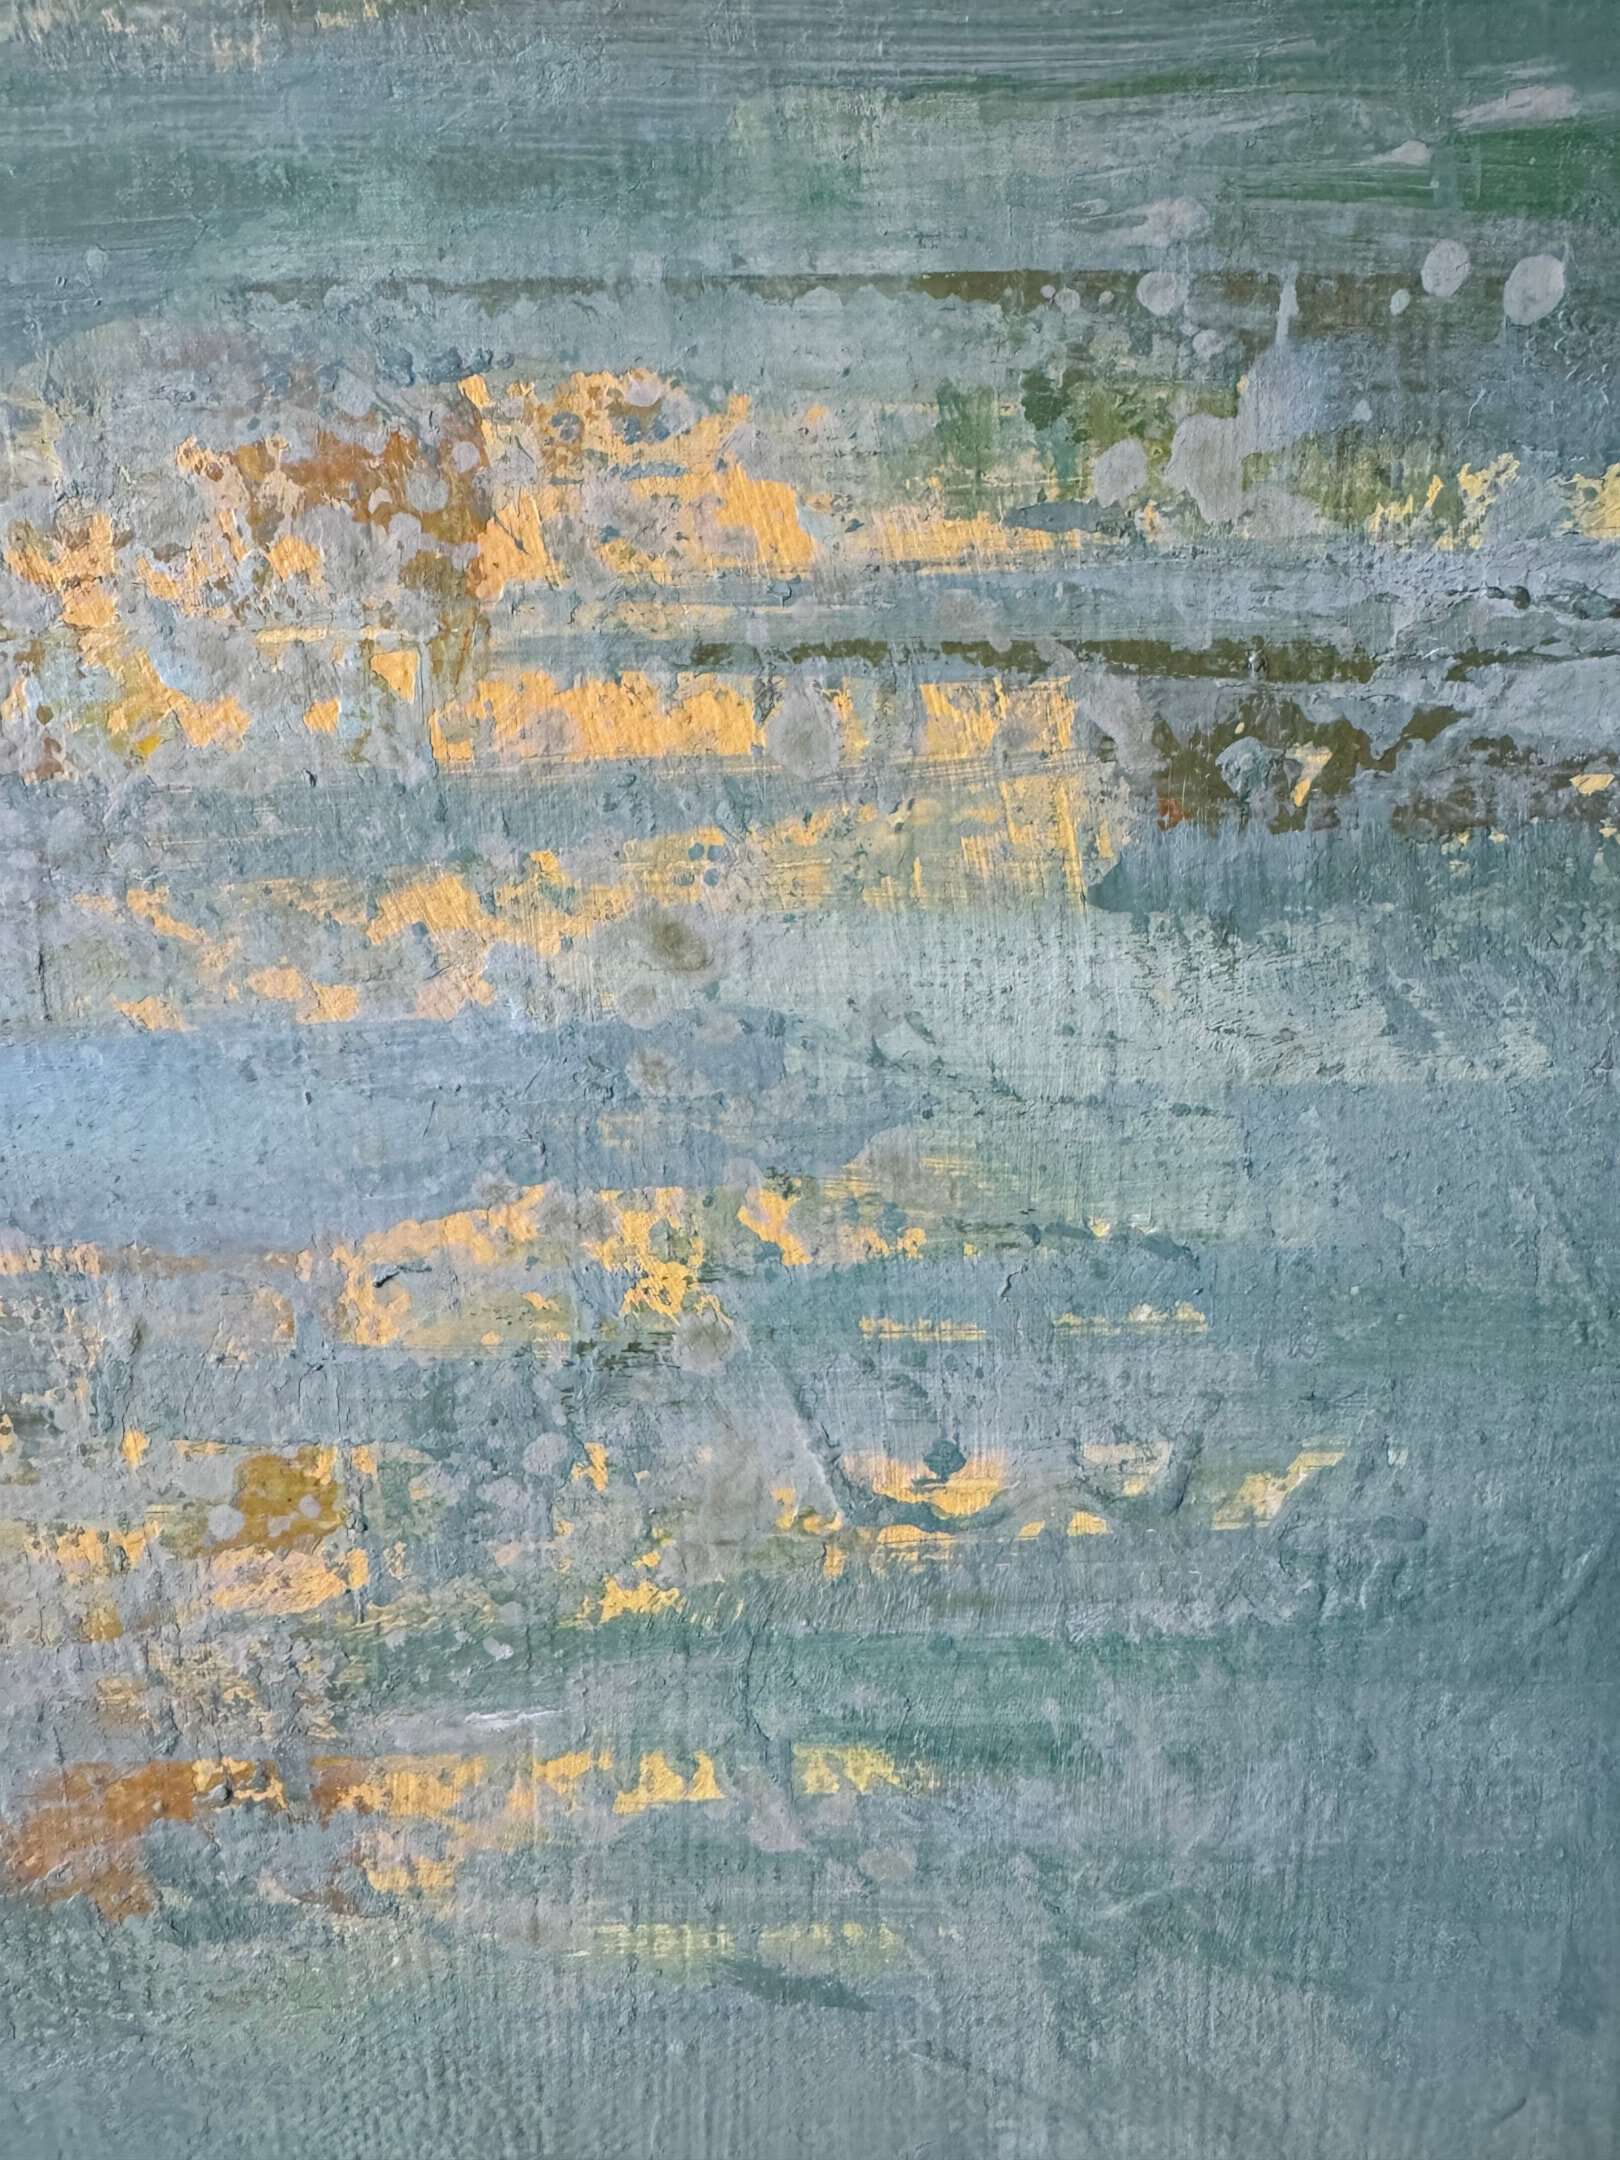
10. Adding Mixed Media
If you’re interested in adding texture in your paint , you can add depth by adding mixed media elements. You can add sand, paper, or fabric. Some materials are extremely cost effective .
These materials bring extra substance and create textures and dimension to your landscapes, enhancing the tactile quality of your work. When you add sand you create a rough texture , that’s something you have to ask yourself of you want in your painting.
Below is an example where I added paint and then sprayed water on to the canvas, and then lifted the paint whilst it was still wet.
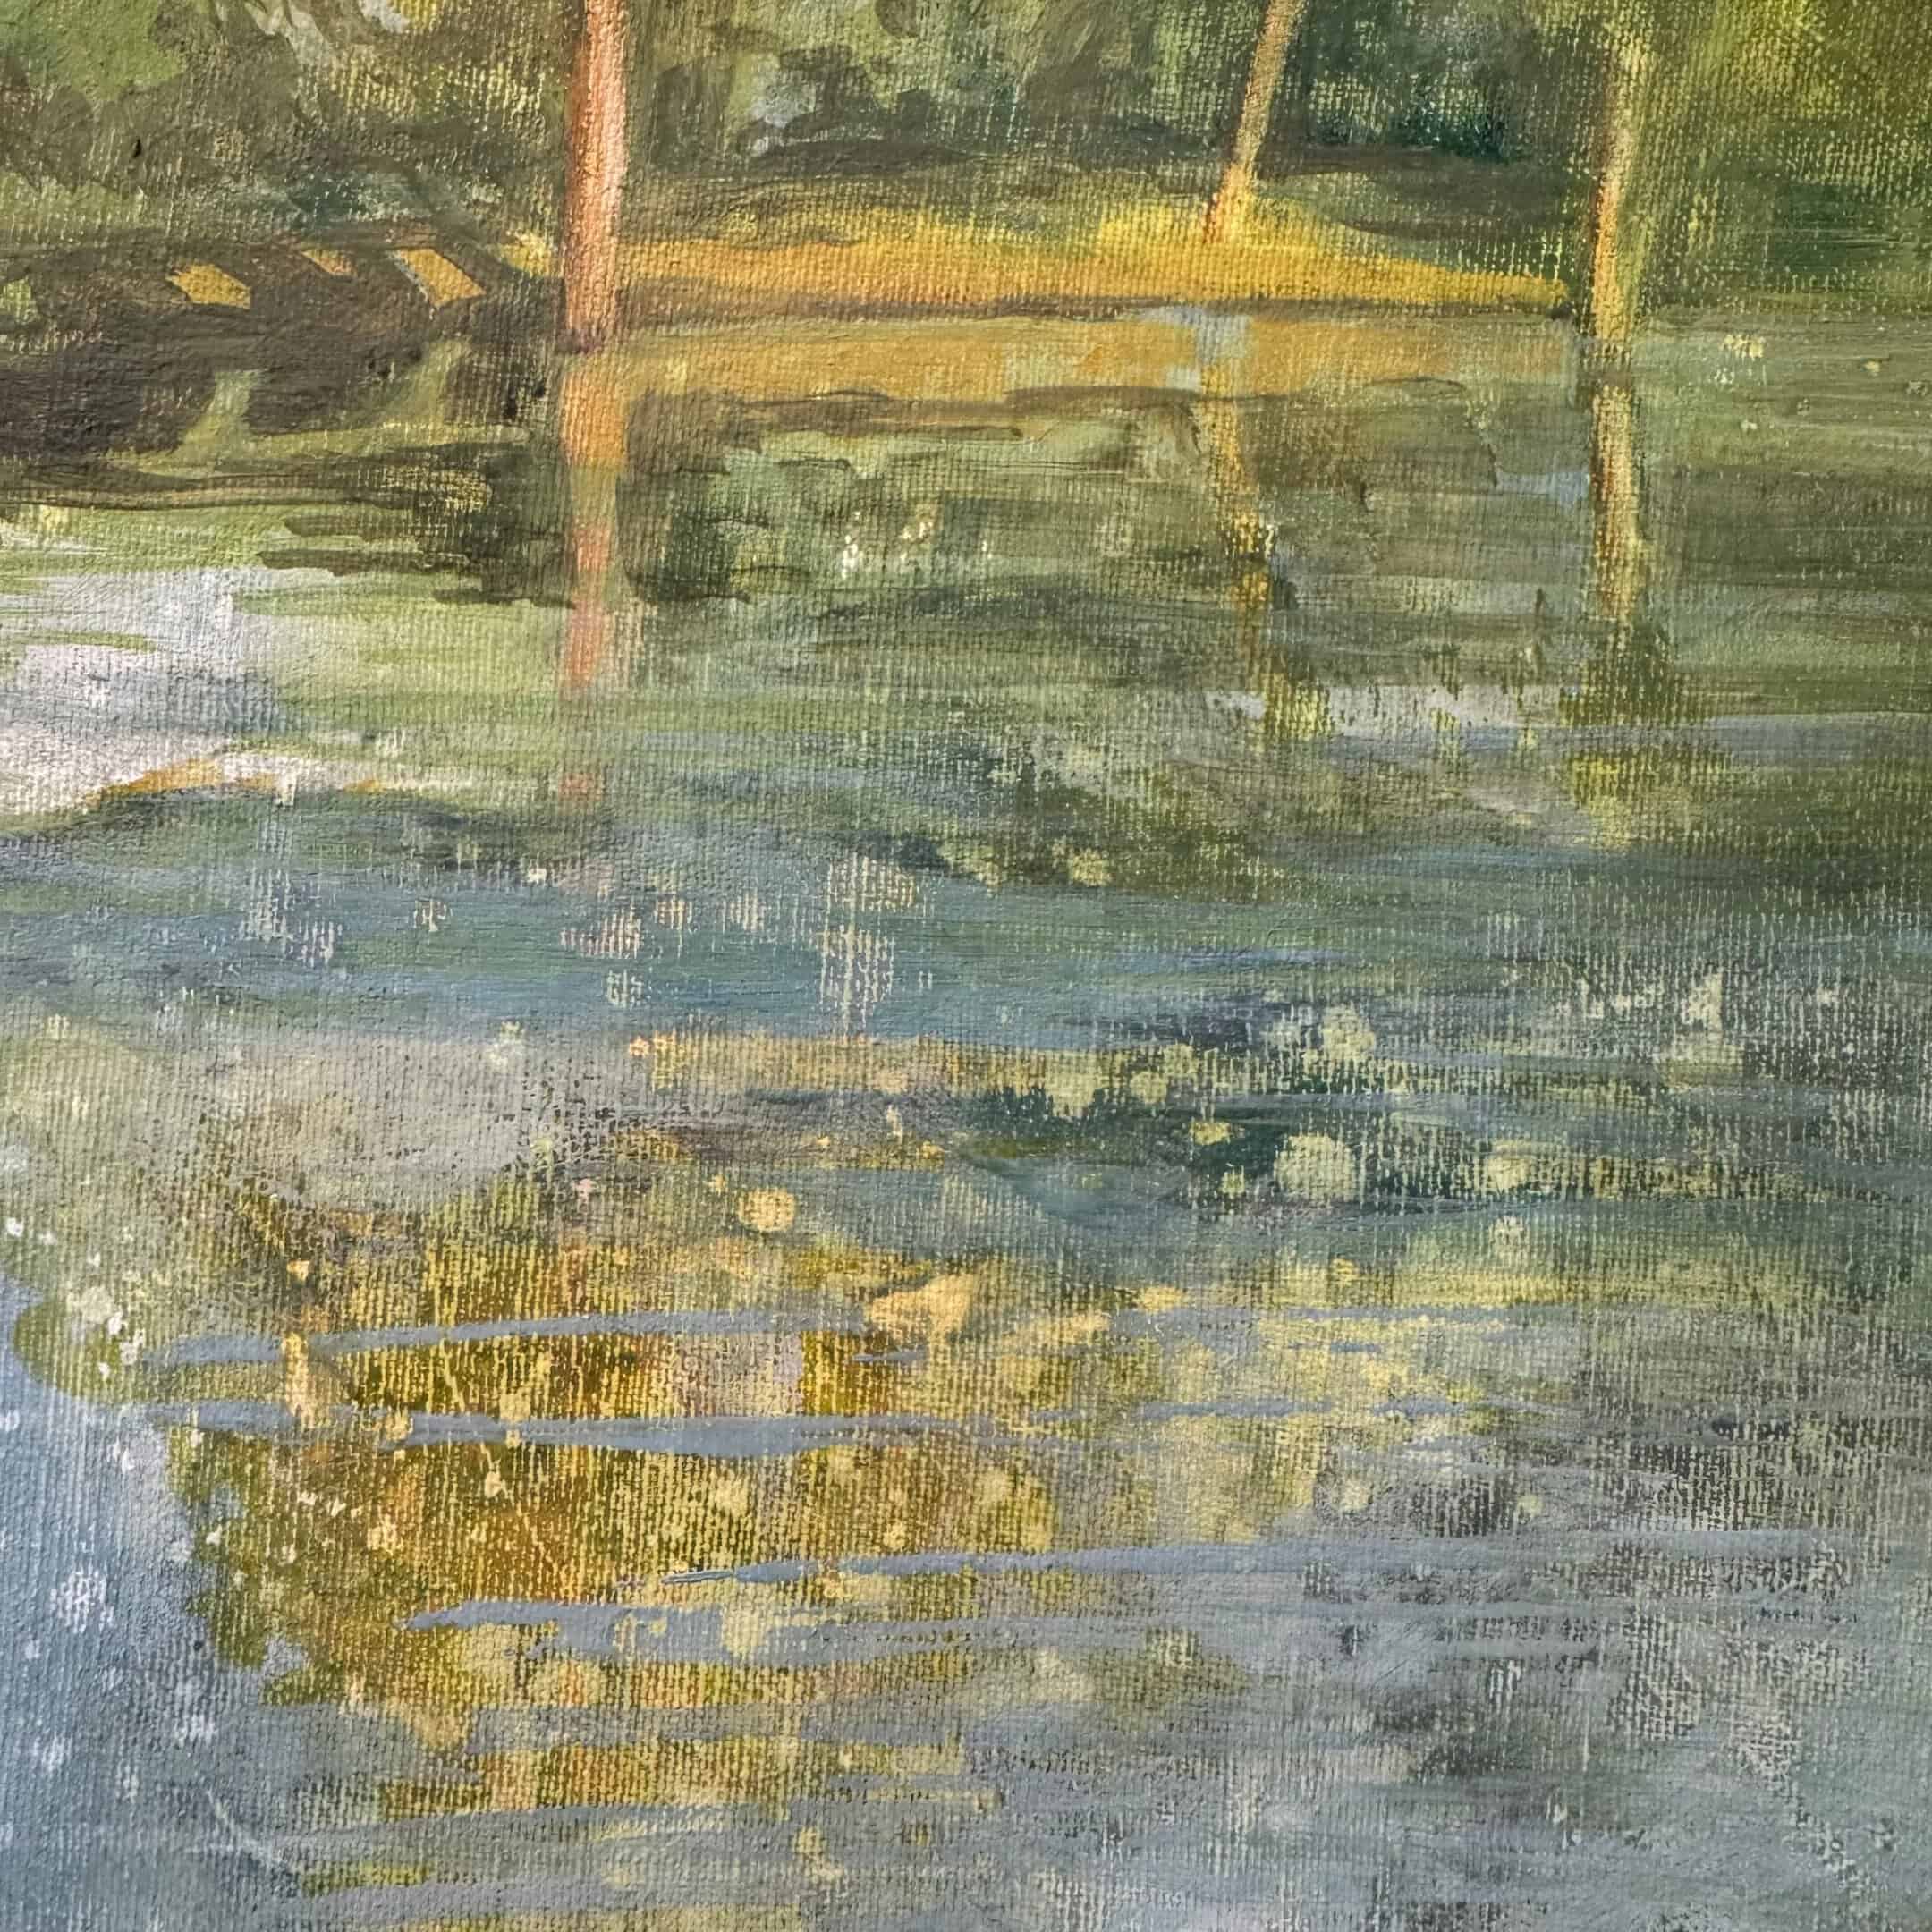
Mark-Making with Tools
Mark-making with tools is a fantastic way to create interesting textures in your acrylic paintings. You can use anything from traditional painting knives and brushes to unconventional items like combs, credit cards, or even your fingers. Each tool will produce a different type of mark, allowing you to experiment and find what works best for your vision.
For example, using a painting knife to apply paint can create bold, sweeping strokes that add a sense of movement and drama. On the other hand, dragging a comb through wet paint can produce fine, intricate lines that mimic the texture of grass or hair. The key is to be adventurous and try different tools to see what kinds of marks they make. This technique not only adds texture but also makes the painting process more engaging and enjoyable.
Finishing Touches Create Texture in the Acrylic Painting
After all the layers of texture and different techniques have been added, that’s when the details can be added to your acrylic painting . Up until this stage my brushes are large. I’ve used scraping tools, sponges, rags and palette knives to add texture.
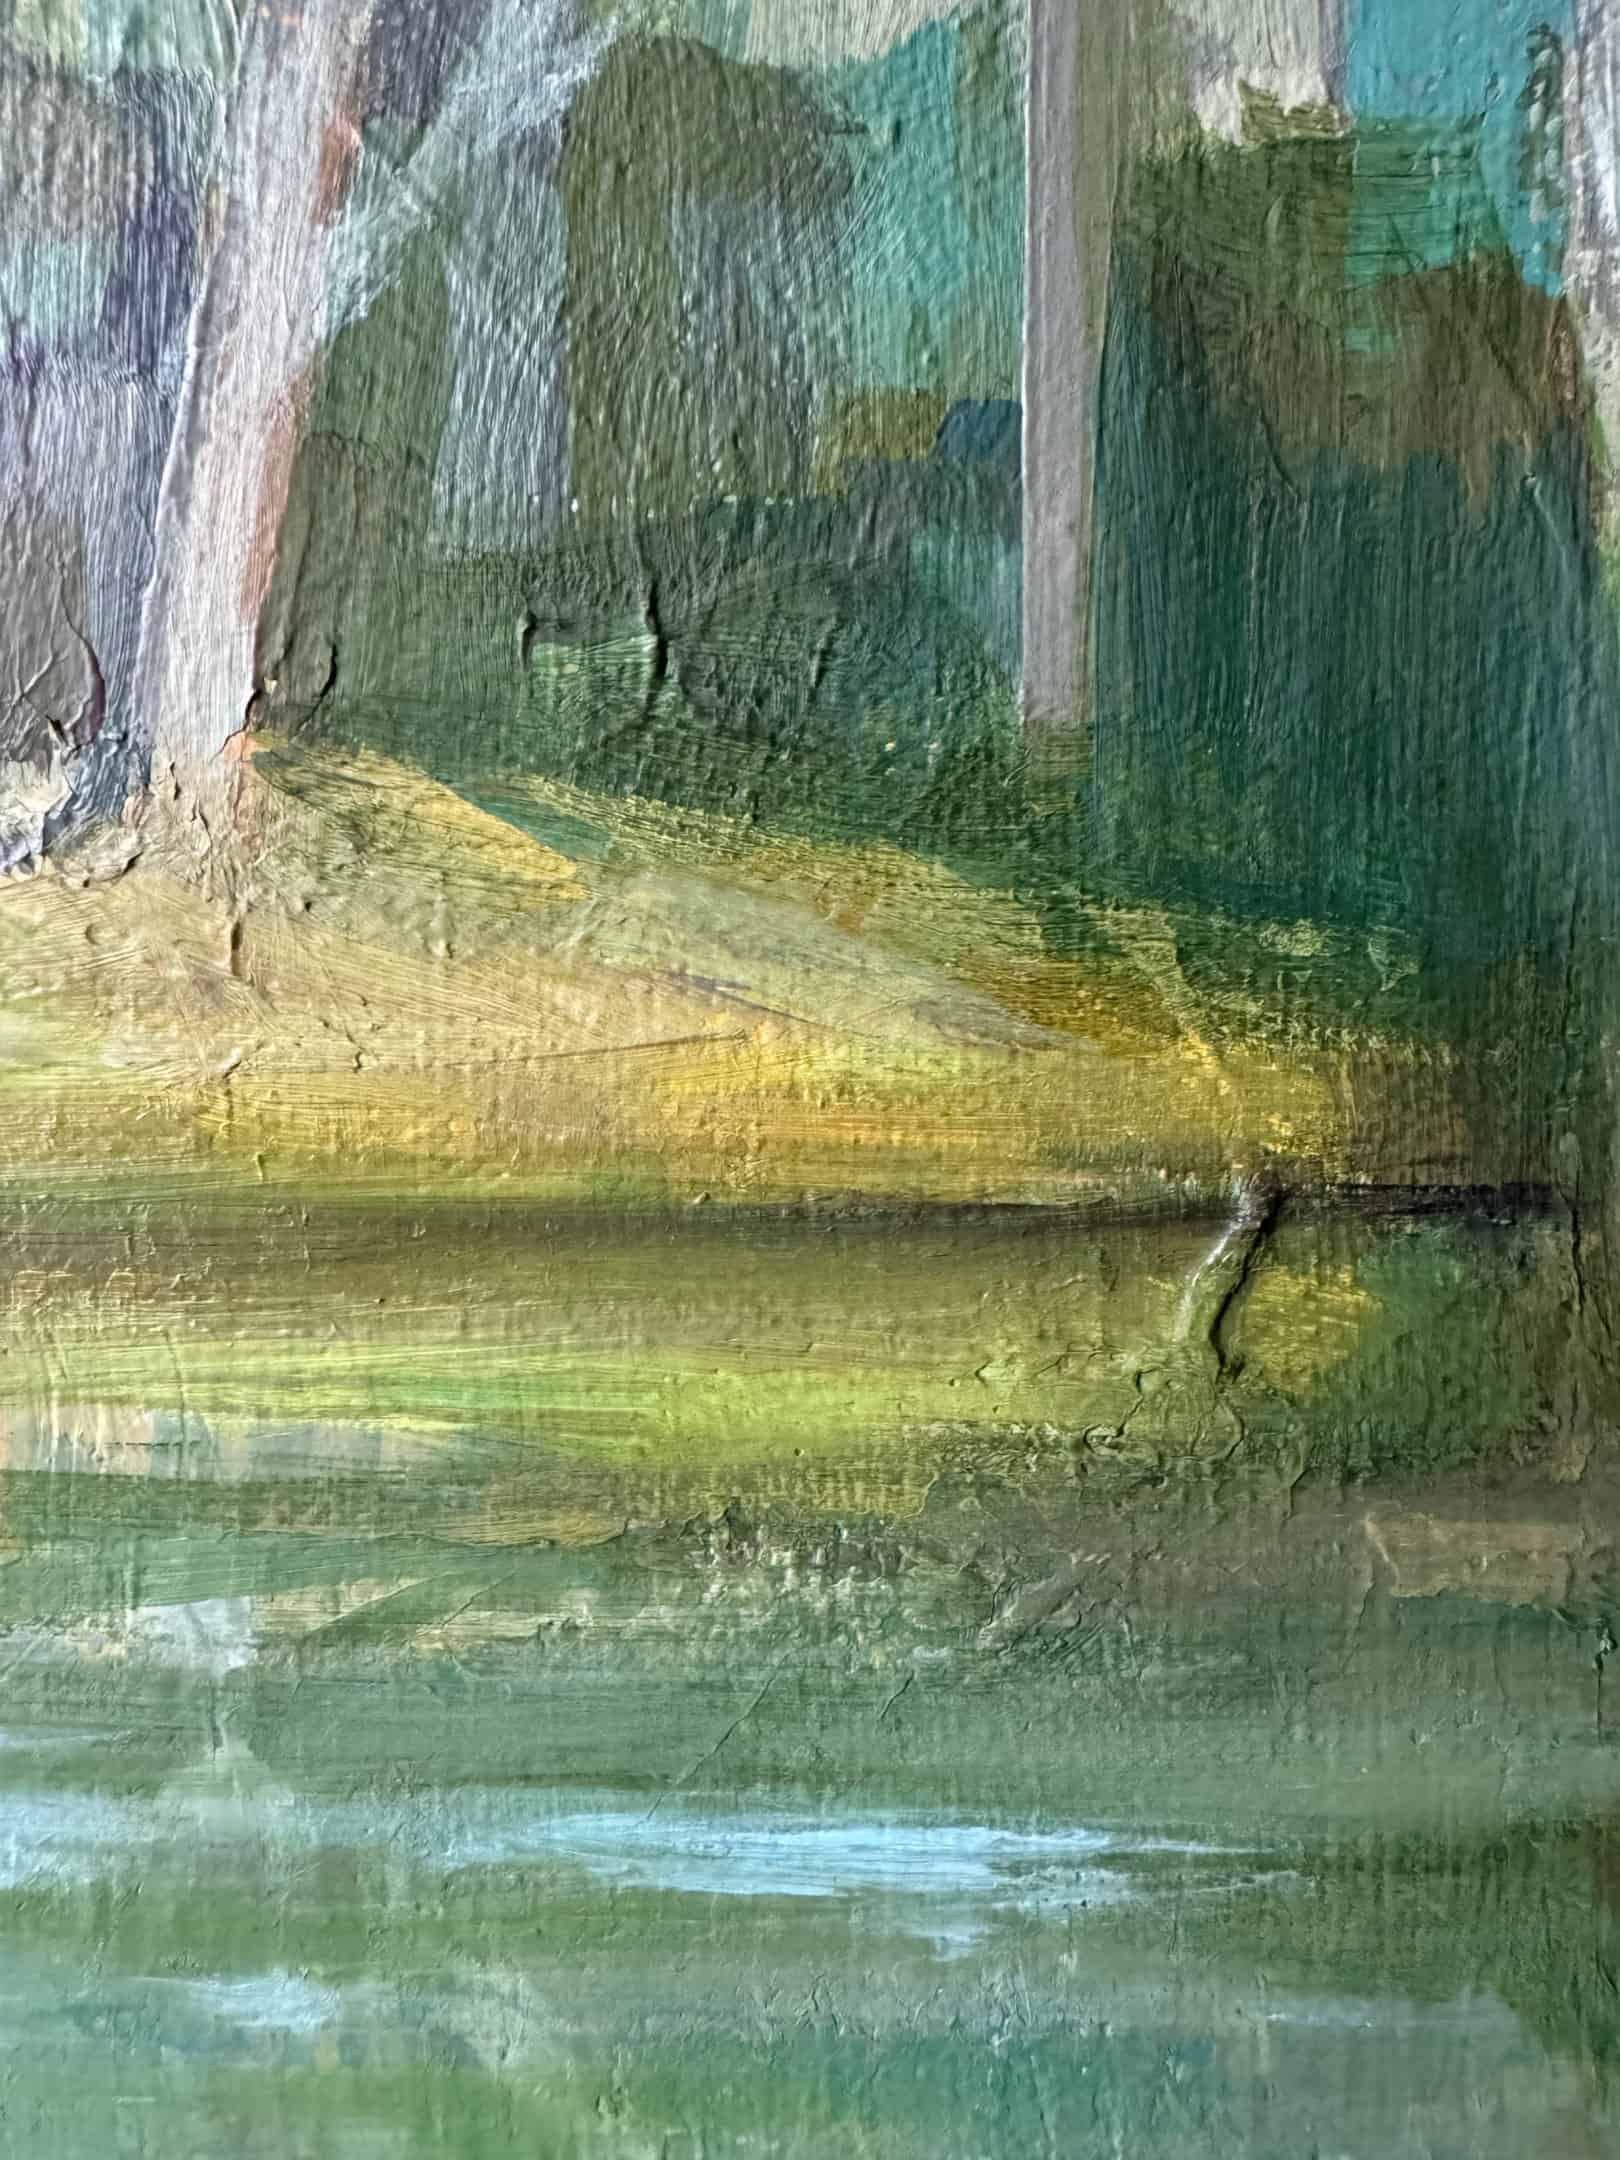
Use a small liner brush to add delicate details like tree branches, grass, or water highlights. Always step back to evaluate the balance of textures and colours, making adjustments where needed.
Final Layer – The Varnish
A final varnish not only protects your acrylic painting but also adds depth and brings out the richness of your colours and unifies the finish for the desired effect you were hoping to achieve.
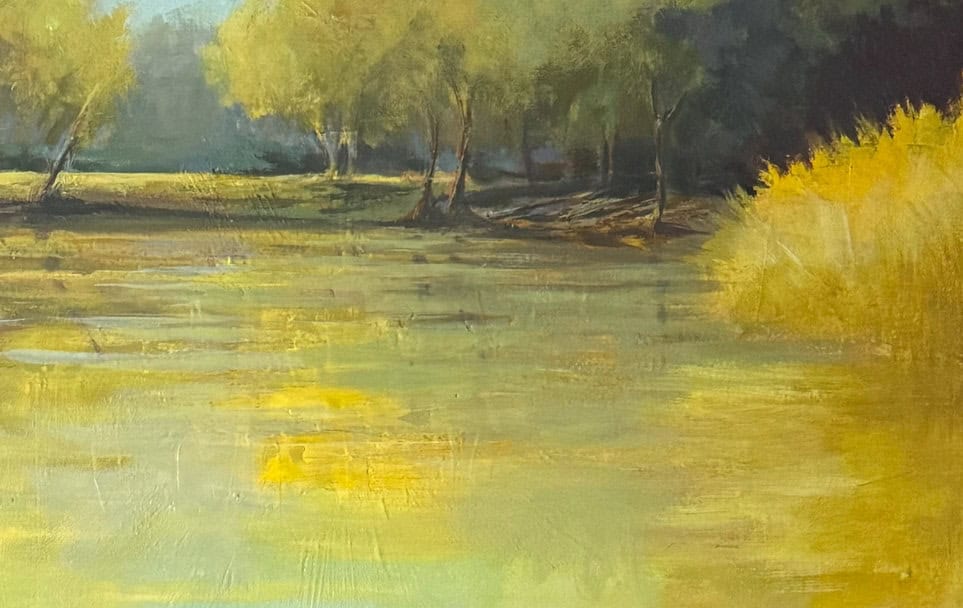
So, you can see why Acrylic paint works for me and offers so many possibilities for creating landscapes with interesting textures.
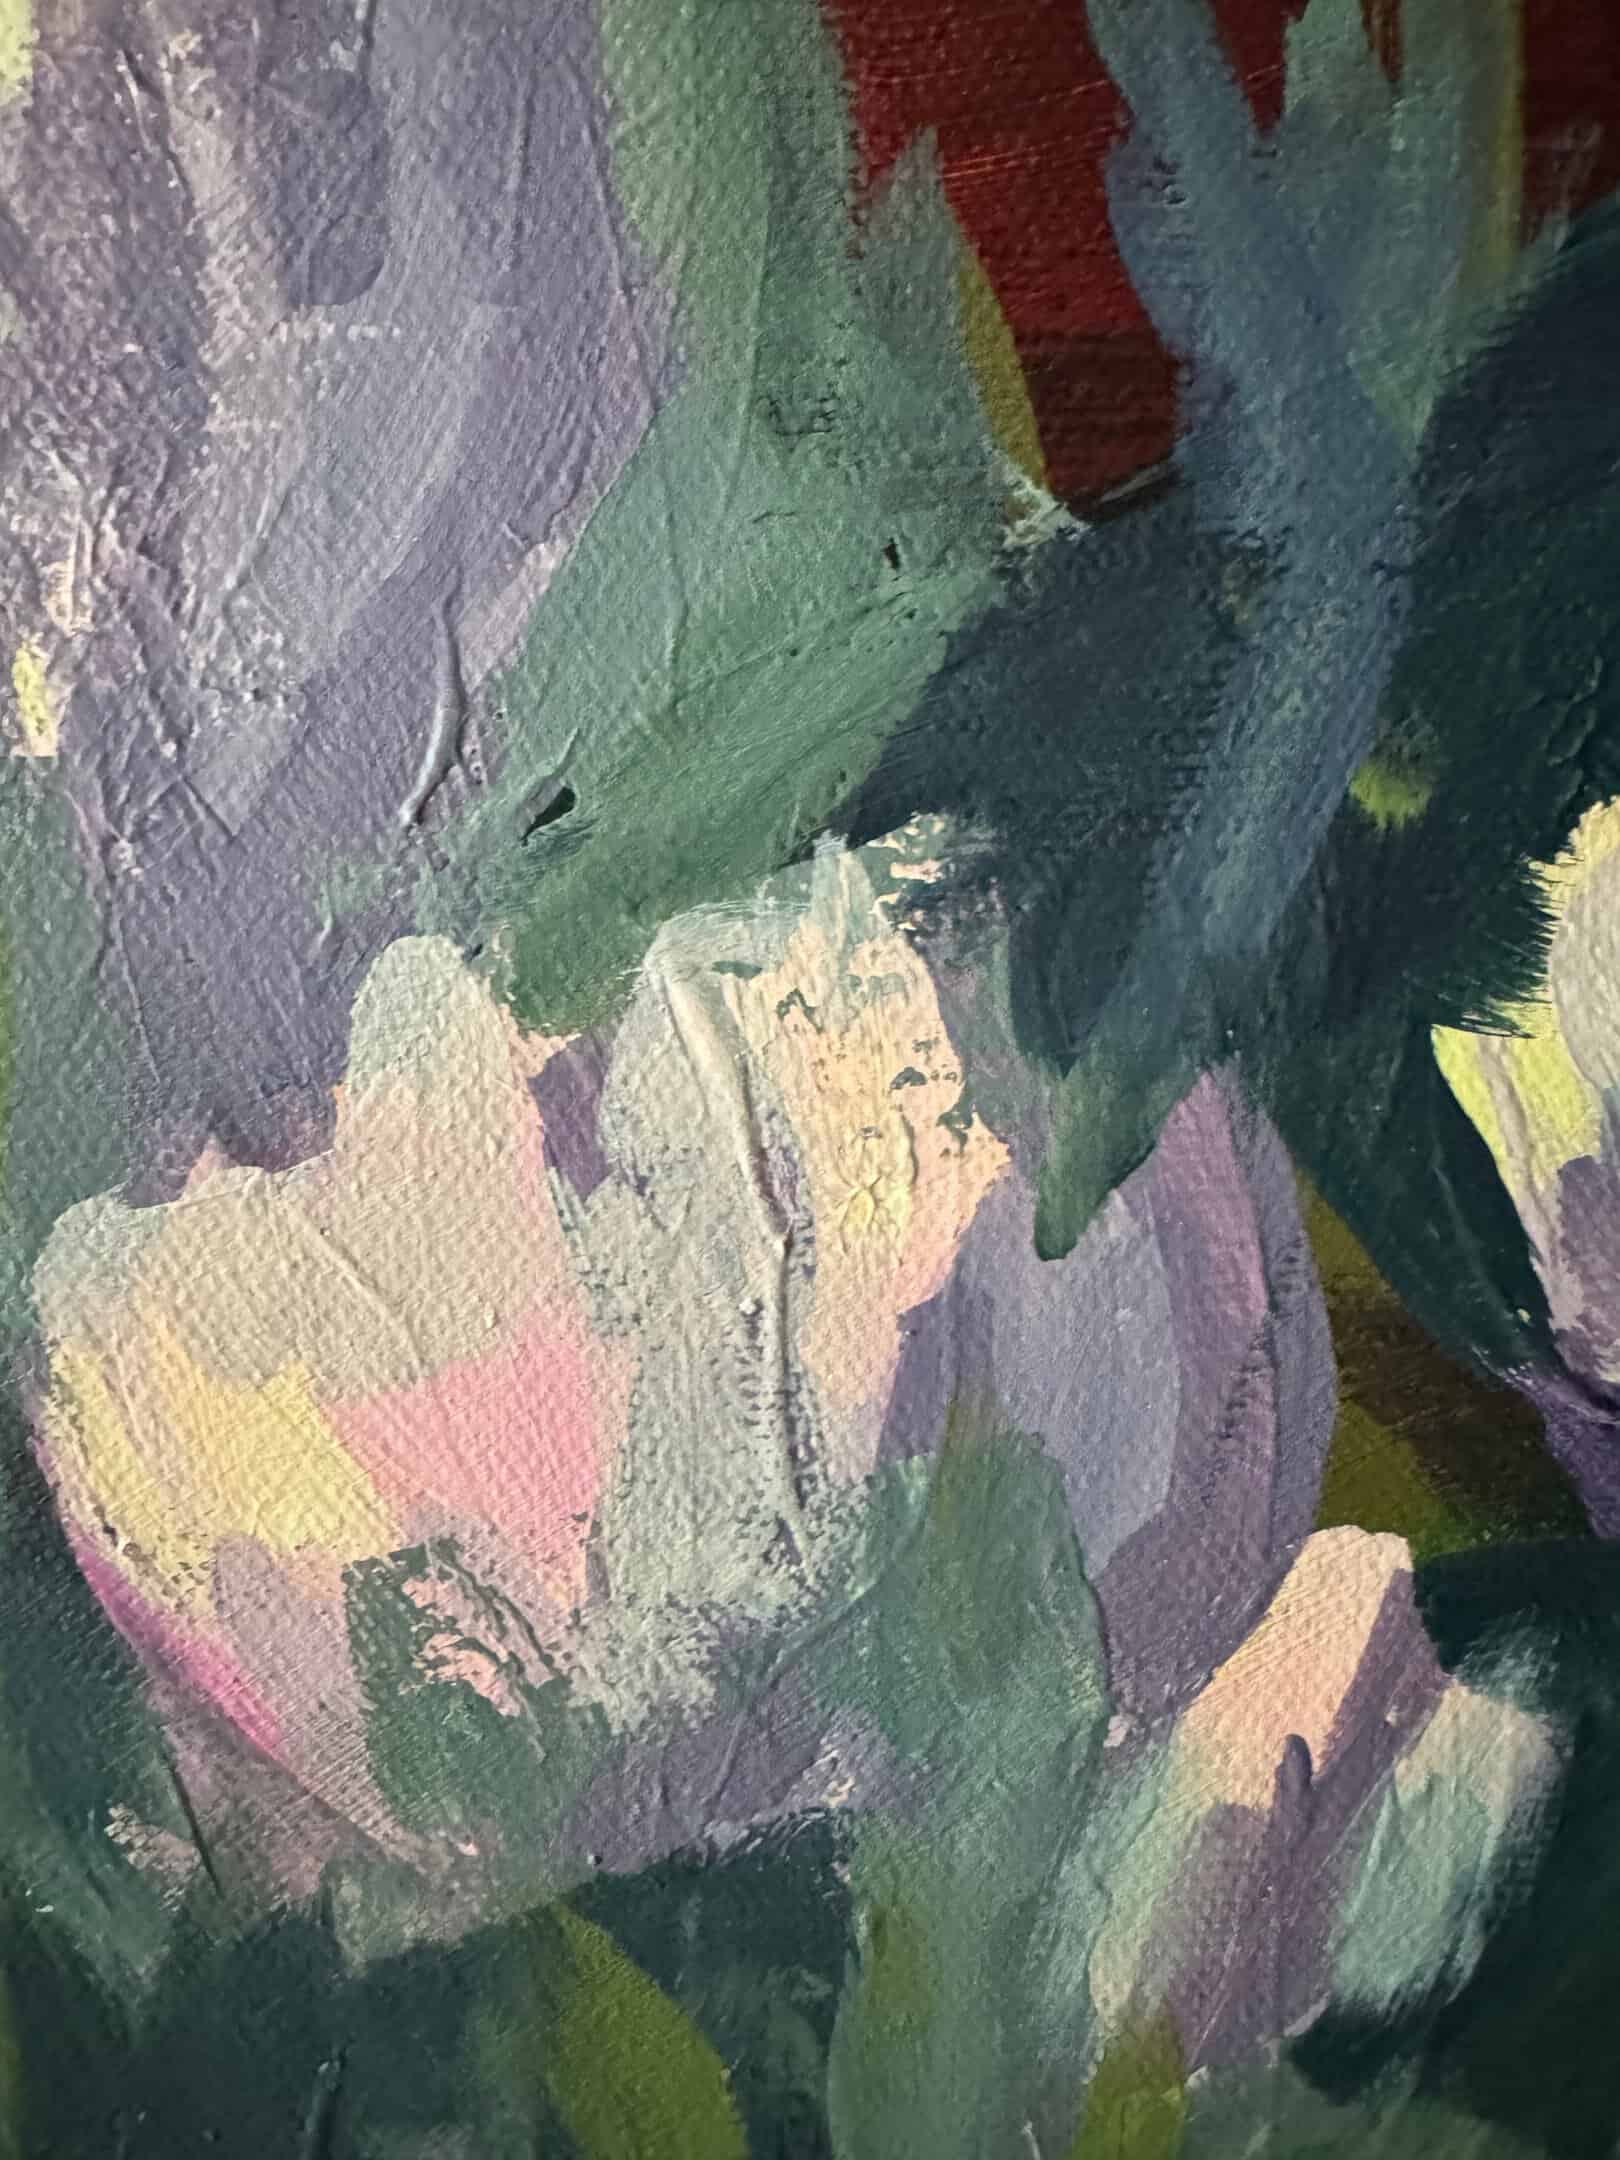
Below is an example where I chose to be quite bold in the shapes which I added.
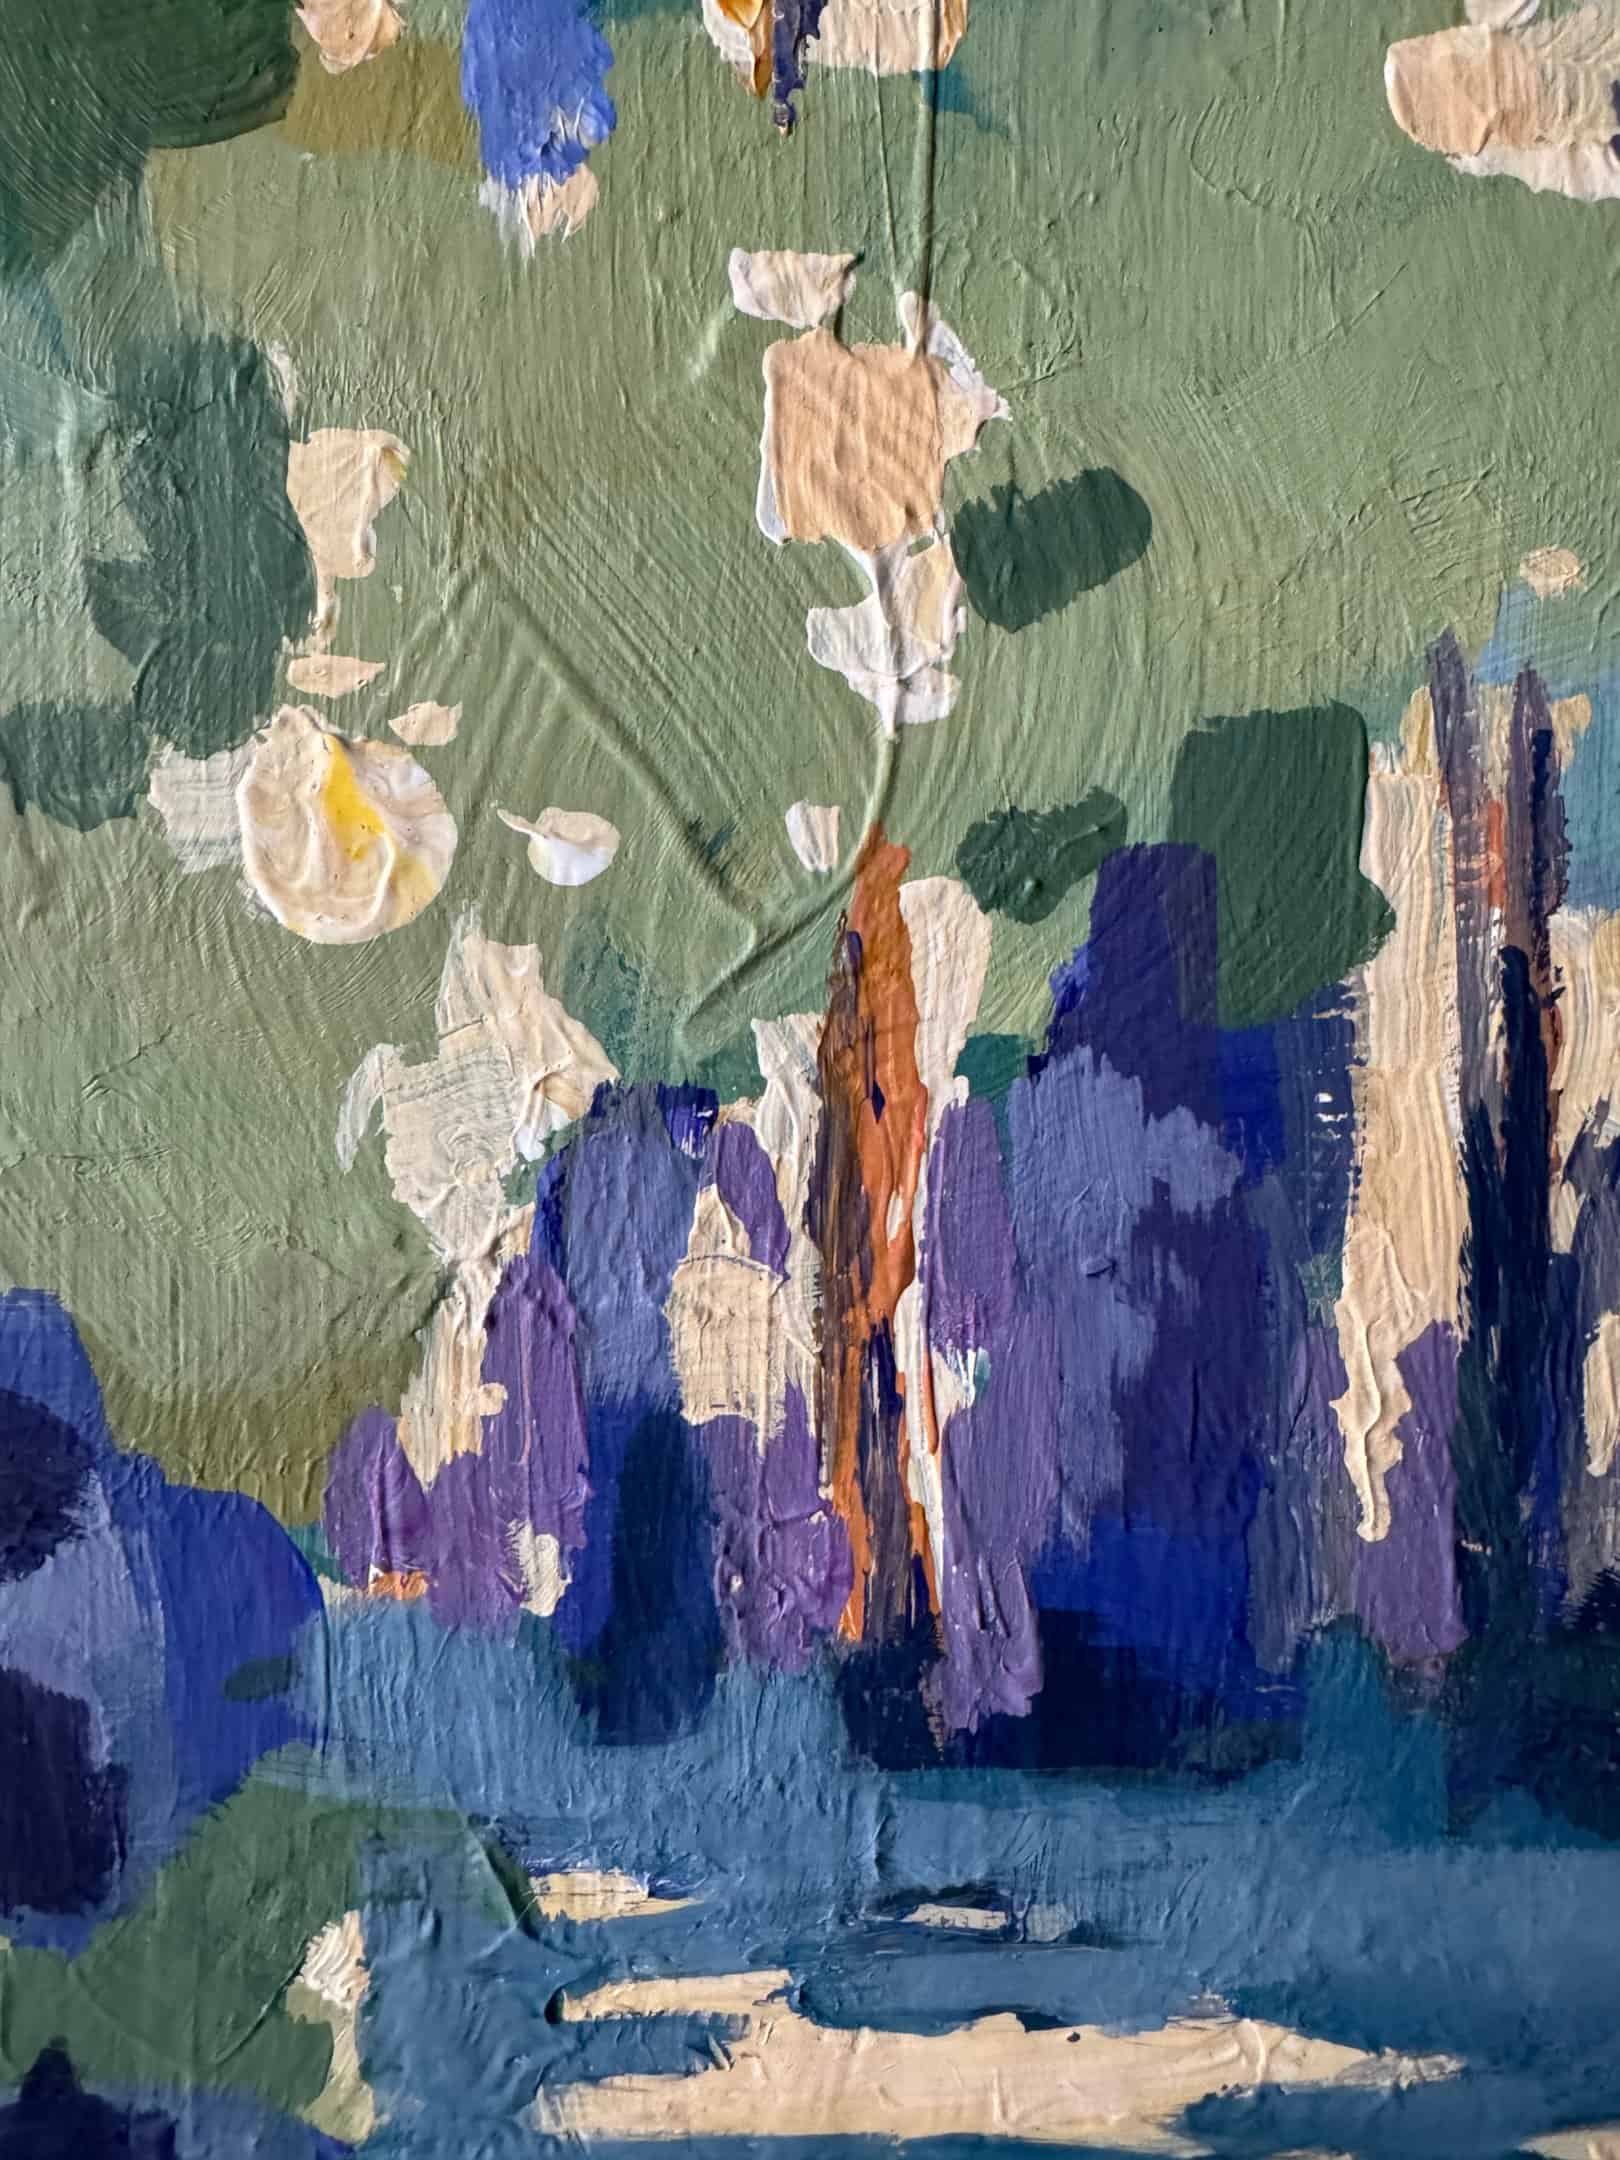
By experimenting with a layer of paint on top of another thick layer you’ll create a texture with different mediums. You can bring texture , depth and energy to your work.
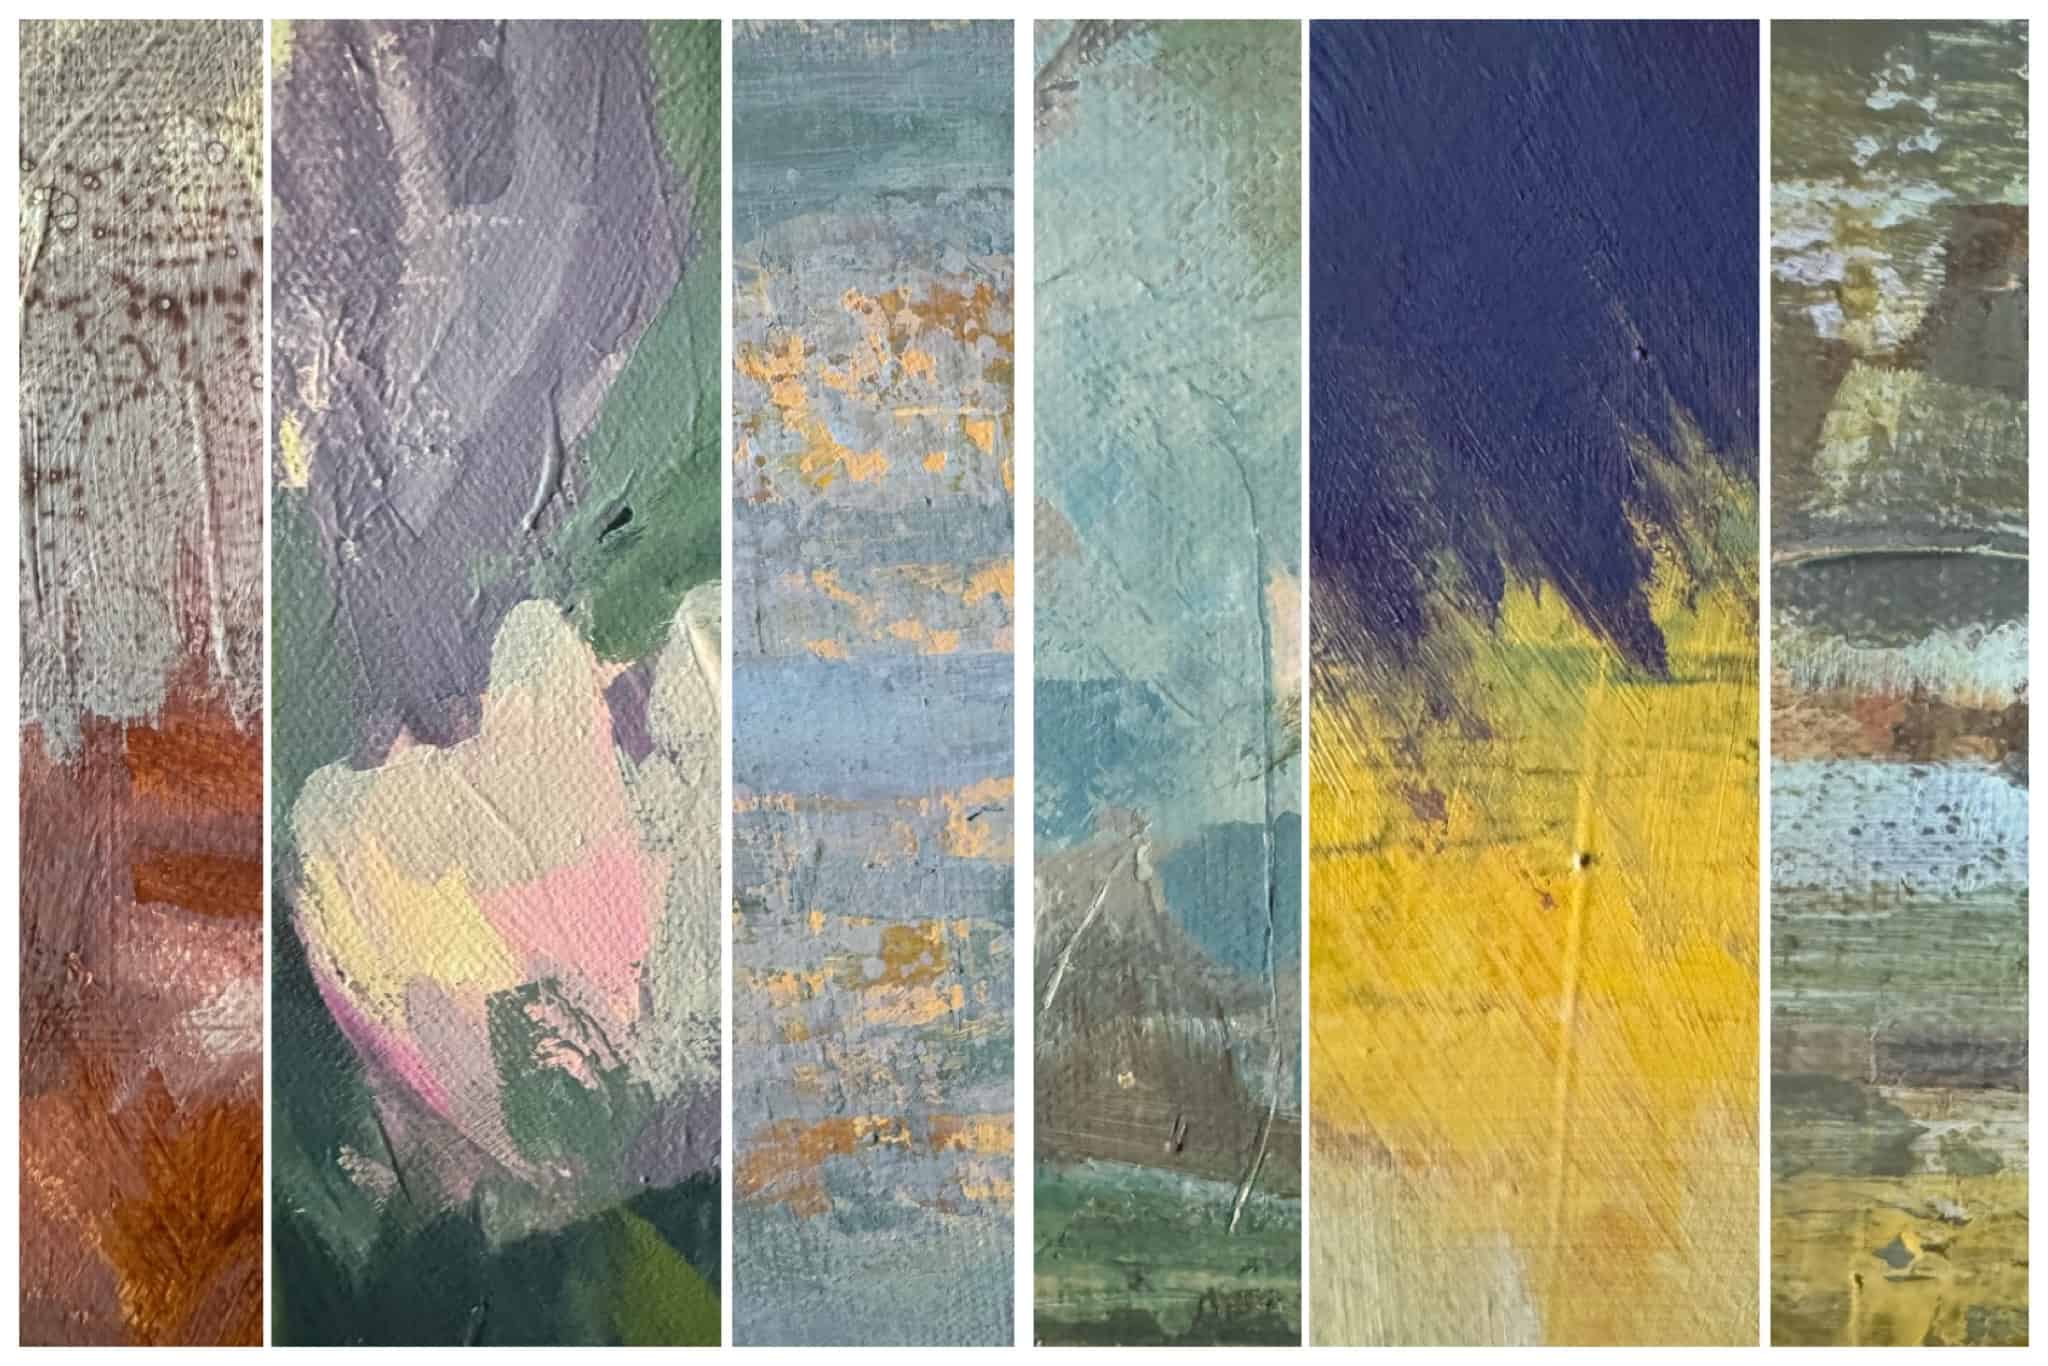
The example blow is a small area of a painting where I have added a patina, which I thought was a good idea, it gave more texture to that are of the piece of art.
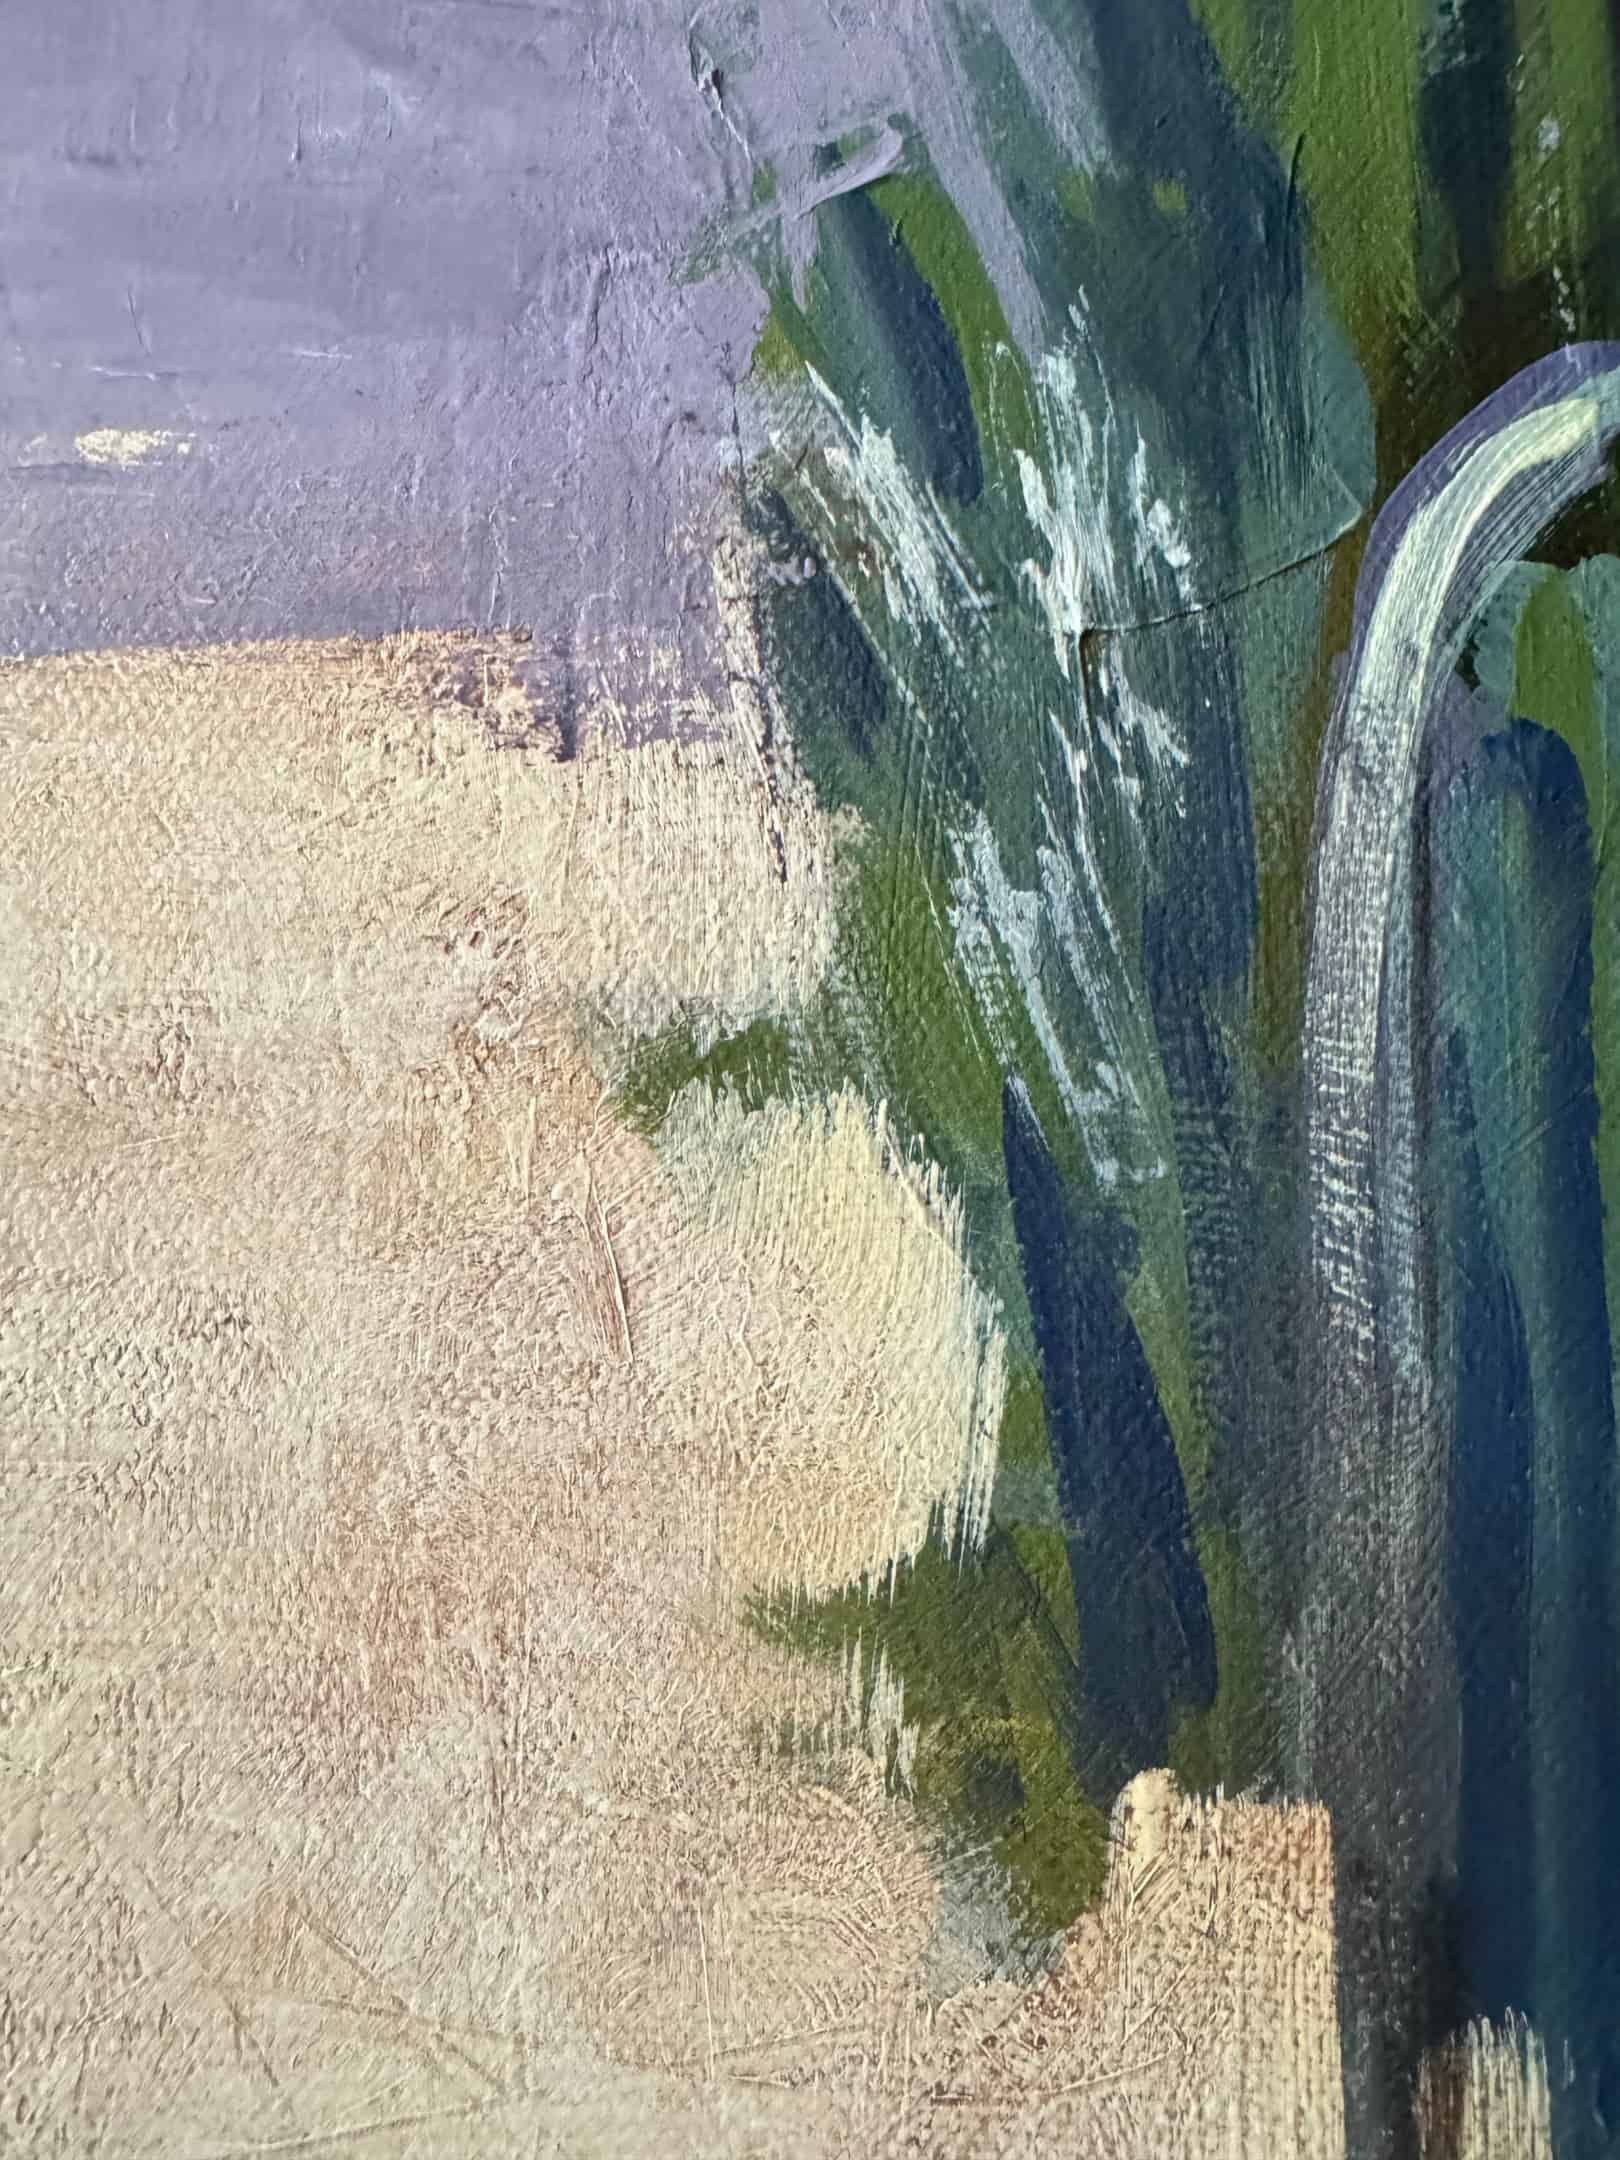
I am constantly learning as I use acrylic paint and different materials which ensures me that there’s always room to explore and grow as an artist.
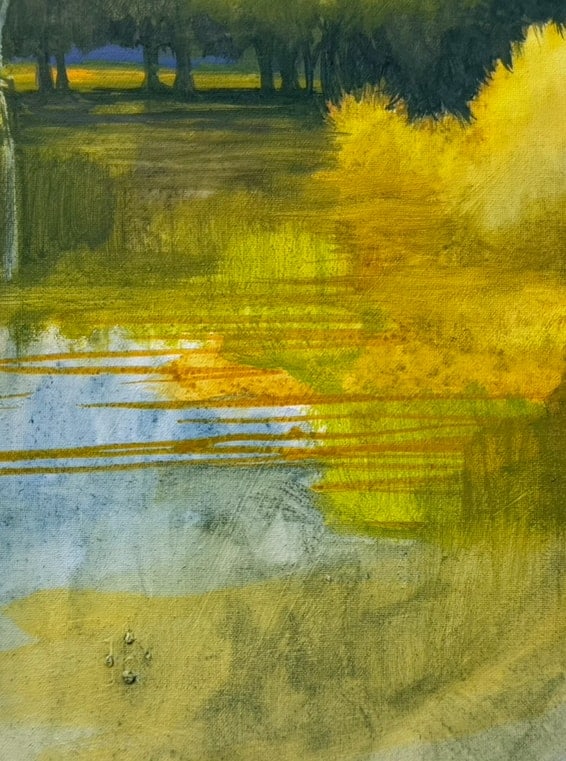
I hope my creative process has encouraged you to try your acrylic paints, and try alternative texture painting techniques of acrylic painting for layering and creating unique textures. I know it’s not a step by step process, but Acrylics can be very forgiving , so use your own artistic voice.
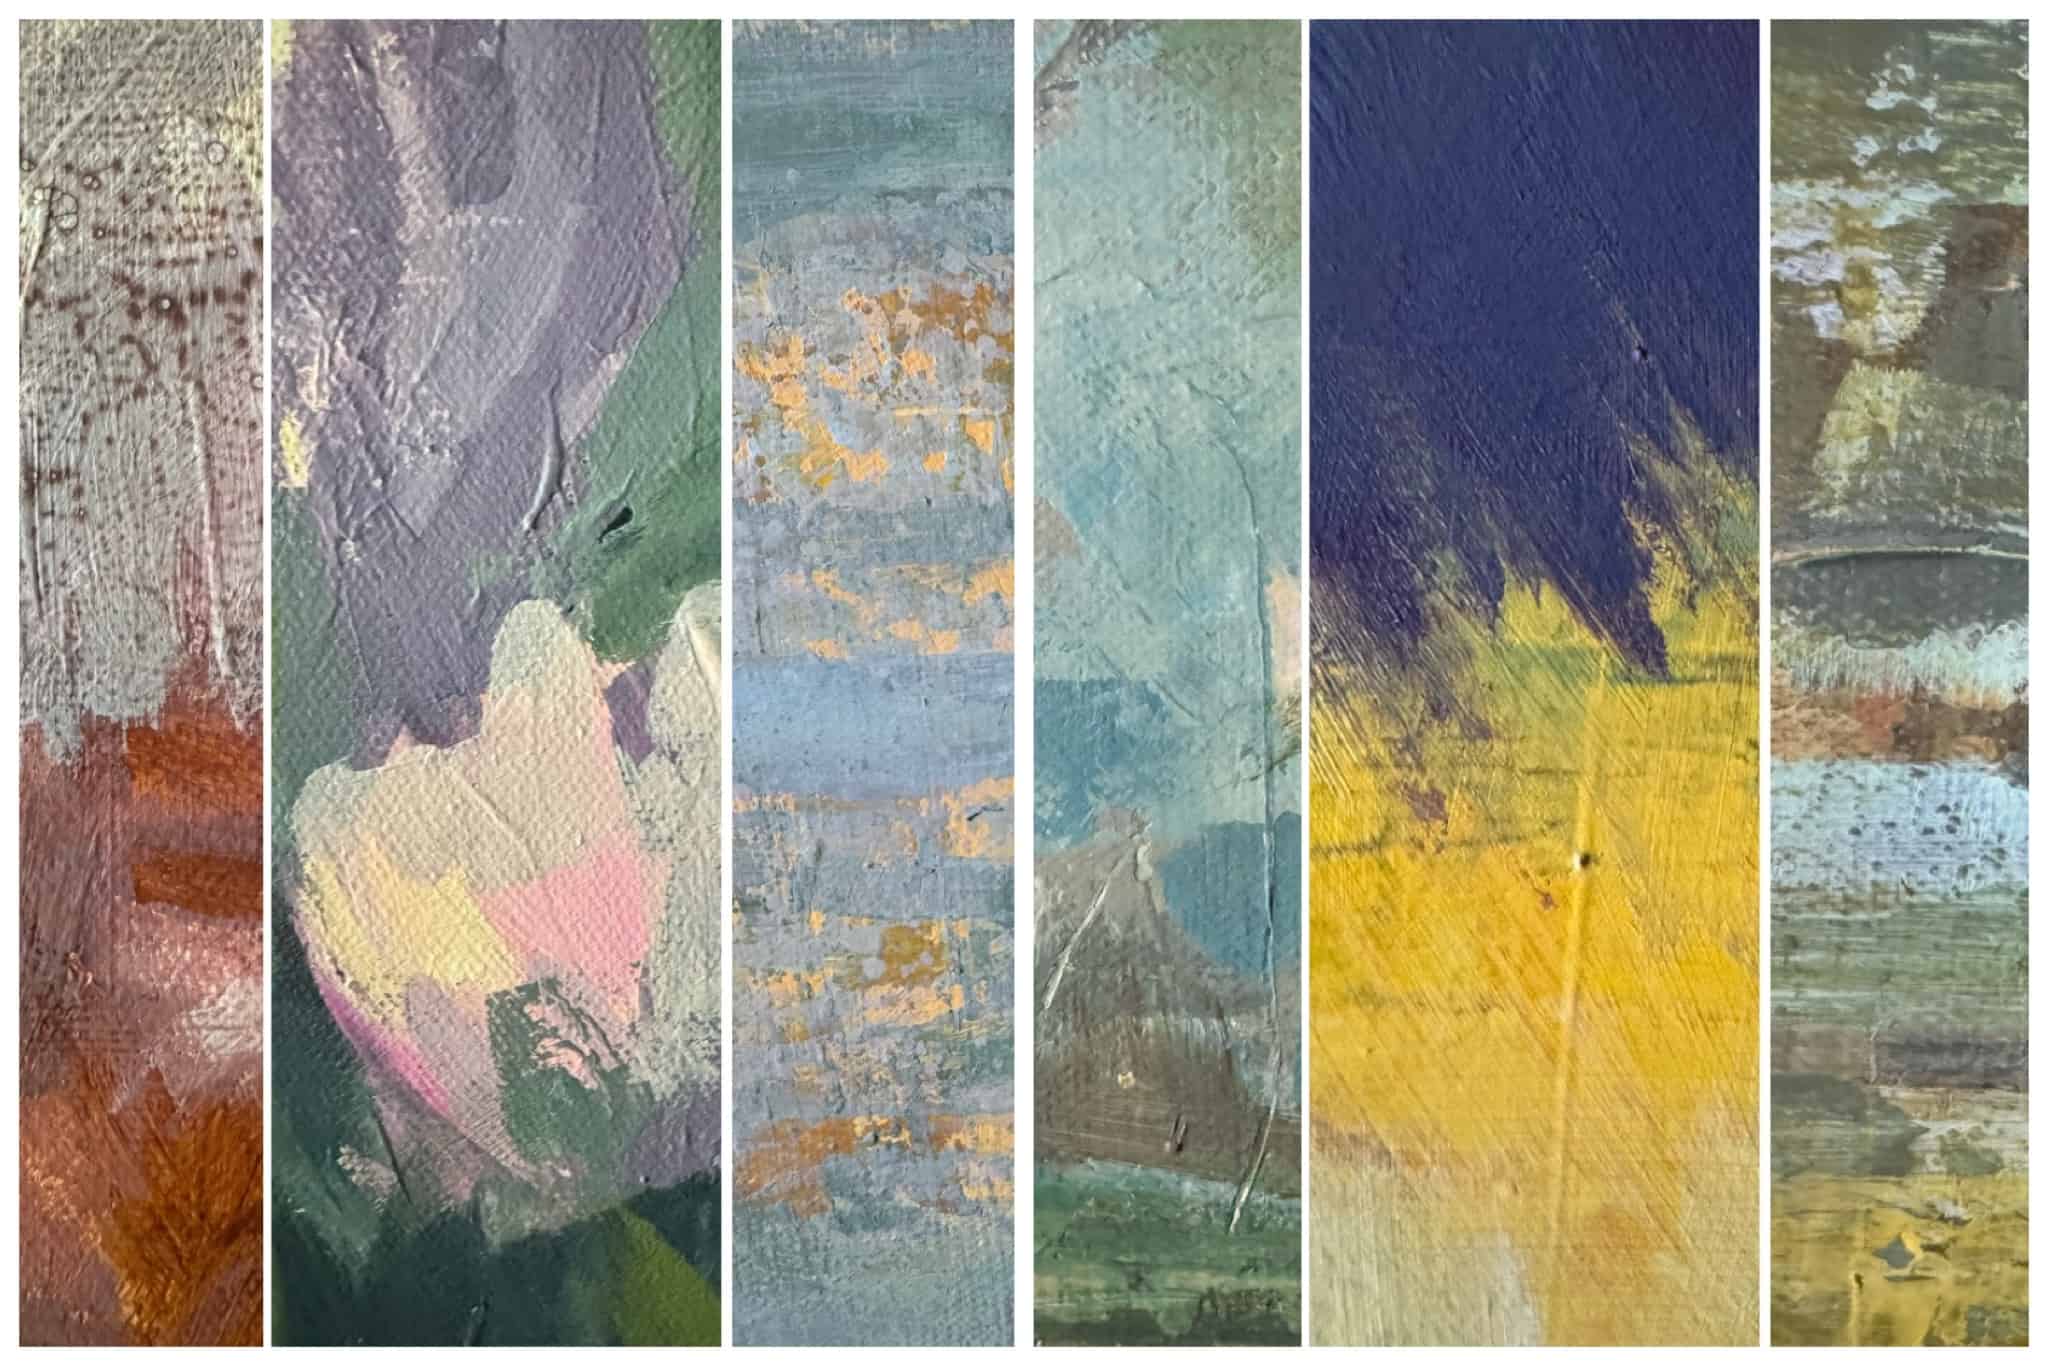
Understanding Texture in Art
Texture is a vital element in art, adding depth, complexity, and visual interest to a piece. It can be achieved through various techniques and materials. Understanding texture in art is essential for artists to create engaging and emotive works.
Definition of Texture in Art
Texture in art refers to the visual and tactile surface characteristics of a work of art. It can be achieved through physical means, such as bumps, ridges, and grooves, or through the illusion of physicality created by adding depth to a painting or sculpture. Texture can also be implied through brushstrokes, lines, patterns, and colors. Whether you’re working with acrylic paints, oil paints, or mixed media, creating texture can transform a flat surface into a dynamic and engaging piece of art.
Types of Art Textures
There are several types of art textures, each offering unique ways to add interest and dimension to your work:
-
- Impasto: A thick, heavy texture created by applying paint or other materials in thick layers. This technique is perfect for creating bold, dramatic effects in your acrylic paintings.
-
- Drybrush: A rough, textured effect created by dragging an almost-dry brush across the canvas. This method is excellent for adding subtle, grainy textures to your landscapes.
-
- Glazing: A smooth, transparent texture created by applying multiple layers of transparent paint. This technique can add depth and richness to your work, especially when using heavy body acrylic paint.
-
- Sfumato: A soft, hazy texture created by blending colors together. This technique is ideal for creating atmospheric effects in your landscapes.
-
- Chiaroscuro: A strong contrast between light and dark areas, creating a sense of volume and texture. This method can add drama and intensity to your paintings.
Benefits of Texture in Art
Texture is a powerful tool for artists, allowing them to add depth and visual interest to their work. It can create unique effects that engage the viewer and evoke emotion. Some of the benefits of texture in art include:
-
- Adding Depth and Visual Interest: Texture can make a painting more dynamic and engaging, drawing the viewer’s eye and encouraging them to explore the piece.
-
- Creating Unique Effects: Different texture painting techniques can produce a wide range of effects, from smooth and subtle to bold and dramatic.
-
- Evoking Emotion: Texture can convey mood and atmosphere, helping to evoke an emotional response from the viewer.
-
- Drawing Attention to Certain Elements: By adding texture to specific areas of a painting, you can highlight important elements and guide the viewer’s focus.
Mark-Making and Gesture Techniques
-
- Mark-making and gesture techniques are all about creating expressive, dynamic textures that bring energy and movement to your artwork. These techniques involve using a variety of tools and materials to make spontaneous, unique marks that can add depth and character to your paintings.
You can join us every Thursday at 7 pm ET for this awesome free session: https://visualartspassage.com/drawing-hive/
Developing Muscle Memory with Drawing Exercises
Remember that learning a new skill takes time, and honing that skill takes repetition.
Repetition in your drawing practice gives you more control over what you create. In just a few months or weeks of doing these exercises, you’ll notice your brain-muscle connection improving. If any one drawing exercise has inspired you to put pencil to paper today, that’s awesome. And if not, maybe by process of elimination you’ve gotten just a bit closer to finding a rhythm that suits you best. Above all, I hope your takeaway is that drawing should be, first and foremost, fun — inspiring, life-giving, playful. While your regular practice can sometimes feel like drudgery, reminding yourself to make the process thrilling will jumpstart your creativity.
